


Setup Sheet Editor for PhoenixSoftware & Services |
|
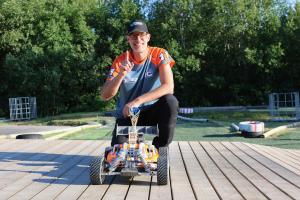
First win with the Phoenix!I was very eager to get back to racing efter missing last race and also having the problem in the final last time in Halmstad. Also wary that I didn't want to have any big problems or breakage with the car just one week before leaving for the Euros in Starec.
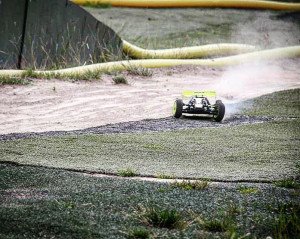
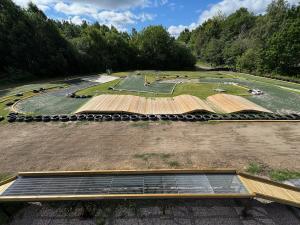
The track was recently remodeled by the club and offered a new layout for probably 50% of the track with the main feature being a big tripple jump in wood. They also added on more astro and rubber mats to make it easier to maintain the track. This is the trend we see most track going to make it feasible for a small number of people with no budget to have a descent track. When we arrived the day before the rain was pouring down but the forecast promised nice weather for race day. And that forecast was correct (for once!). That also meant that nobody had practiced on the new track until the morning where we have 45 minute open practice. I tried on some different tires but chose to go with some worn Astro Max. Not too much grip but enough and a good compromise between all the different surfaces this track offers, grass, dirt, wood, stone, rubber and astro. The qualifier went well and I won it quite comfortably and set the fastest lap time for the day at 23.965. This is a quite short track but as it gets more bumpy as the day goes on you rarely improve your lap time. Starting first for the 1/8 final I got away quite nicely but got hit from behind in the first curve. Having to drop down half the field I had a couple of laps to regain the lead and finally win it. In the quarter final I got away to a clean start and had very solid race, some smaller mistakes but I still managed to lap the second car with a couple of laps left. The new carb also seemed to have fixed the problem as the bubble was now ¾ full with fuel. Being in the Semi B I had a quite uneventful race winning by a big margin, lapping the second place by three laps. I checked again to make sure the bubble looked ok on the carb and it did. So I should be good for the 25 minute final this time. In the final we didn't recount the points (that I should be compensated for) so I had to start in fifth place, but it's quite fun to work yourself through the field and I felt comfortable with the speed and the final being 25 minutes. I got tangled up in the start so had some more work to do but it didn't take more than three laps for me to work myself up into the lead. After that I tried to just stay consistent, not drive too safely as that usually just ends up hurting you. But I drove fairly slowly on the now quite bumpy straight. I still managed to flip around once. I also wanted to have a good distance to the second place if I would have to tune or do something with the engine. But the engine was fine the whole race and I barely consumed 30% of the tank for the 25 minutes. This track doesn't let you go on full throttle in too many places. It felt very good having my first win with the VRModelsport Phoenix car. I had ZERO problems the whole day, not even a screw having to be tightened. It's so predictable and reliable, just what you want from a car. It jumped nicely on the table top and the double jump and handled all the bumps like a champ. This gave me a good confident boost going into the Euros that starts in about one week. I almost don't need to touch the car as it's clean but I'm planning to rebuild my engine with a new cylinder and piston. Other than that I'm ready! |
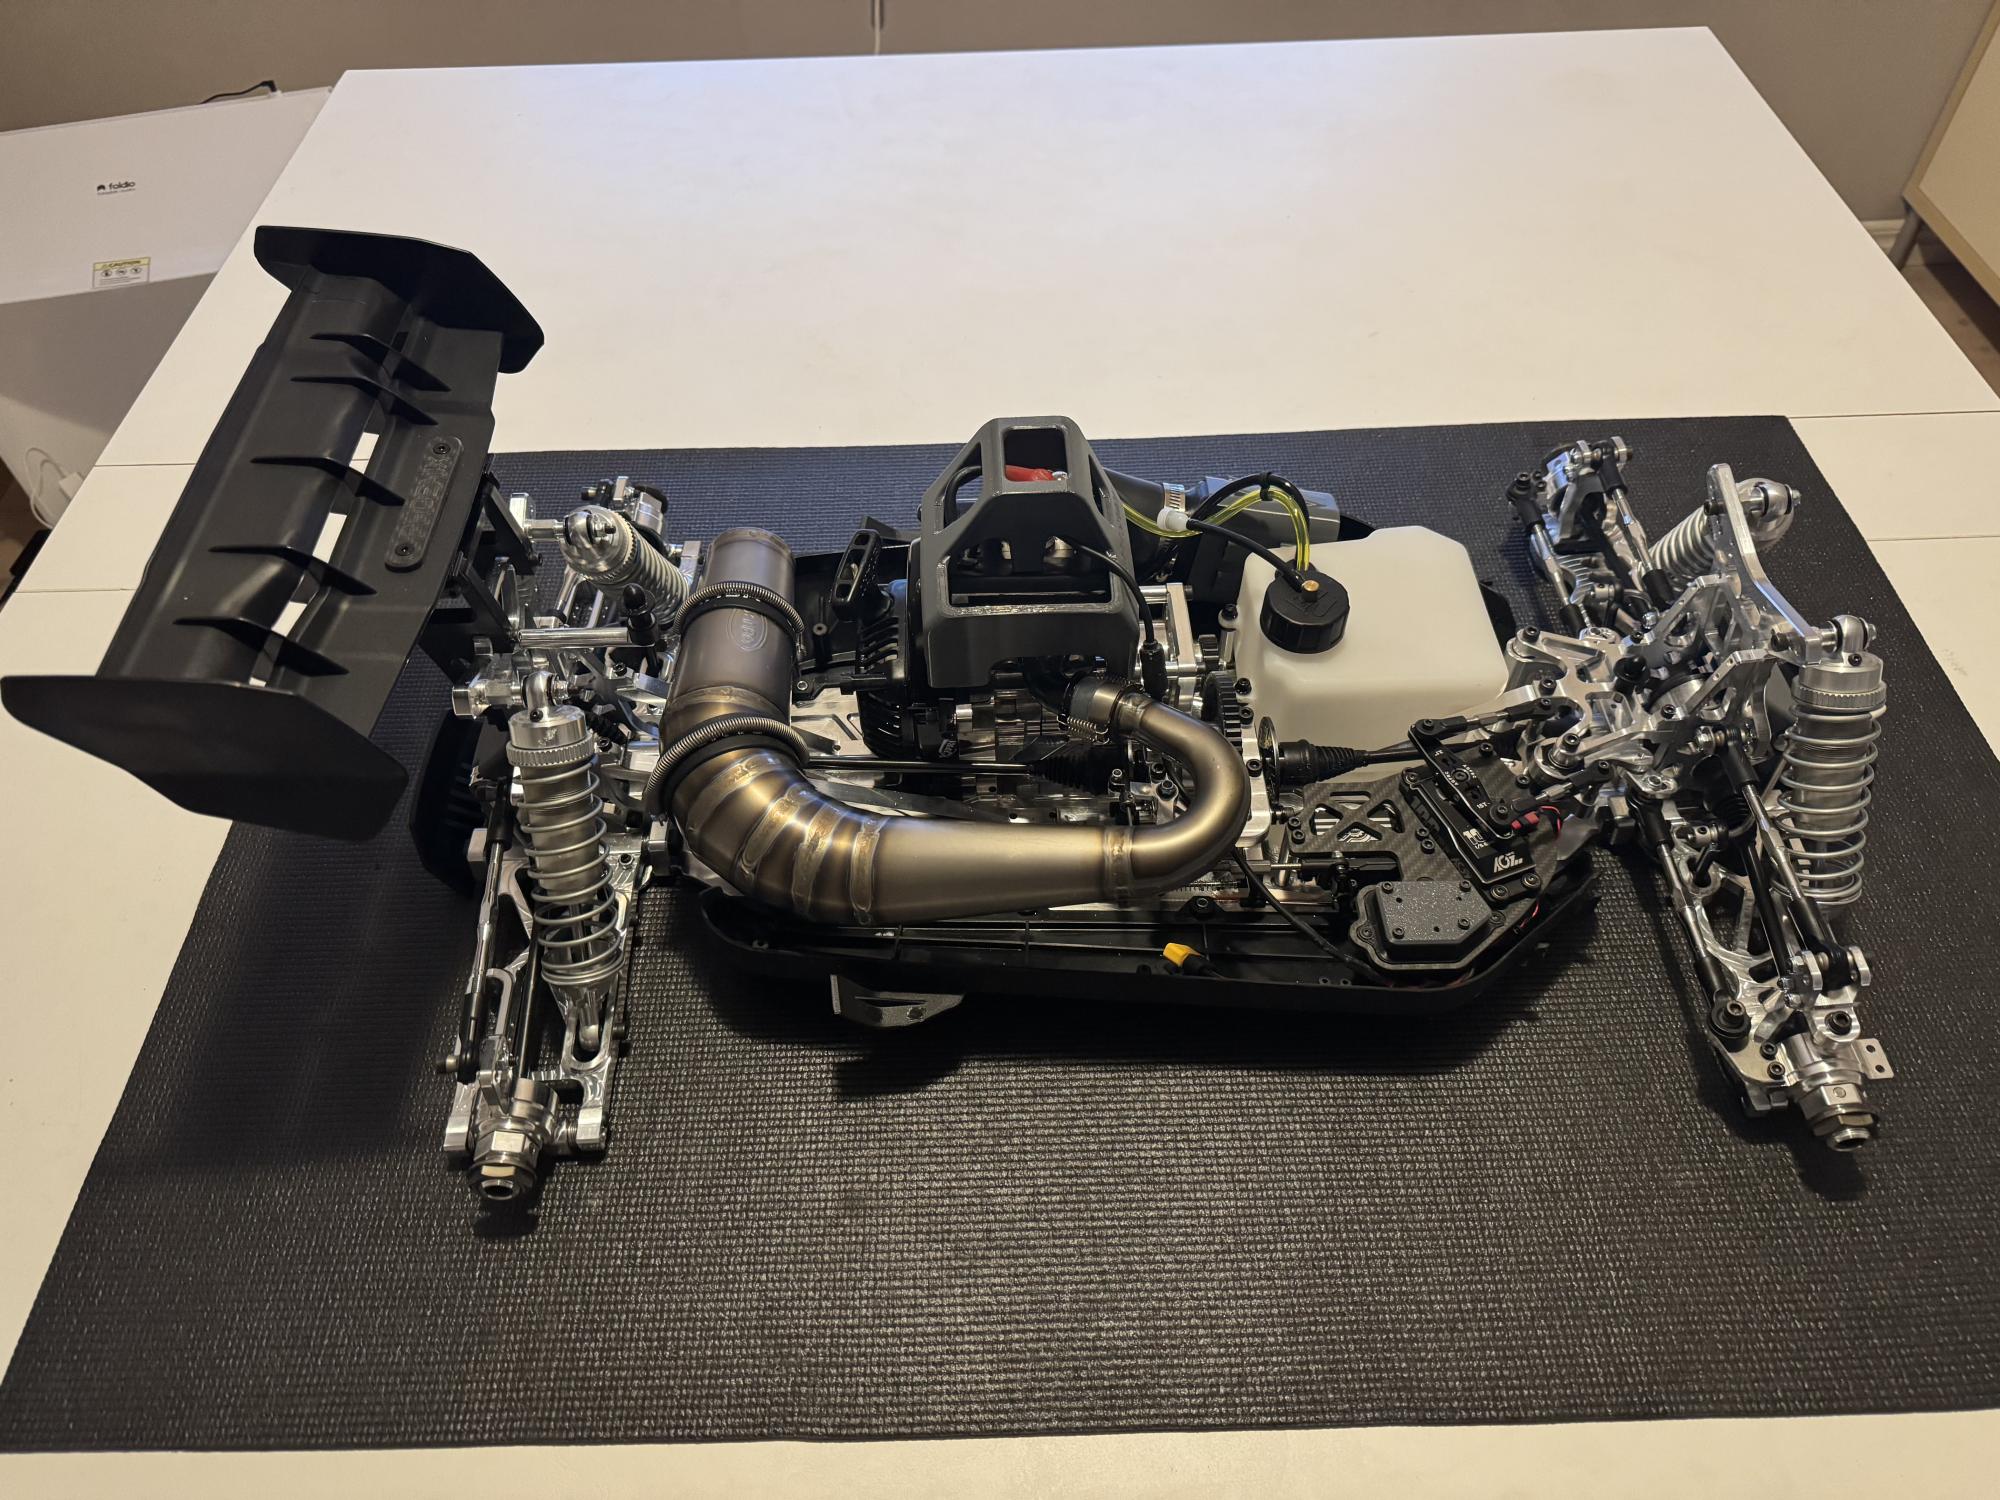
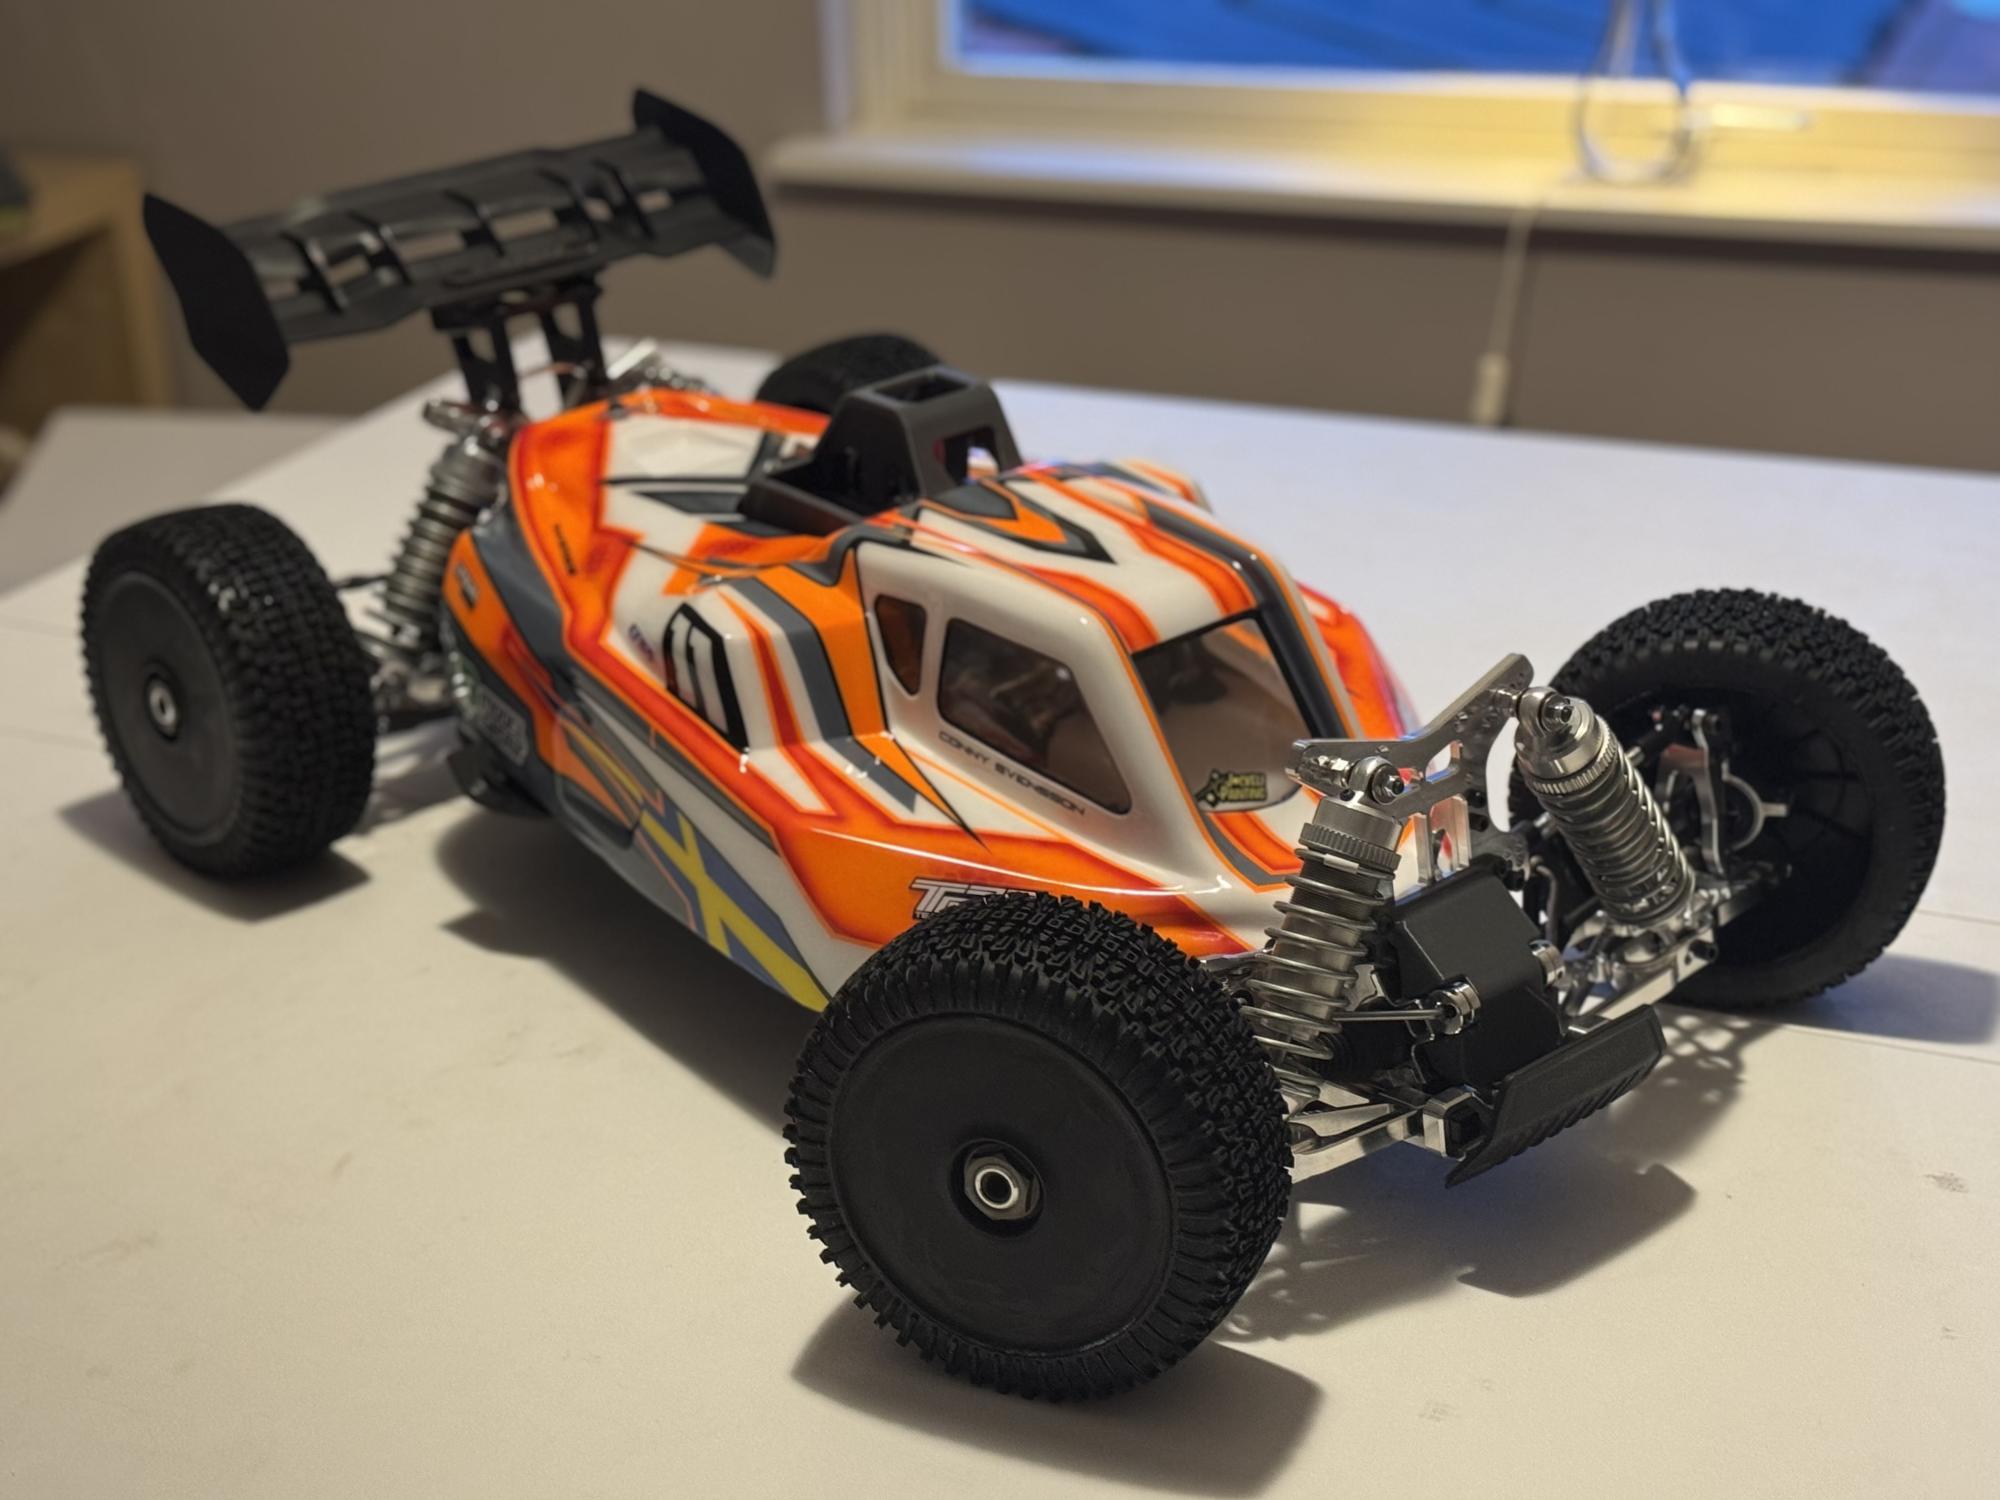
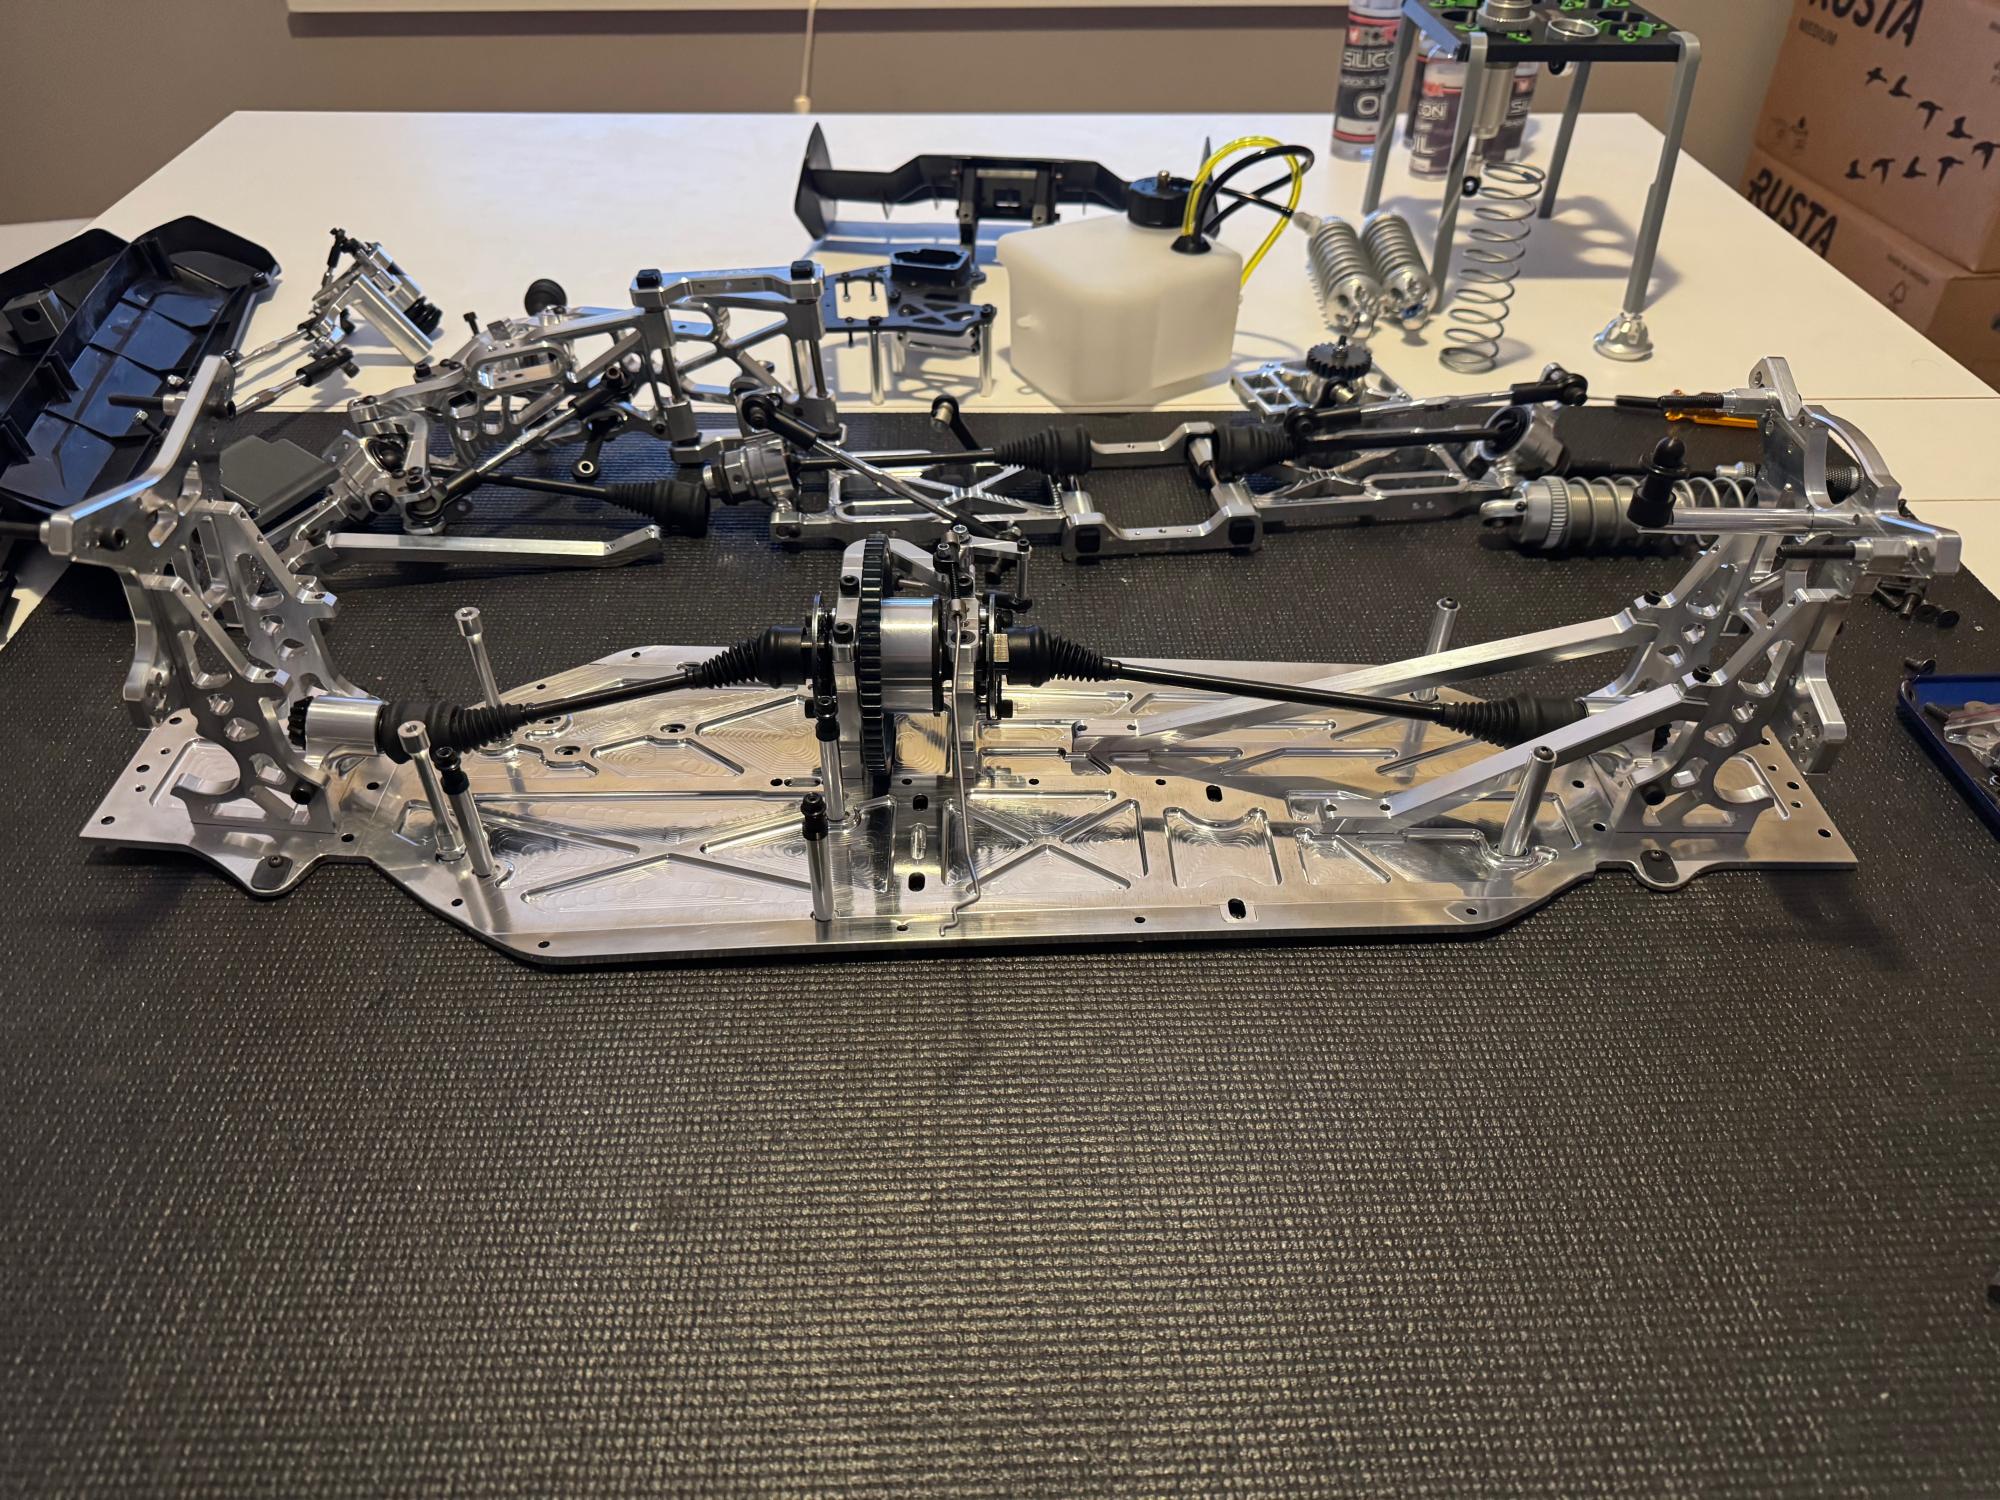
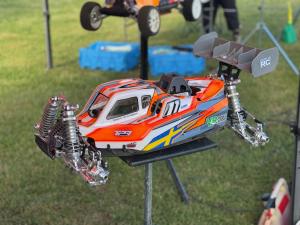
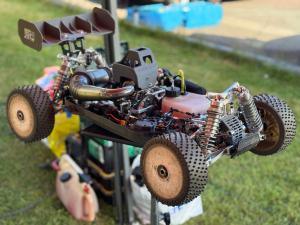
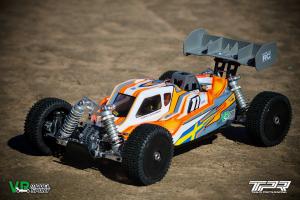
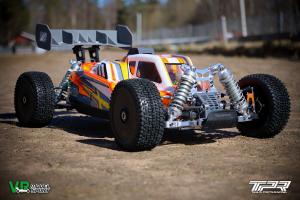
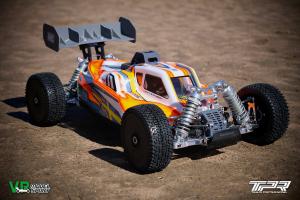
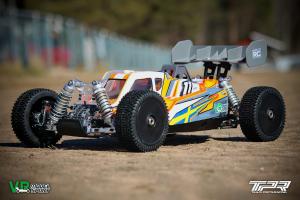
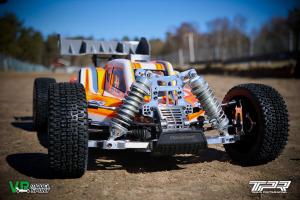
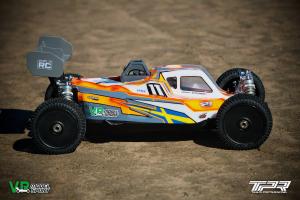
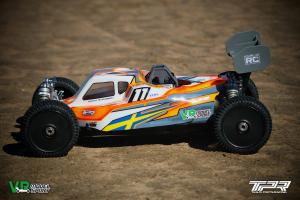
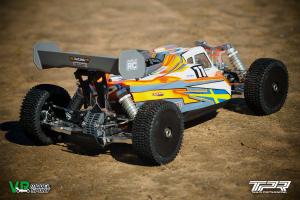
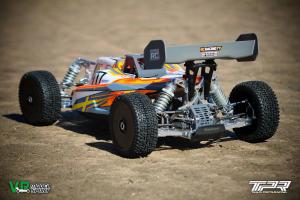
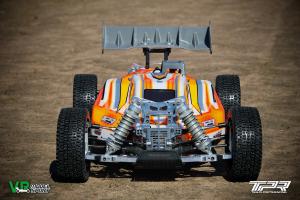
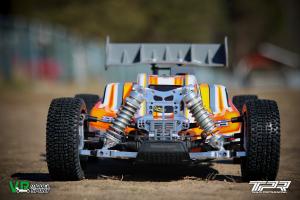
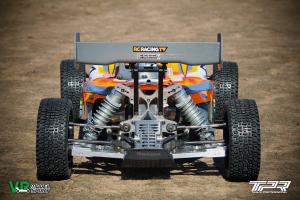
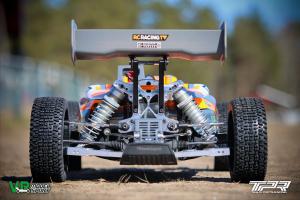
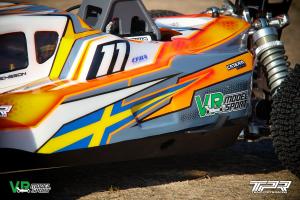
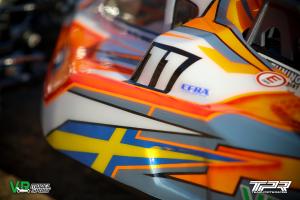
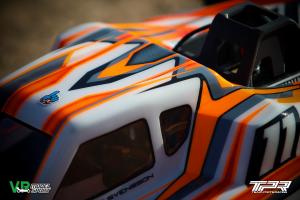
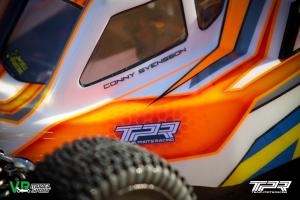
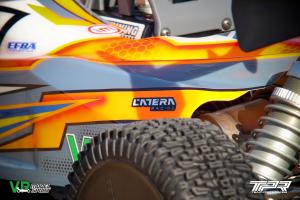
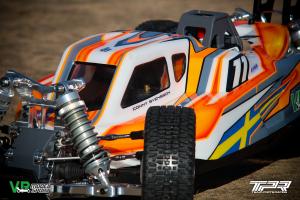
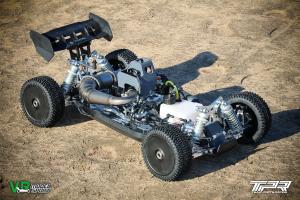
VRmodelsport Phoenix Photo shootThe build is now complete and it's time to see the car complete from all its angles, all details and put it in an environment that is its true home, the track. Enjoy all these high resolution detailed images of this beautiful car!
If you haven’t followed the build series or missed any part here is a link to all the separate posts. |
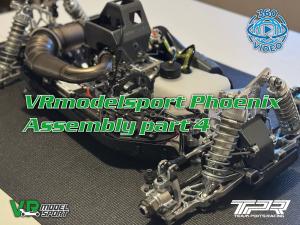
Phoenix final assembly with engine, exhaust, shocks and wing, part #4
As always, don't forget to check out the full image library and the 360 interactive videos to the right on a computer or at the bottom on a phone.
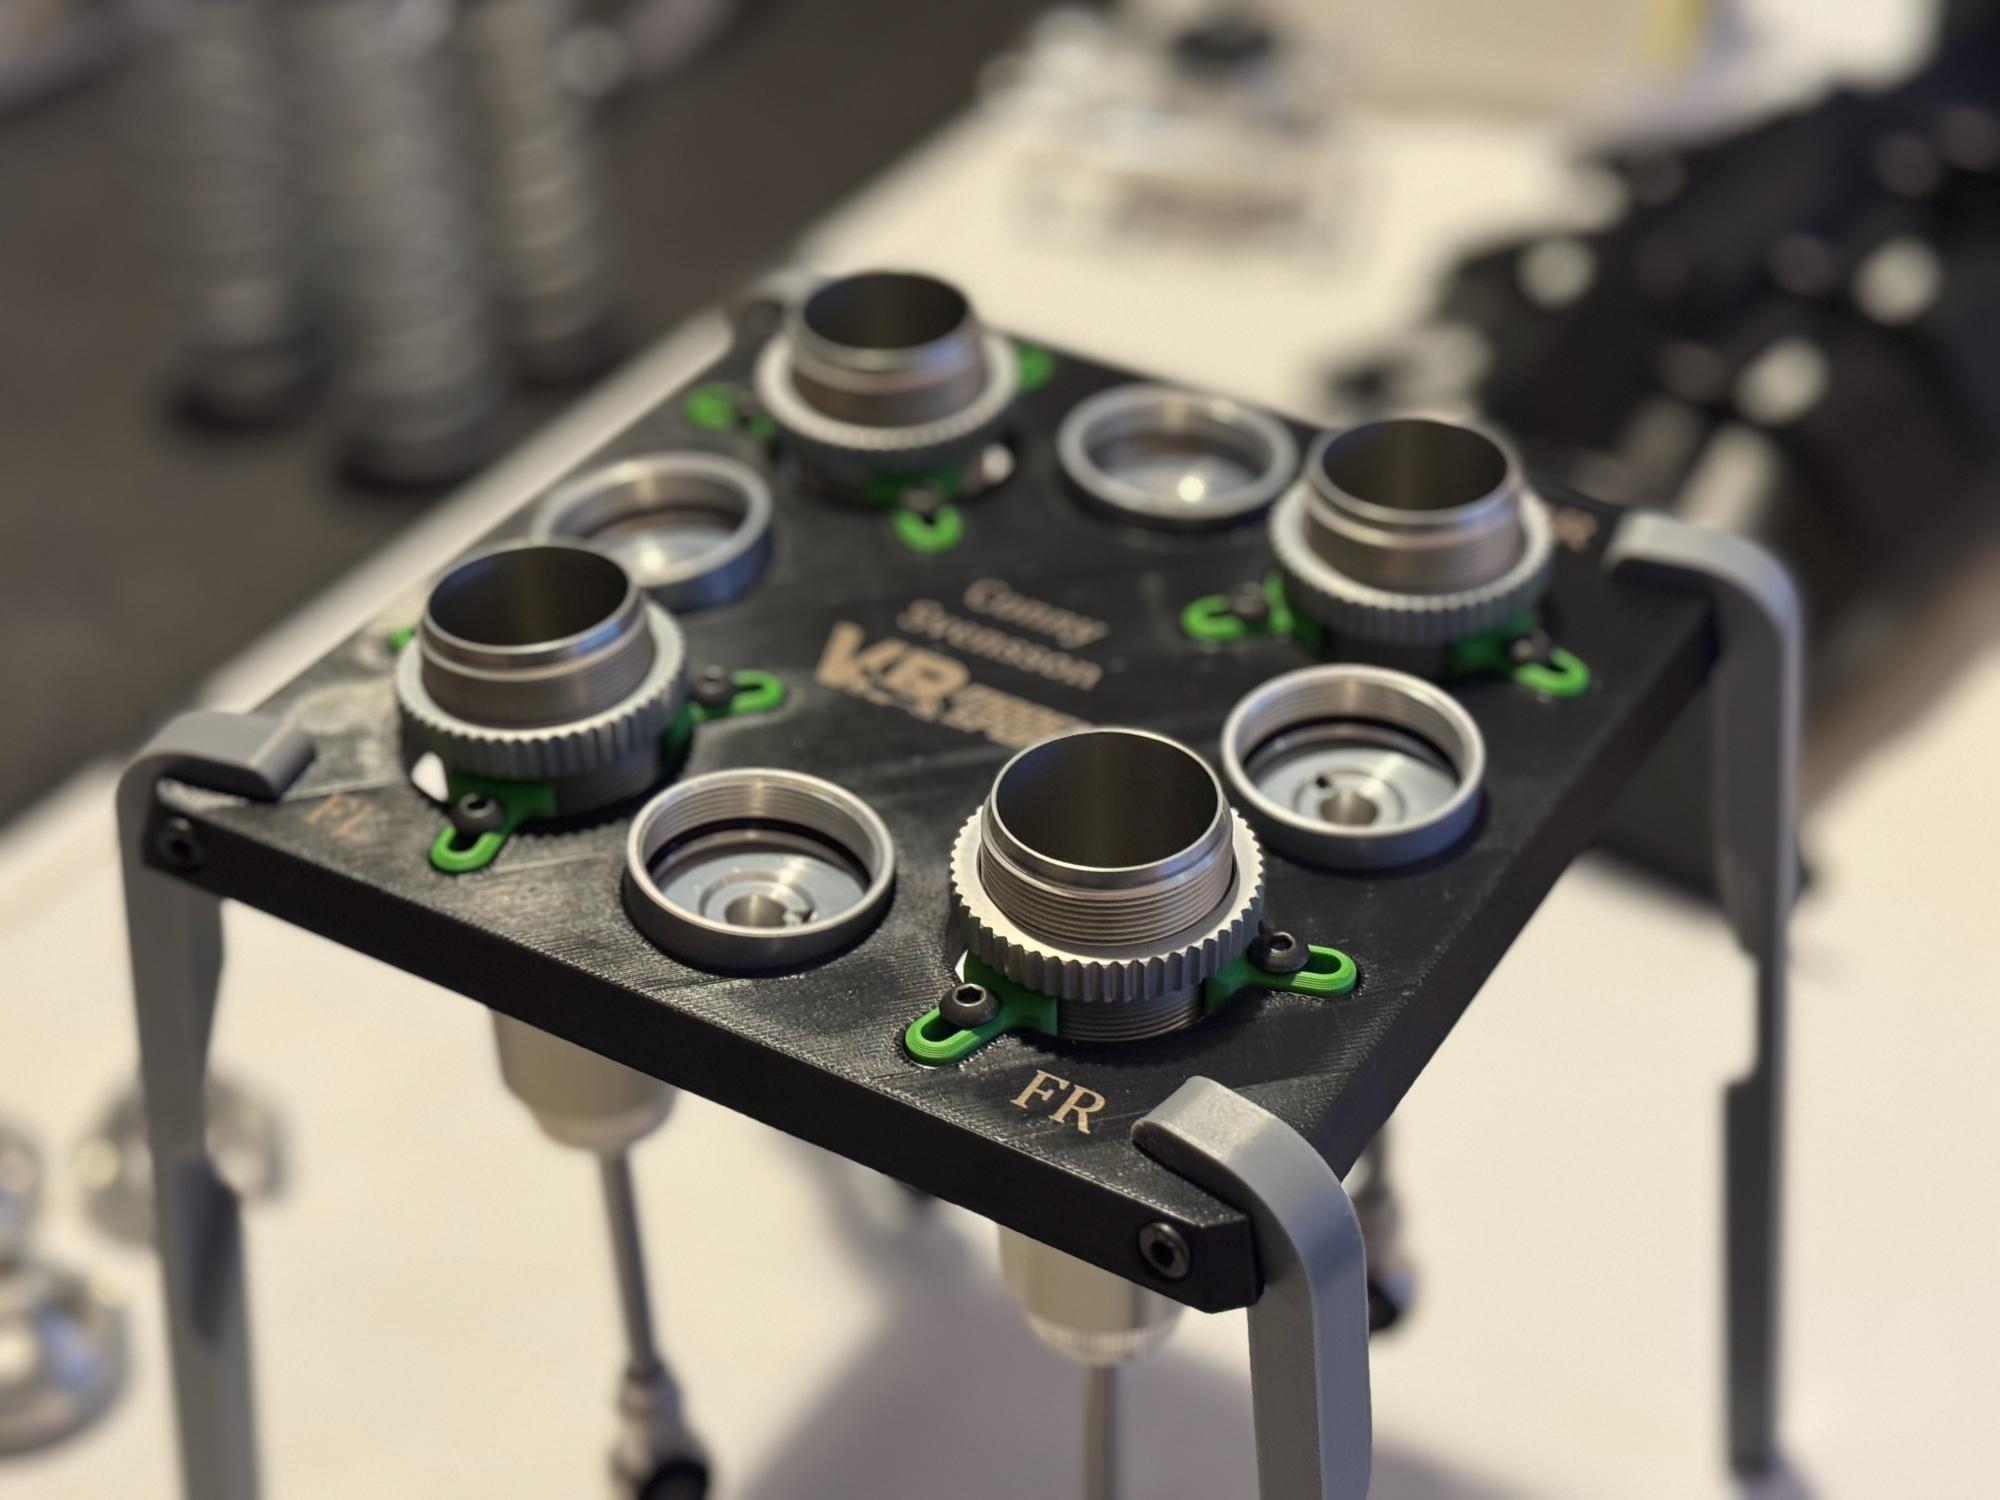
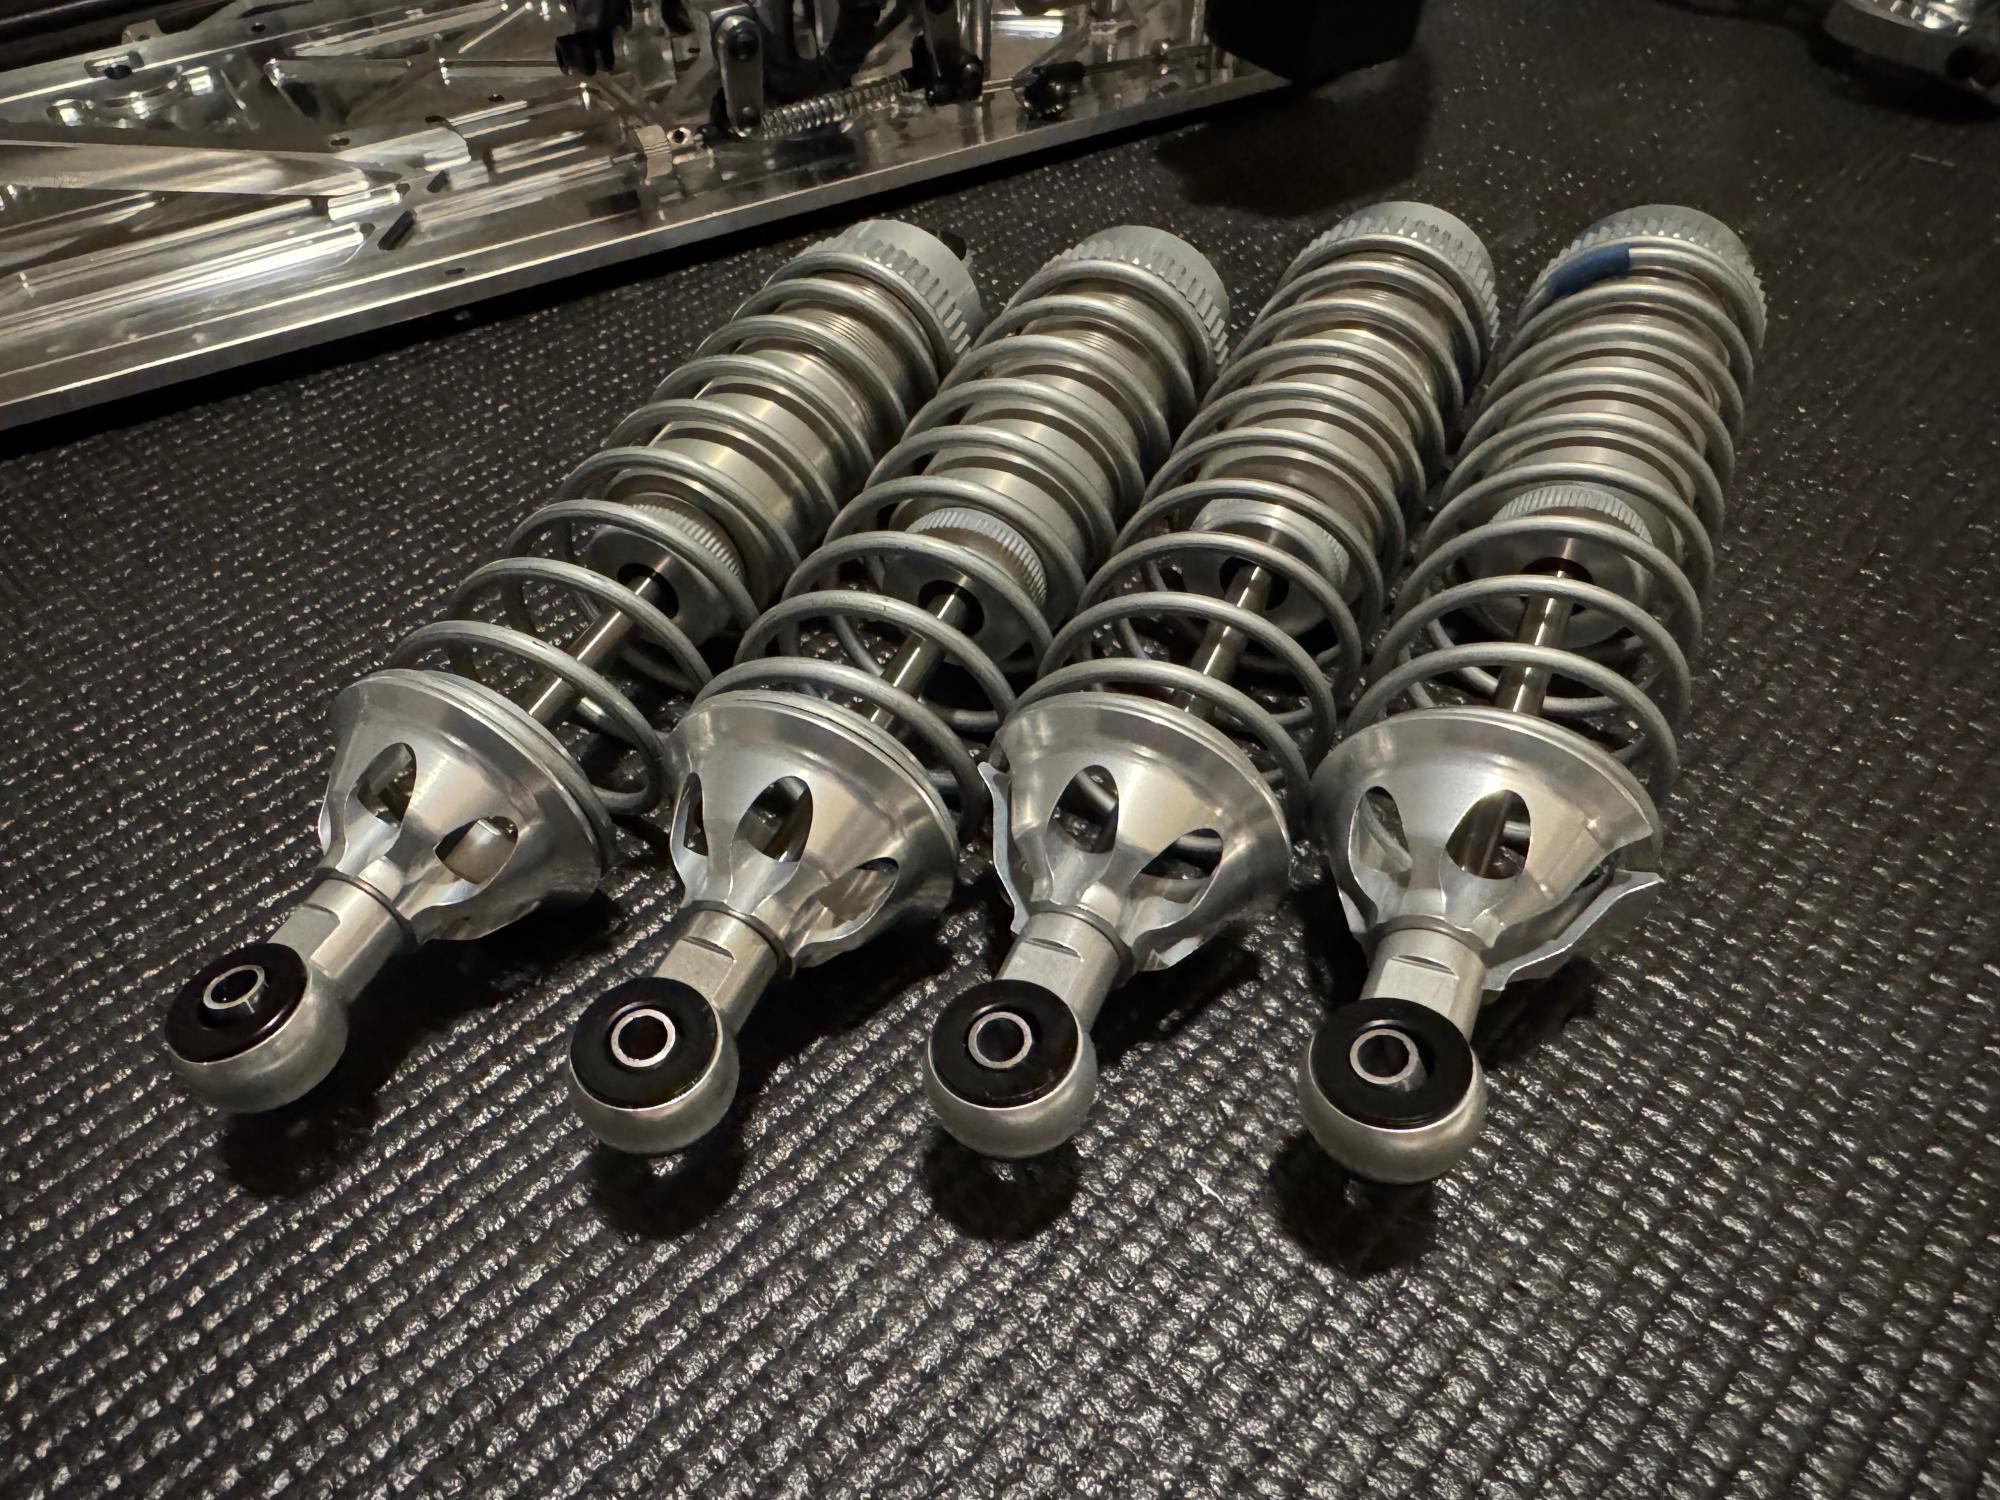
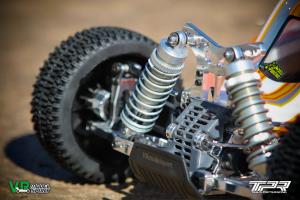
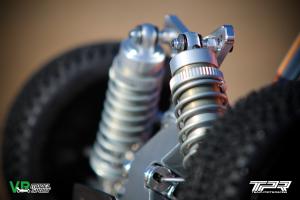
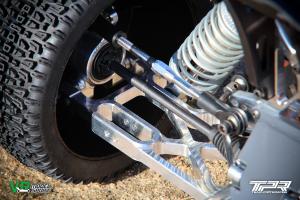
To continue where we left of last time to finish the suspension we start by assembling the shocks. To fill the shocks the VRmodelsport stand for shocks and diffs is a perfect companion.
Used 500 in the front and 400 in the rear. Make sure to pump the shocks and bleed them out so you have zero rebound in the shocks.
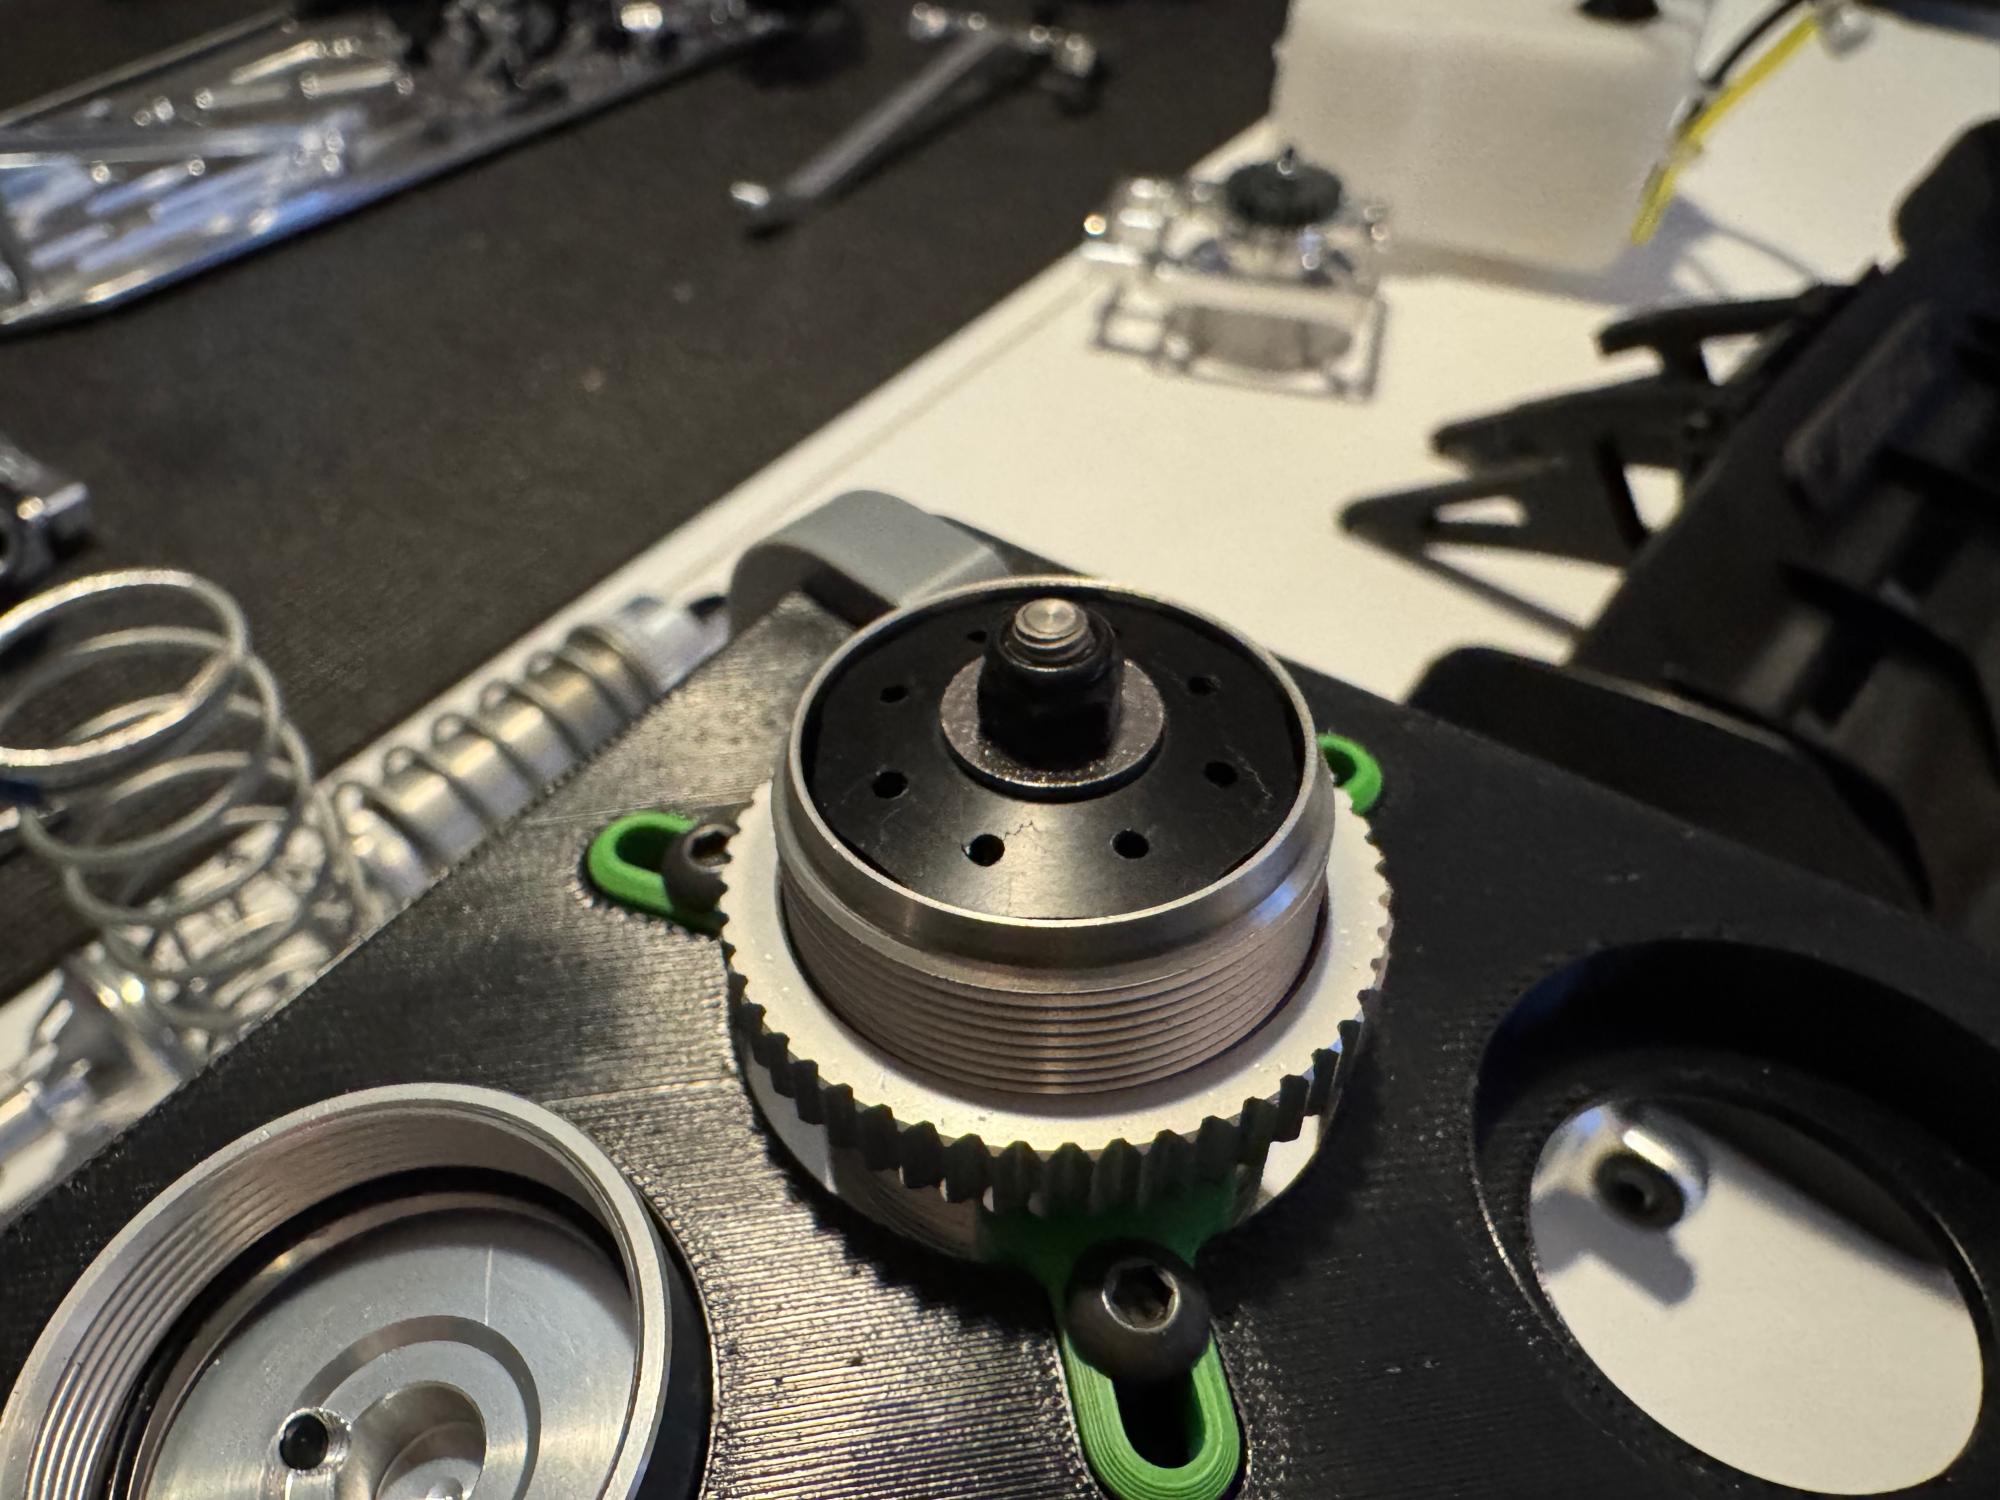
The pistons are octagonal in shape meaning oil will pass on the outside. There are no pre drilled holes but indentations so it's easy to drill holes yourself. The top is also a little bit conical probably helping with how oil is flowing when the shock is compressed.
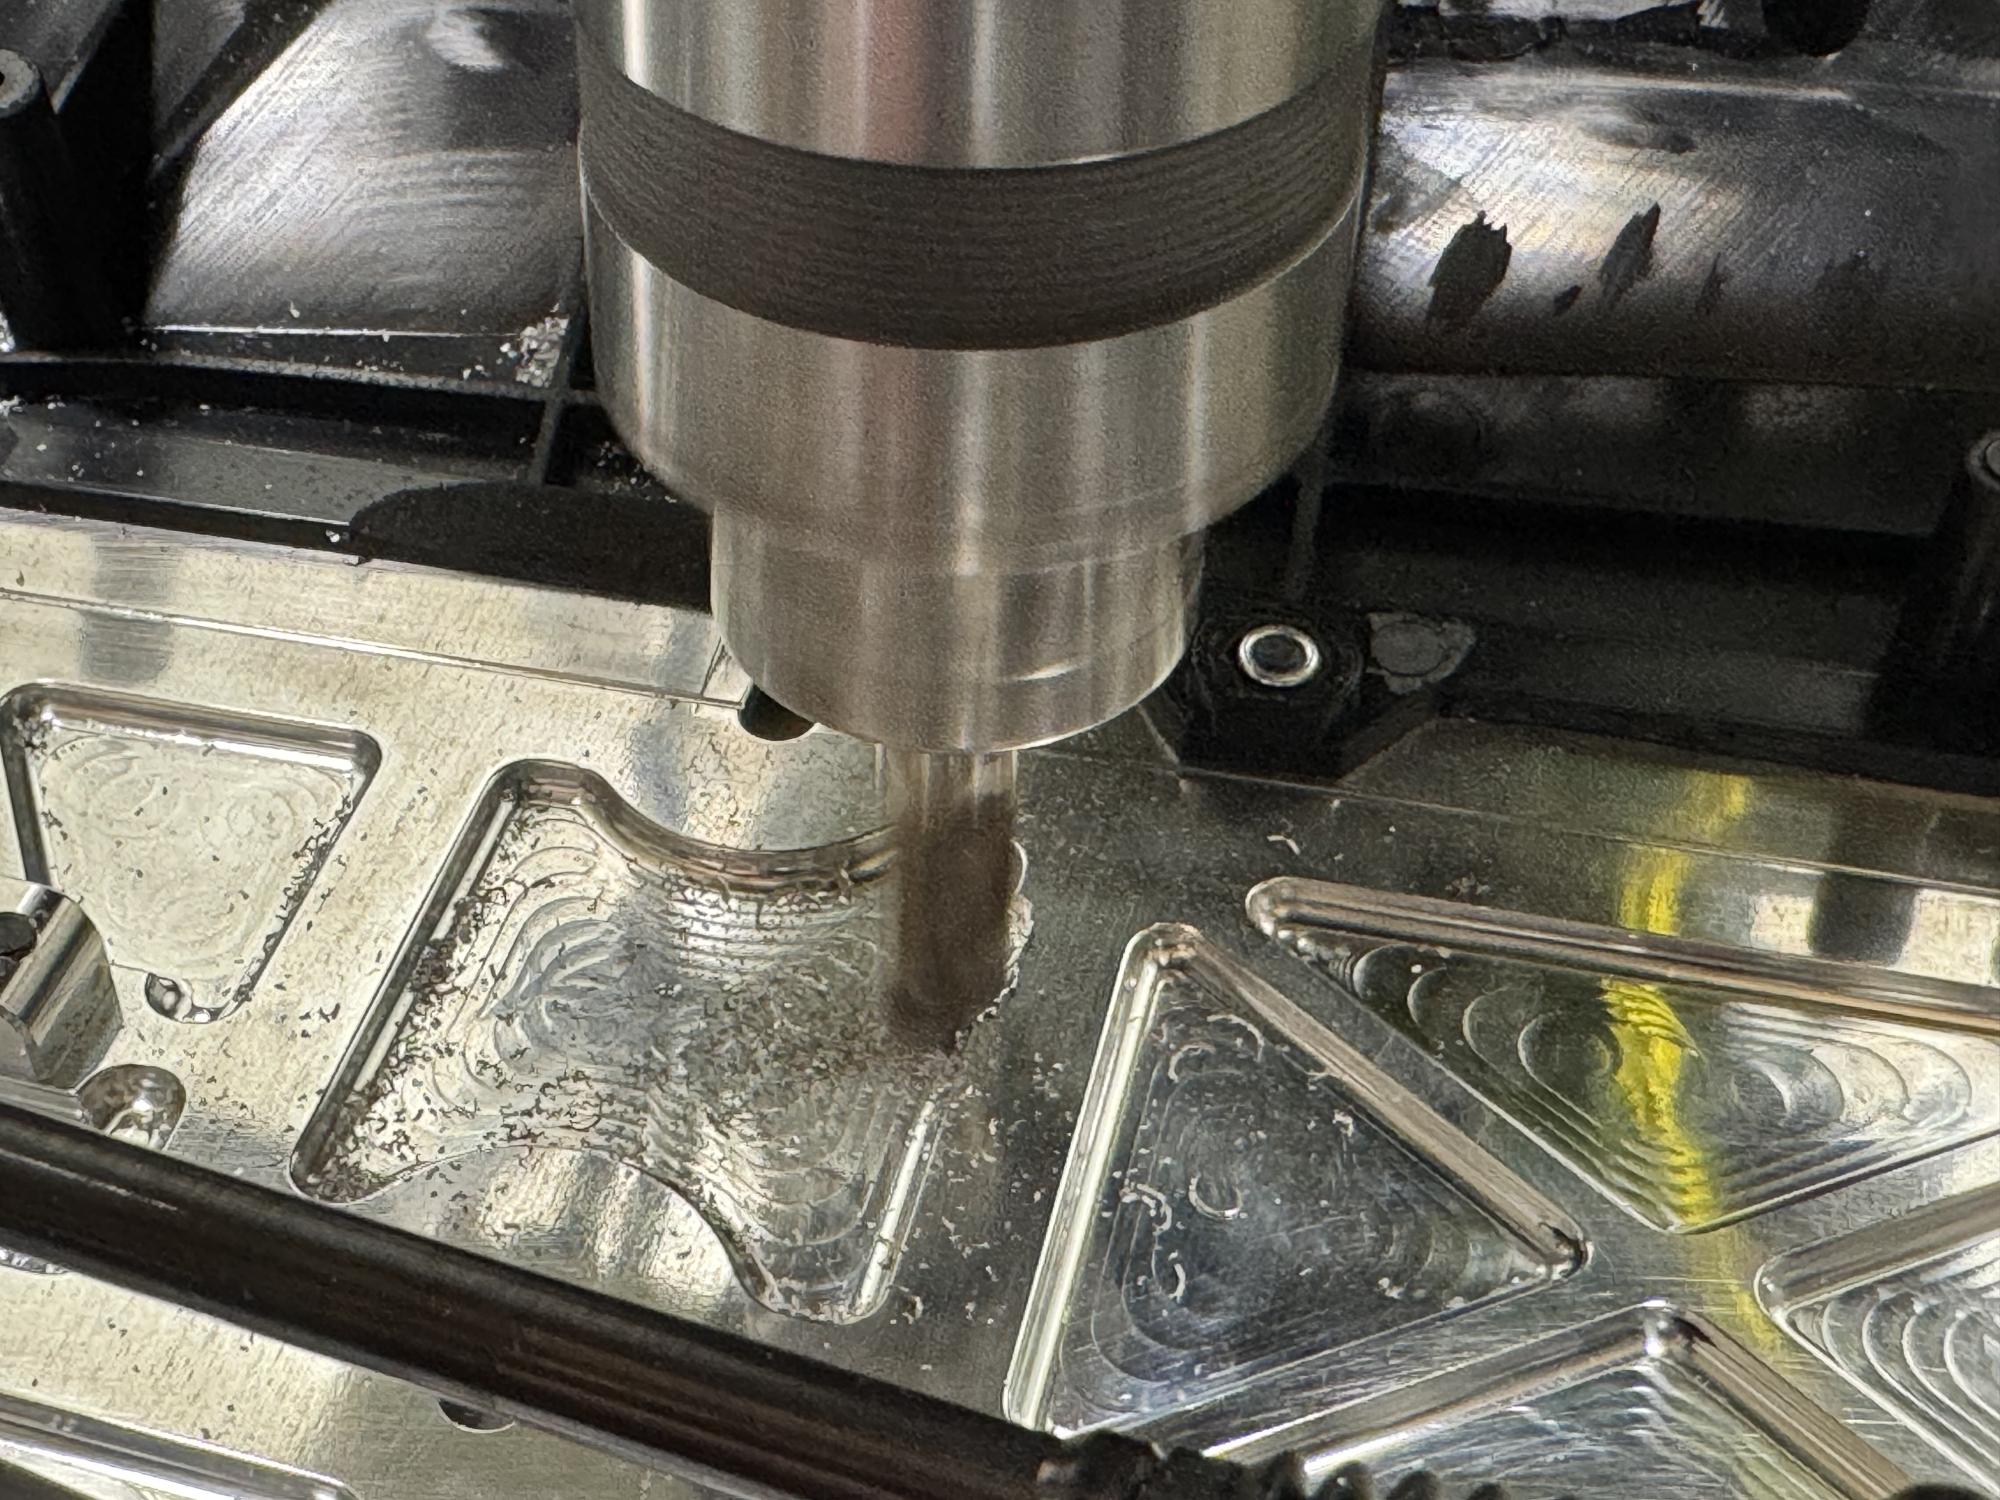
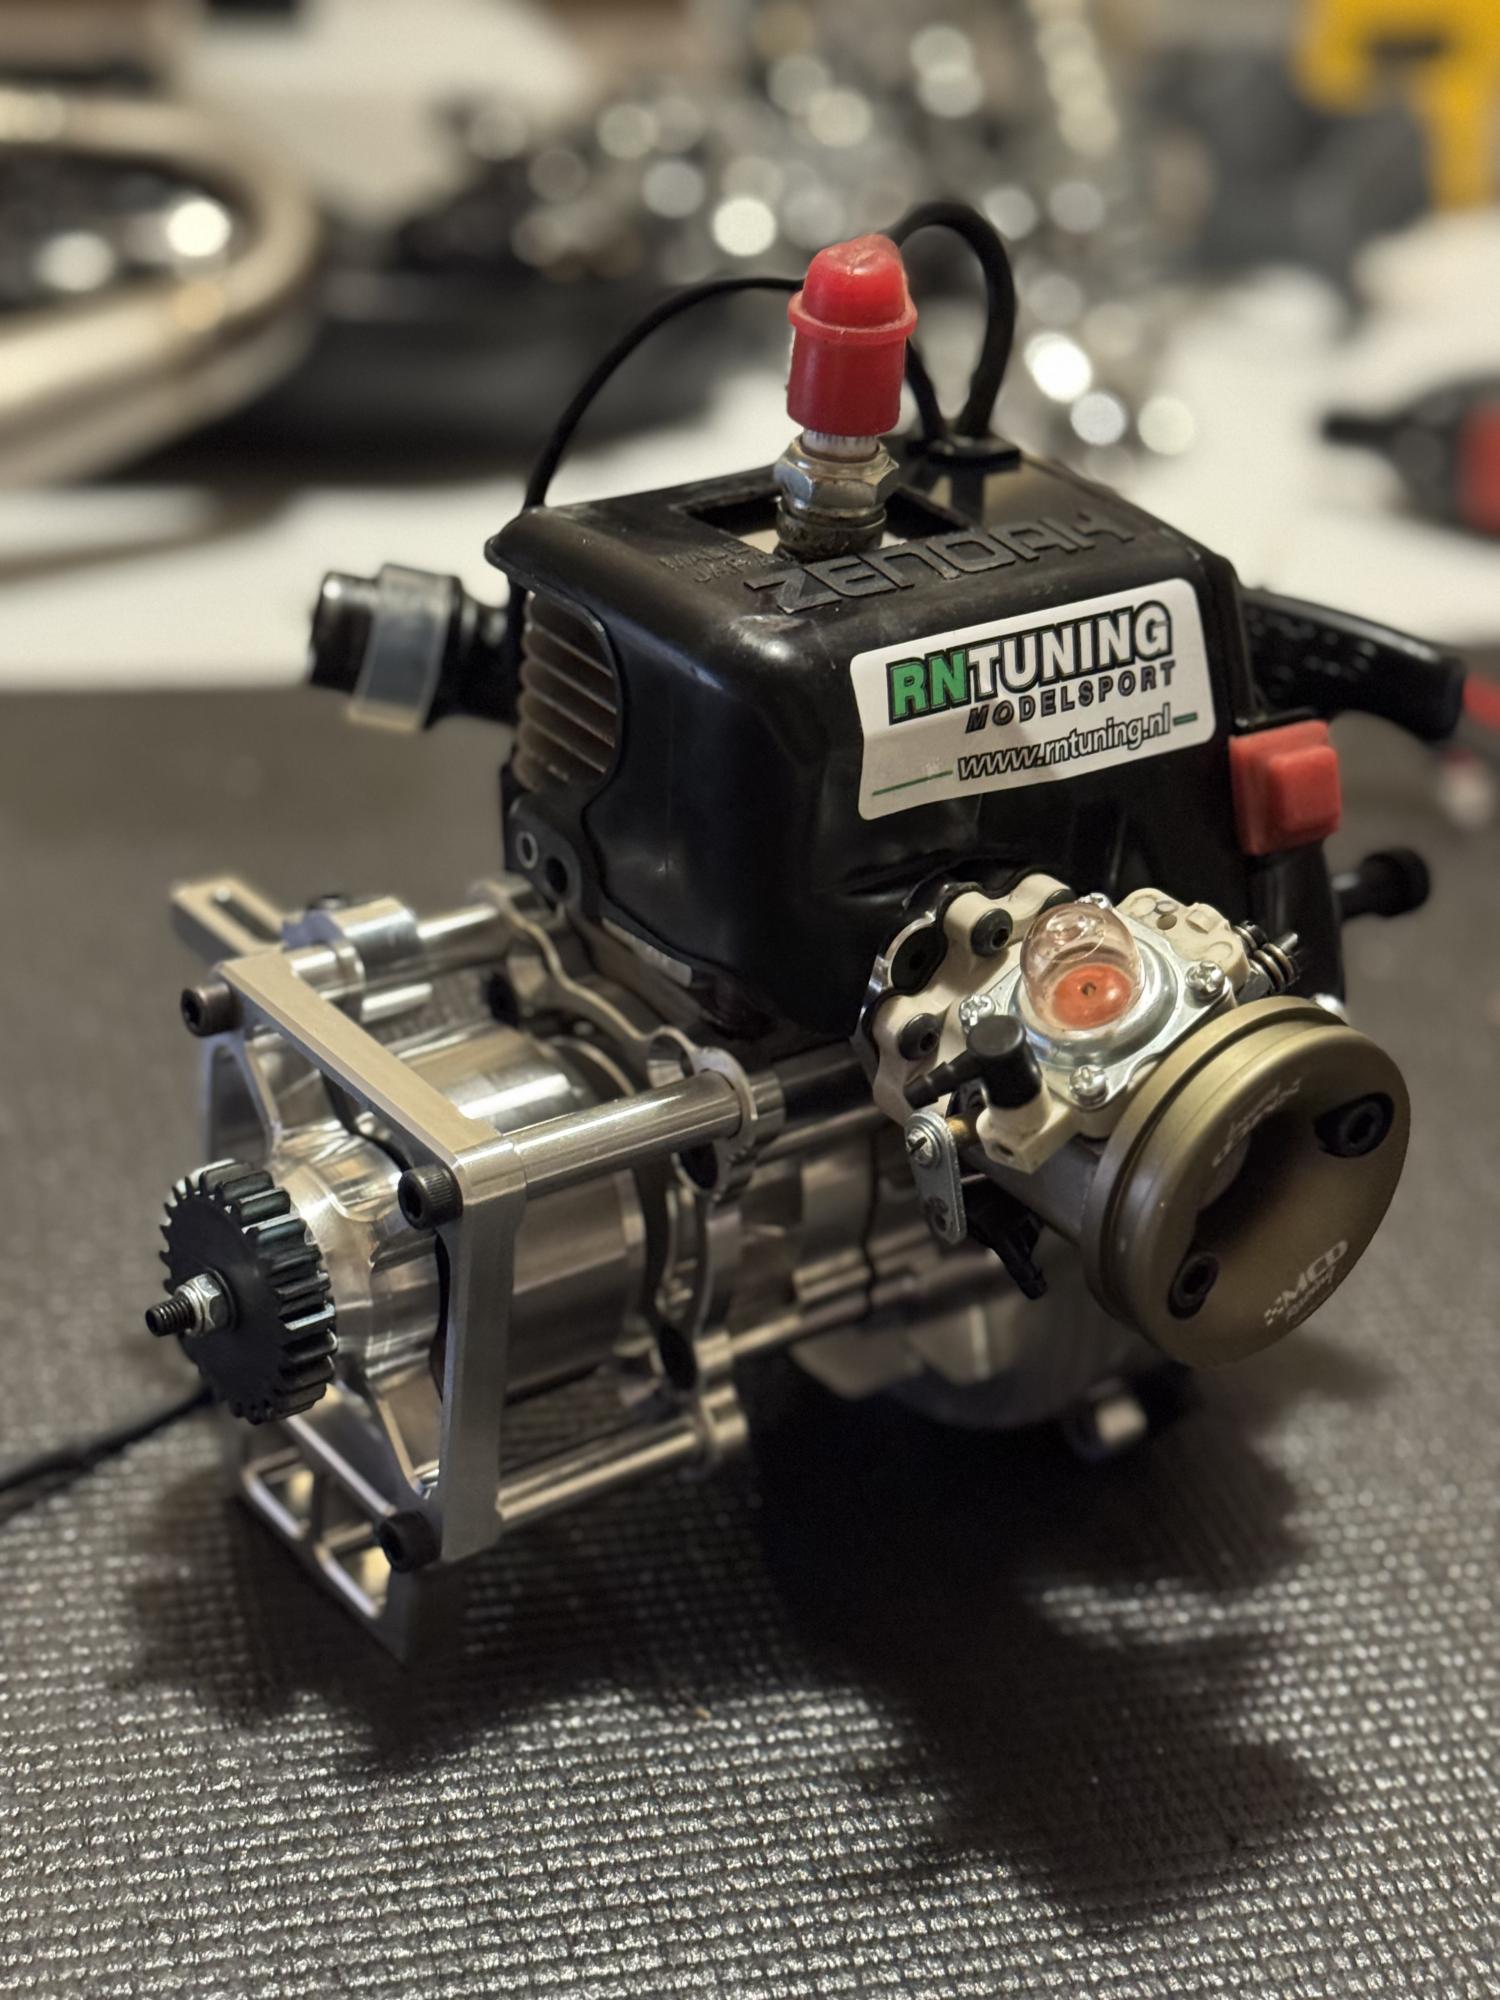
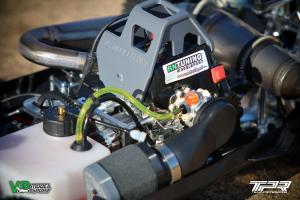
The shocks are really well made in all aluminum and high quality. I've always been impressed how the Phoenix handles bumps and really big jumps, this has to be one of the reasons why. Really well tuned and balanced shocks. Next up was mounting the engine, but I noticed it didn't really sit well on the chassis. It turned out my custom RV Racing bell crank case has some different dimensions that didn't fit the opening in the chassis of the Phoenix so I had to mill away 3mm for it to fit perfect.
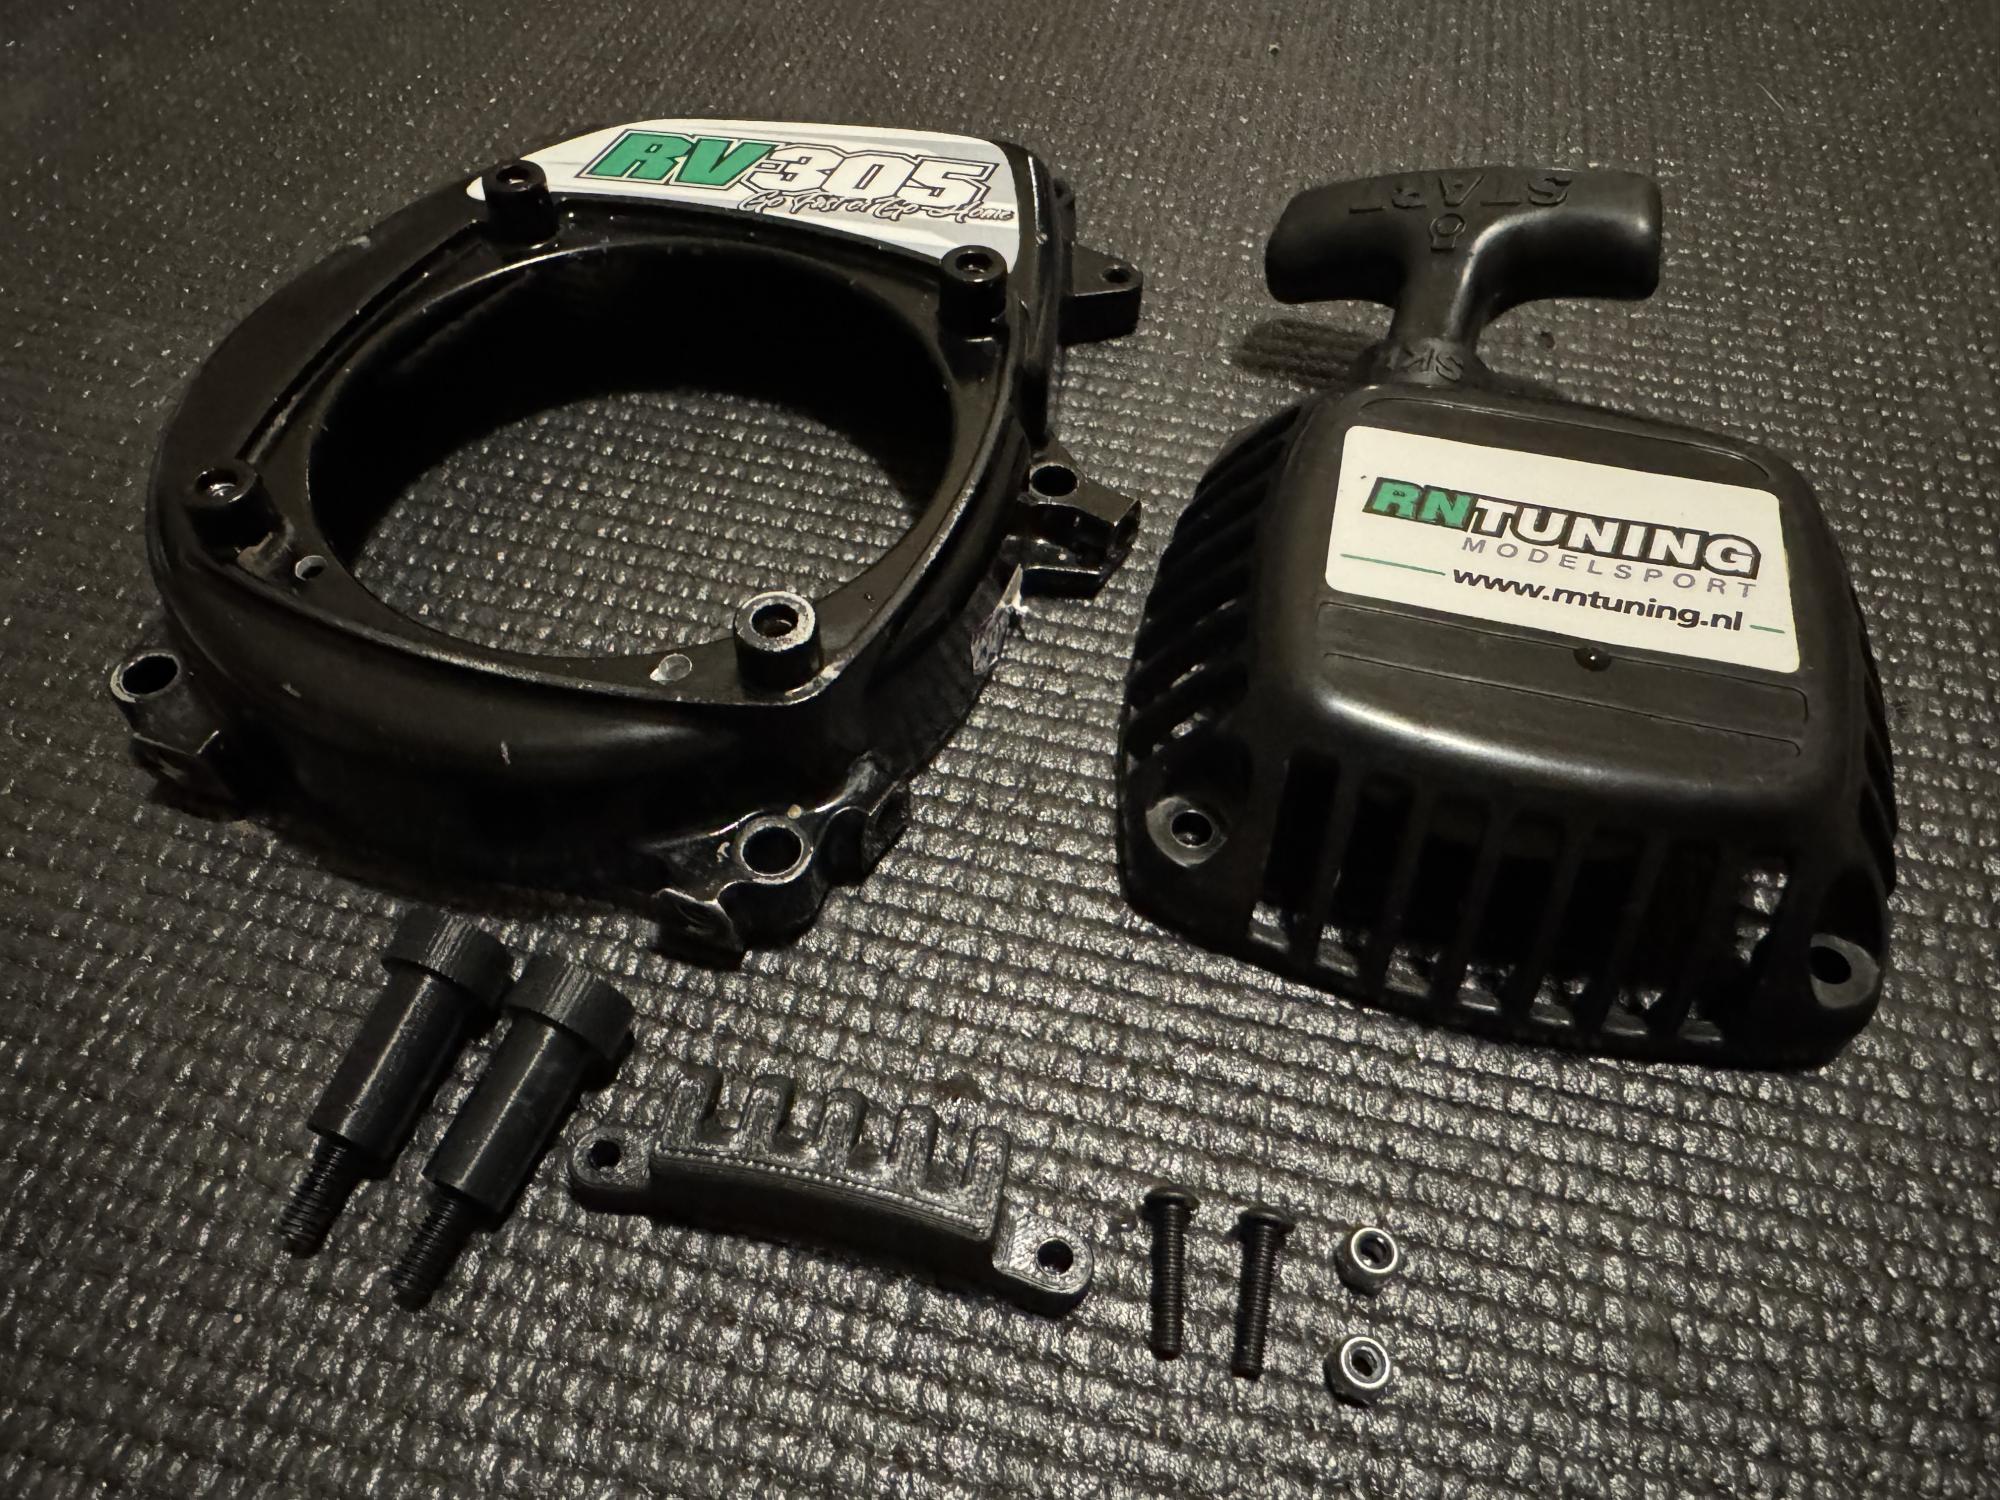
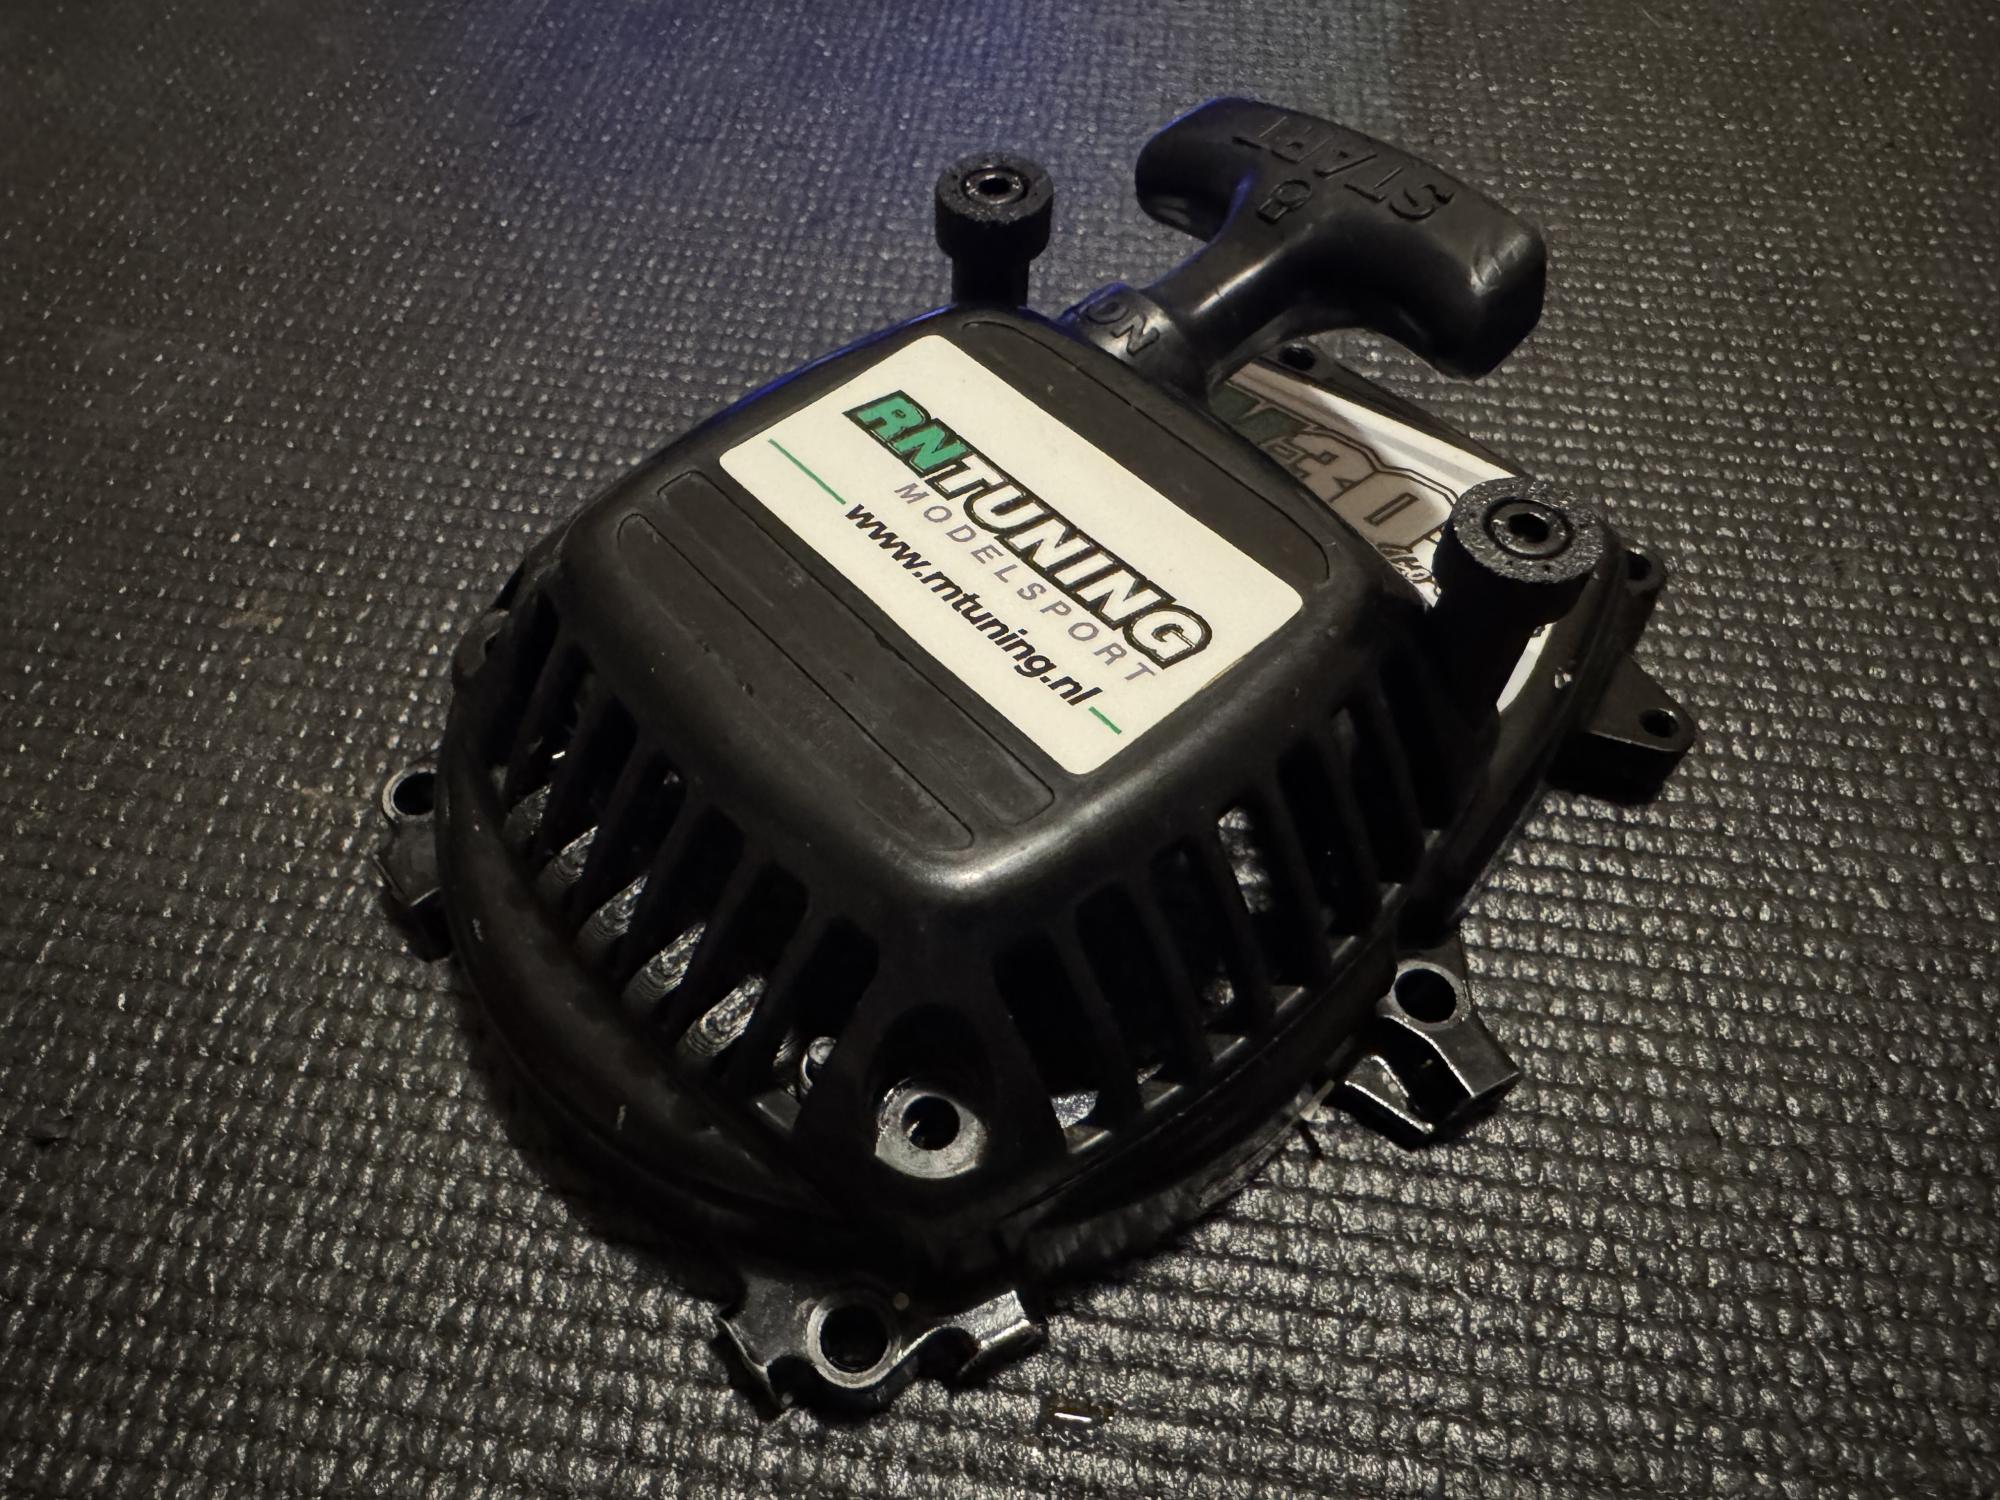
Before mounting the engine I also mounted a quick change system for the drag start. I think everybody has been in the situation where the drag starts fails just when starting up before a race and it can sometime be quite hard to unscrew the bottom screws for the drag start. A quick change system only need the top 2 screws and the can be twisted by hand making it really easy to change drag start.
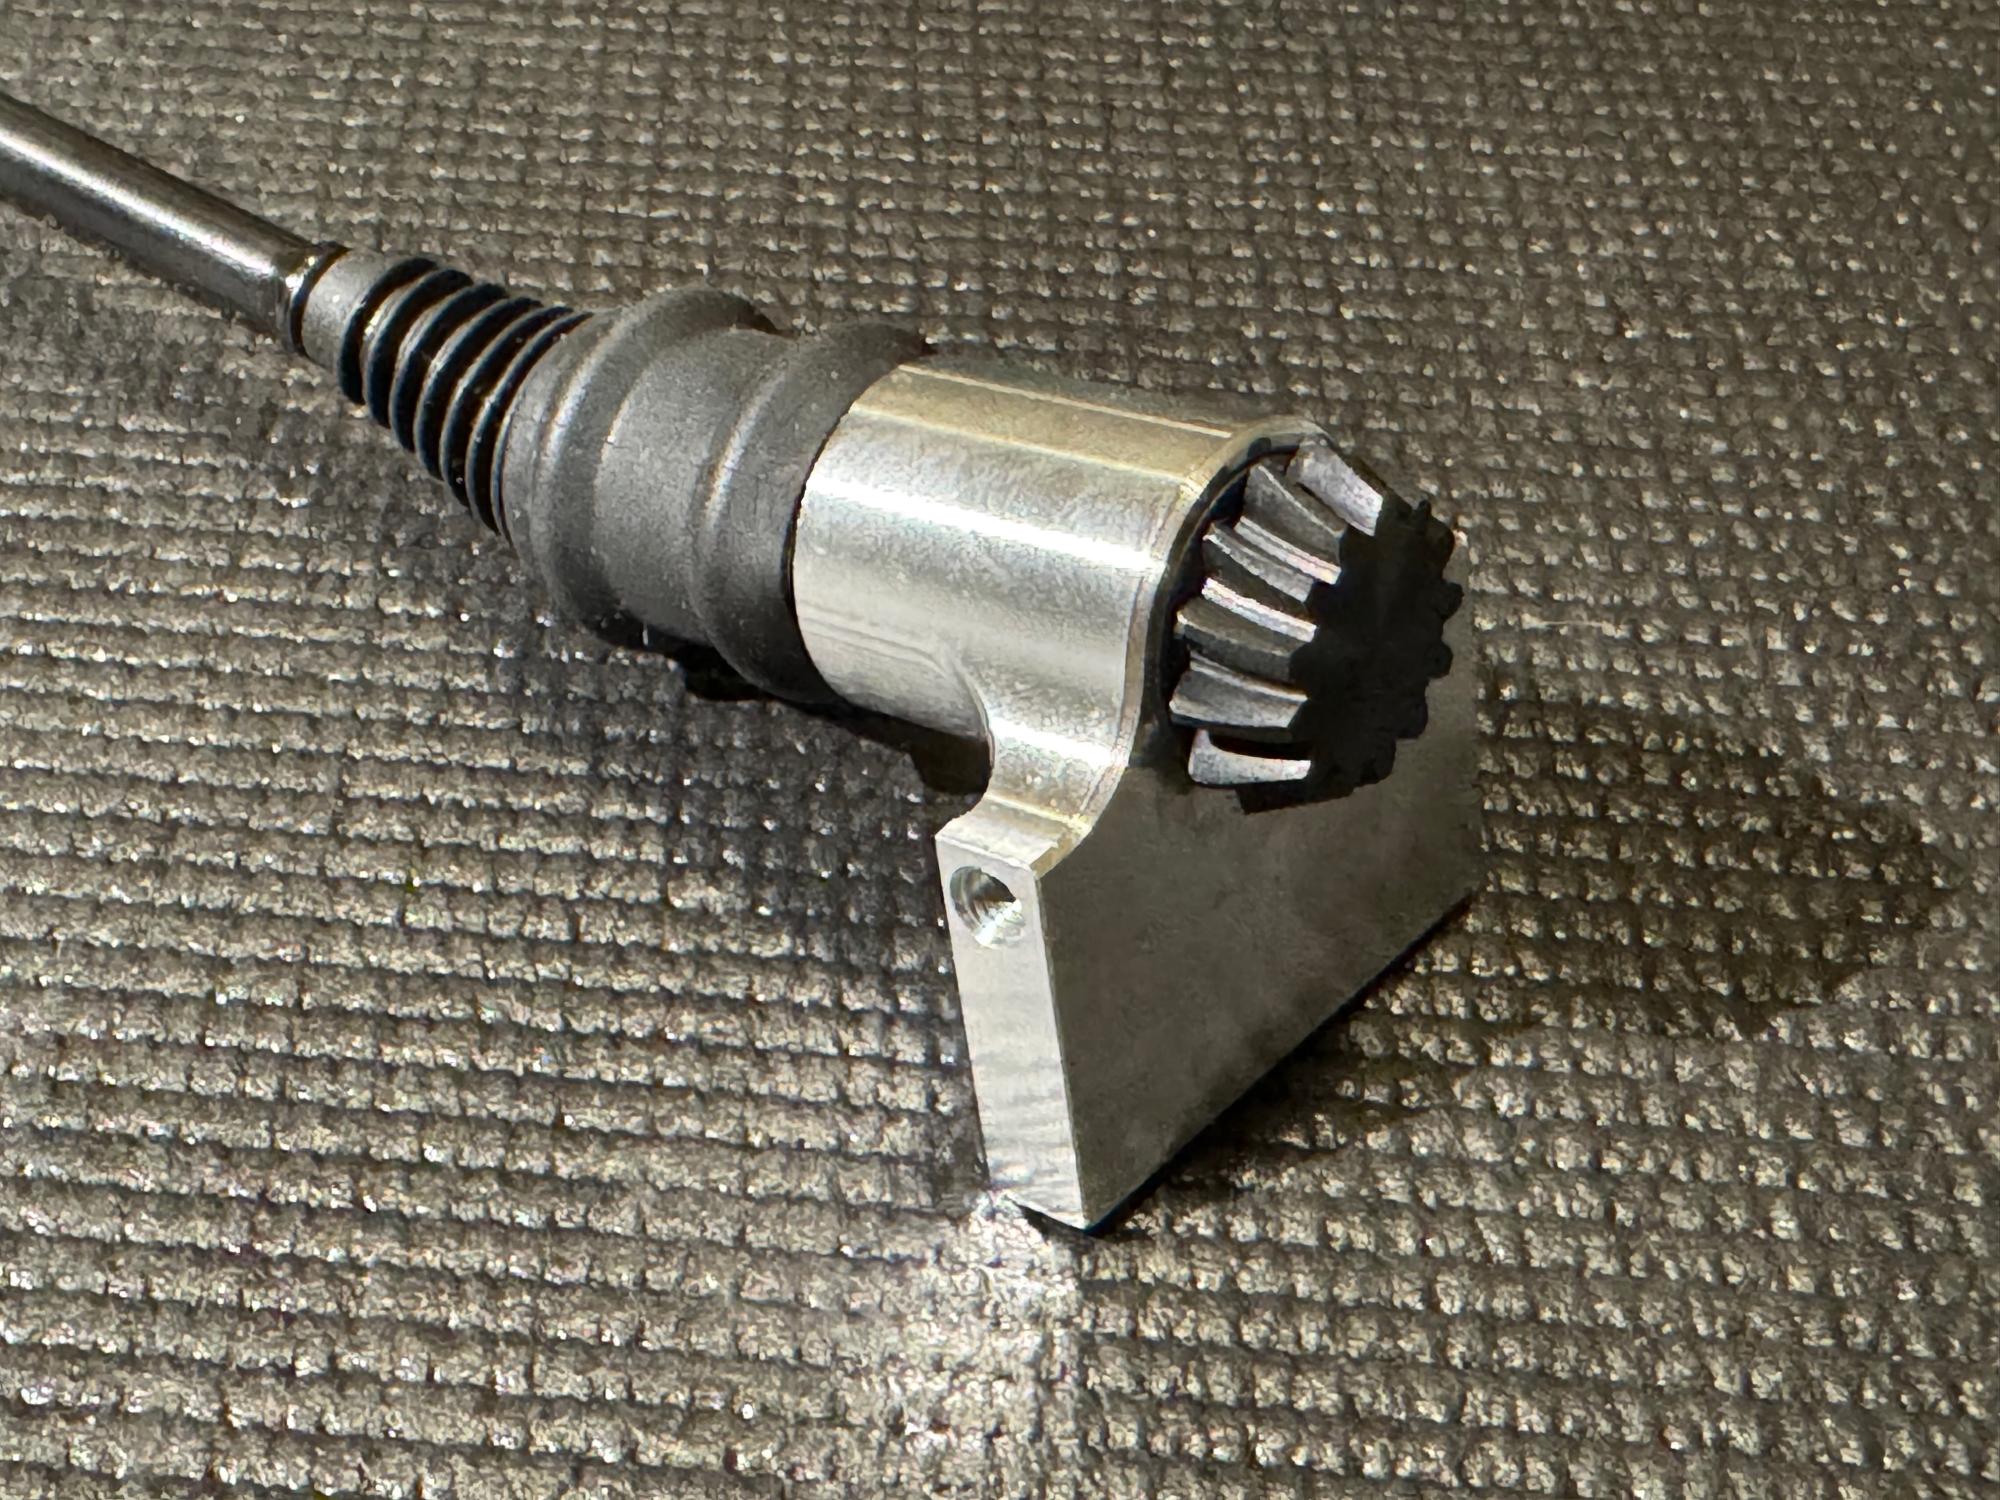
I mounted the clutch bell and clutch bell holder that also has the pinion on the engine.
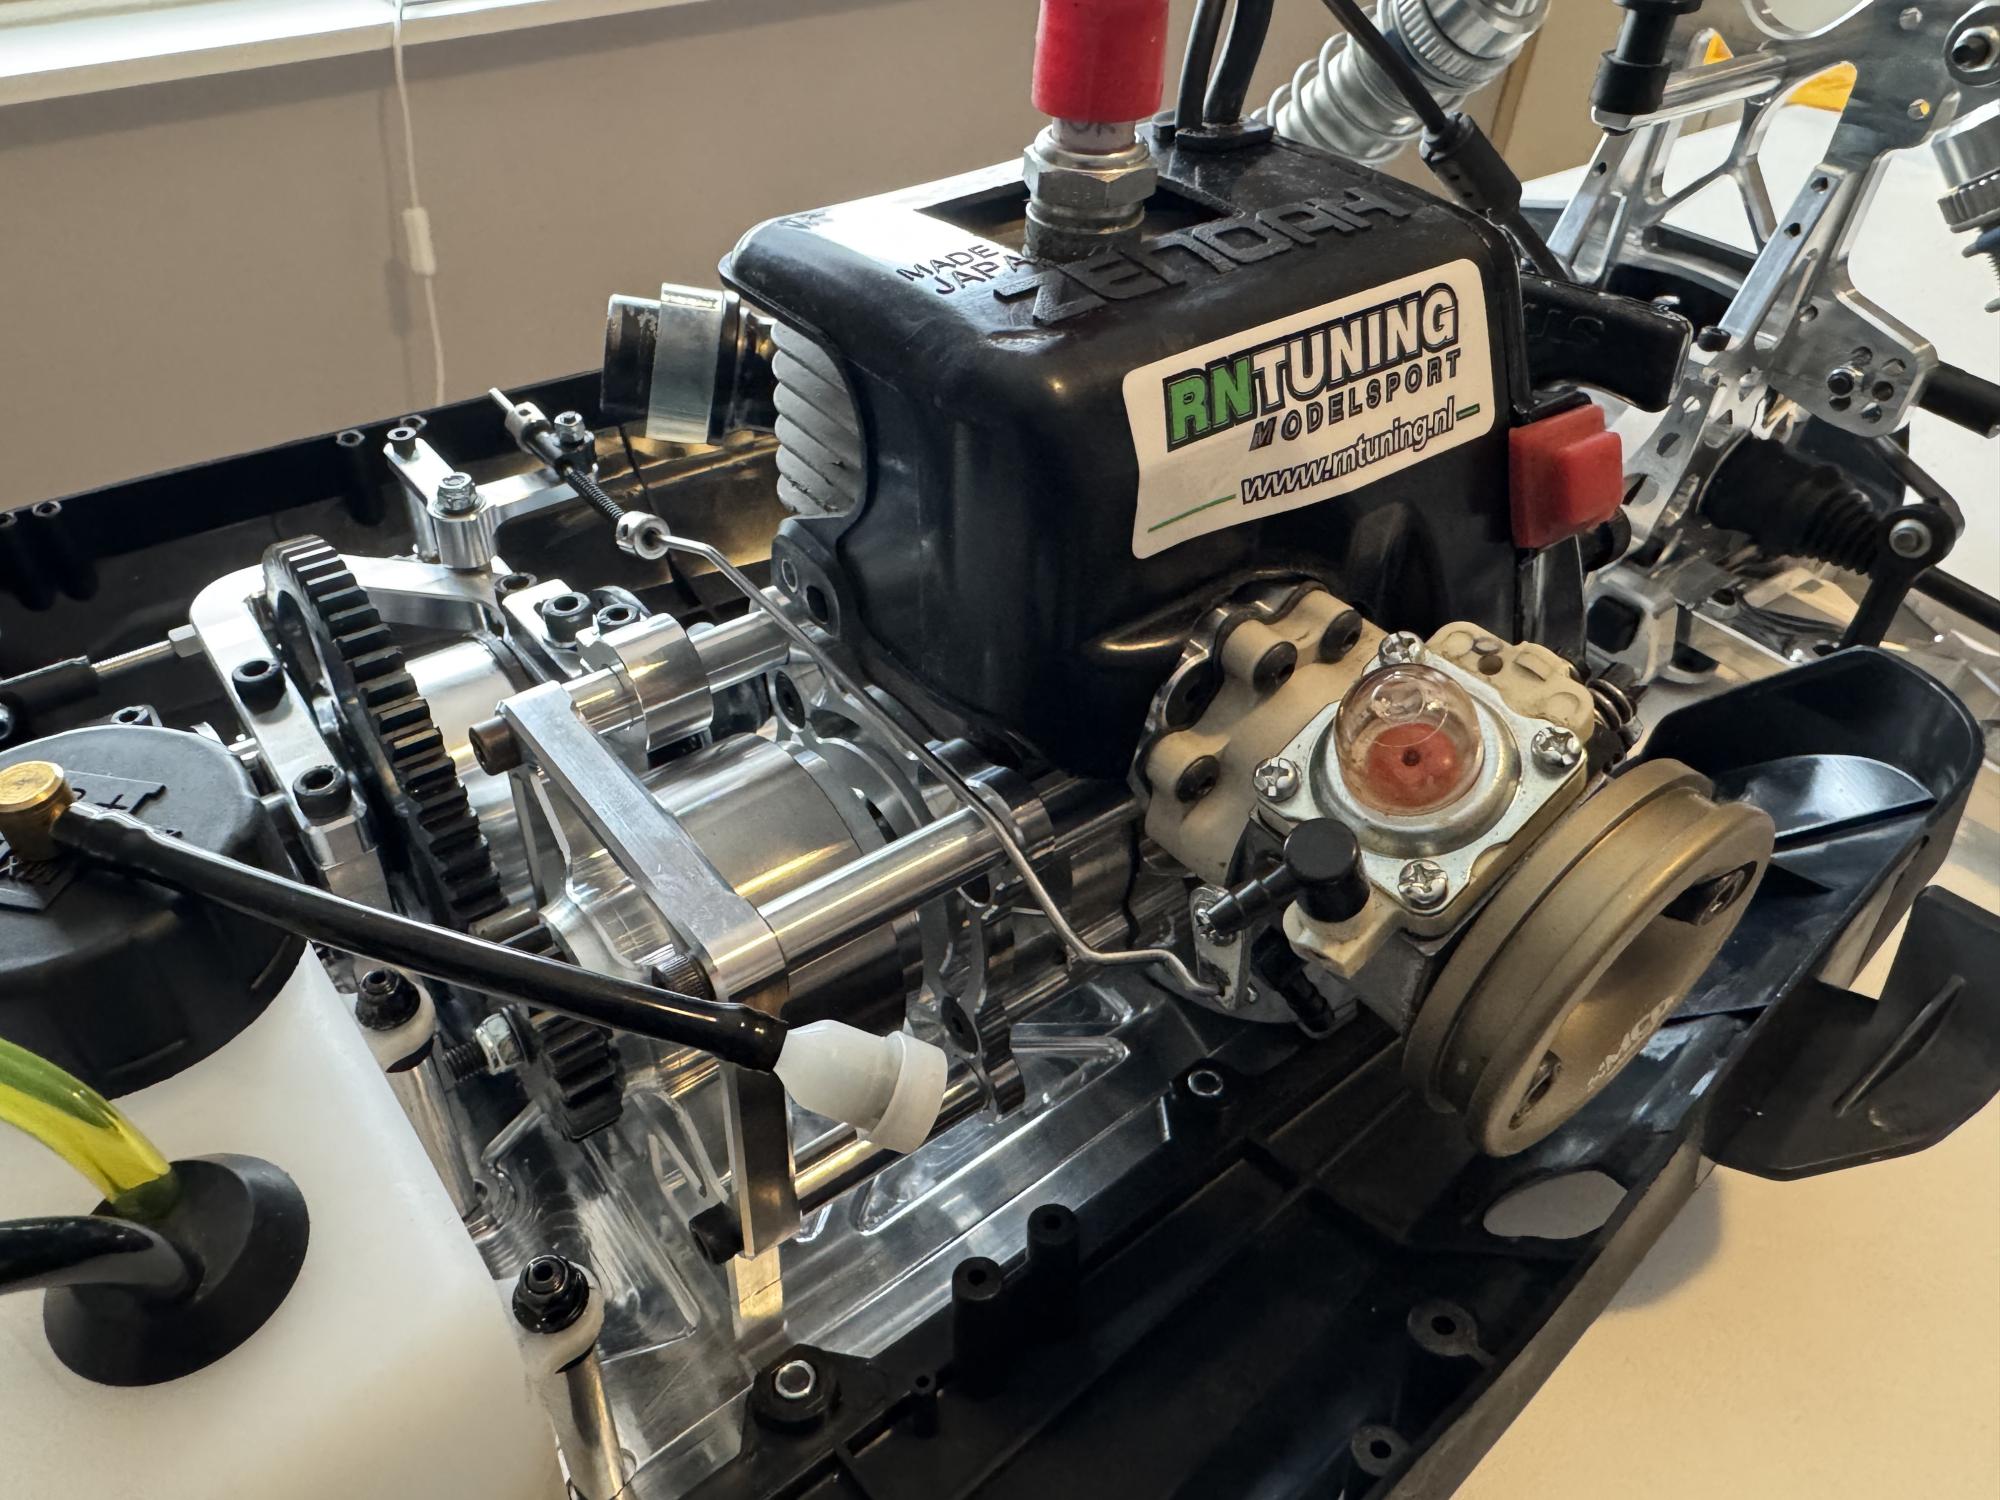
I chose to put on a 22 pinion, I also have 21 and 23 to be able to go in both directions. The engine was now ready to be fitted into the car and it's really easy to get it in the right place as the clutch bell mount has a slot at the bottom that fits into a a longitude hole in the chassis.
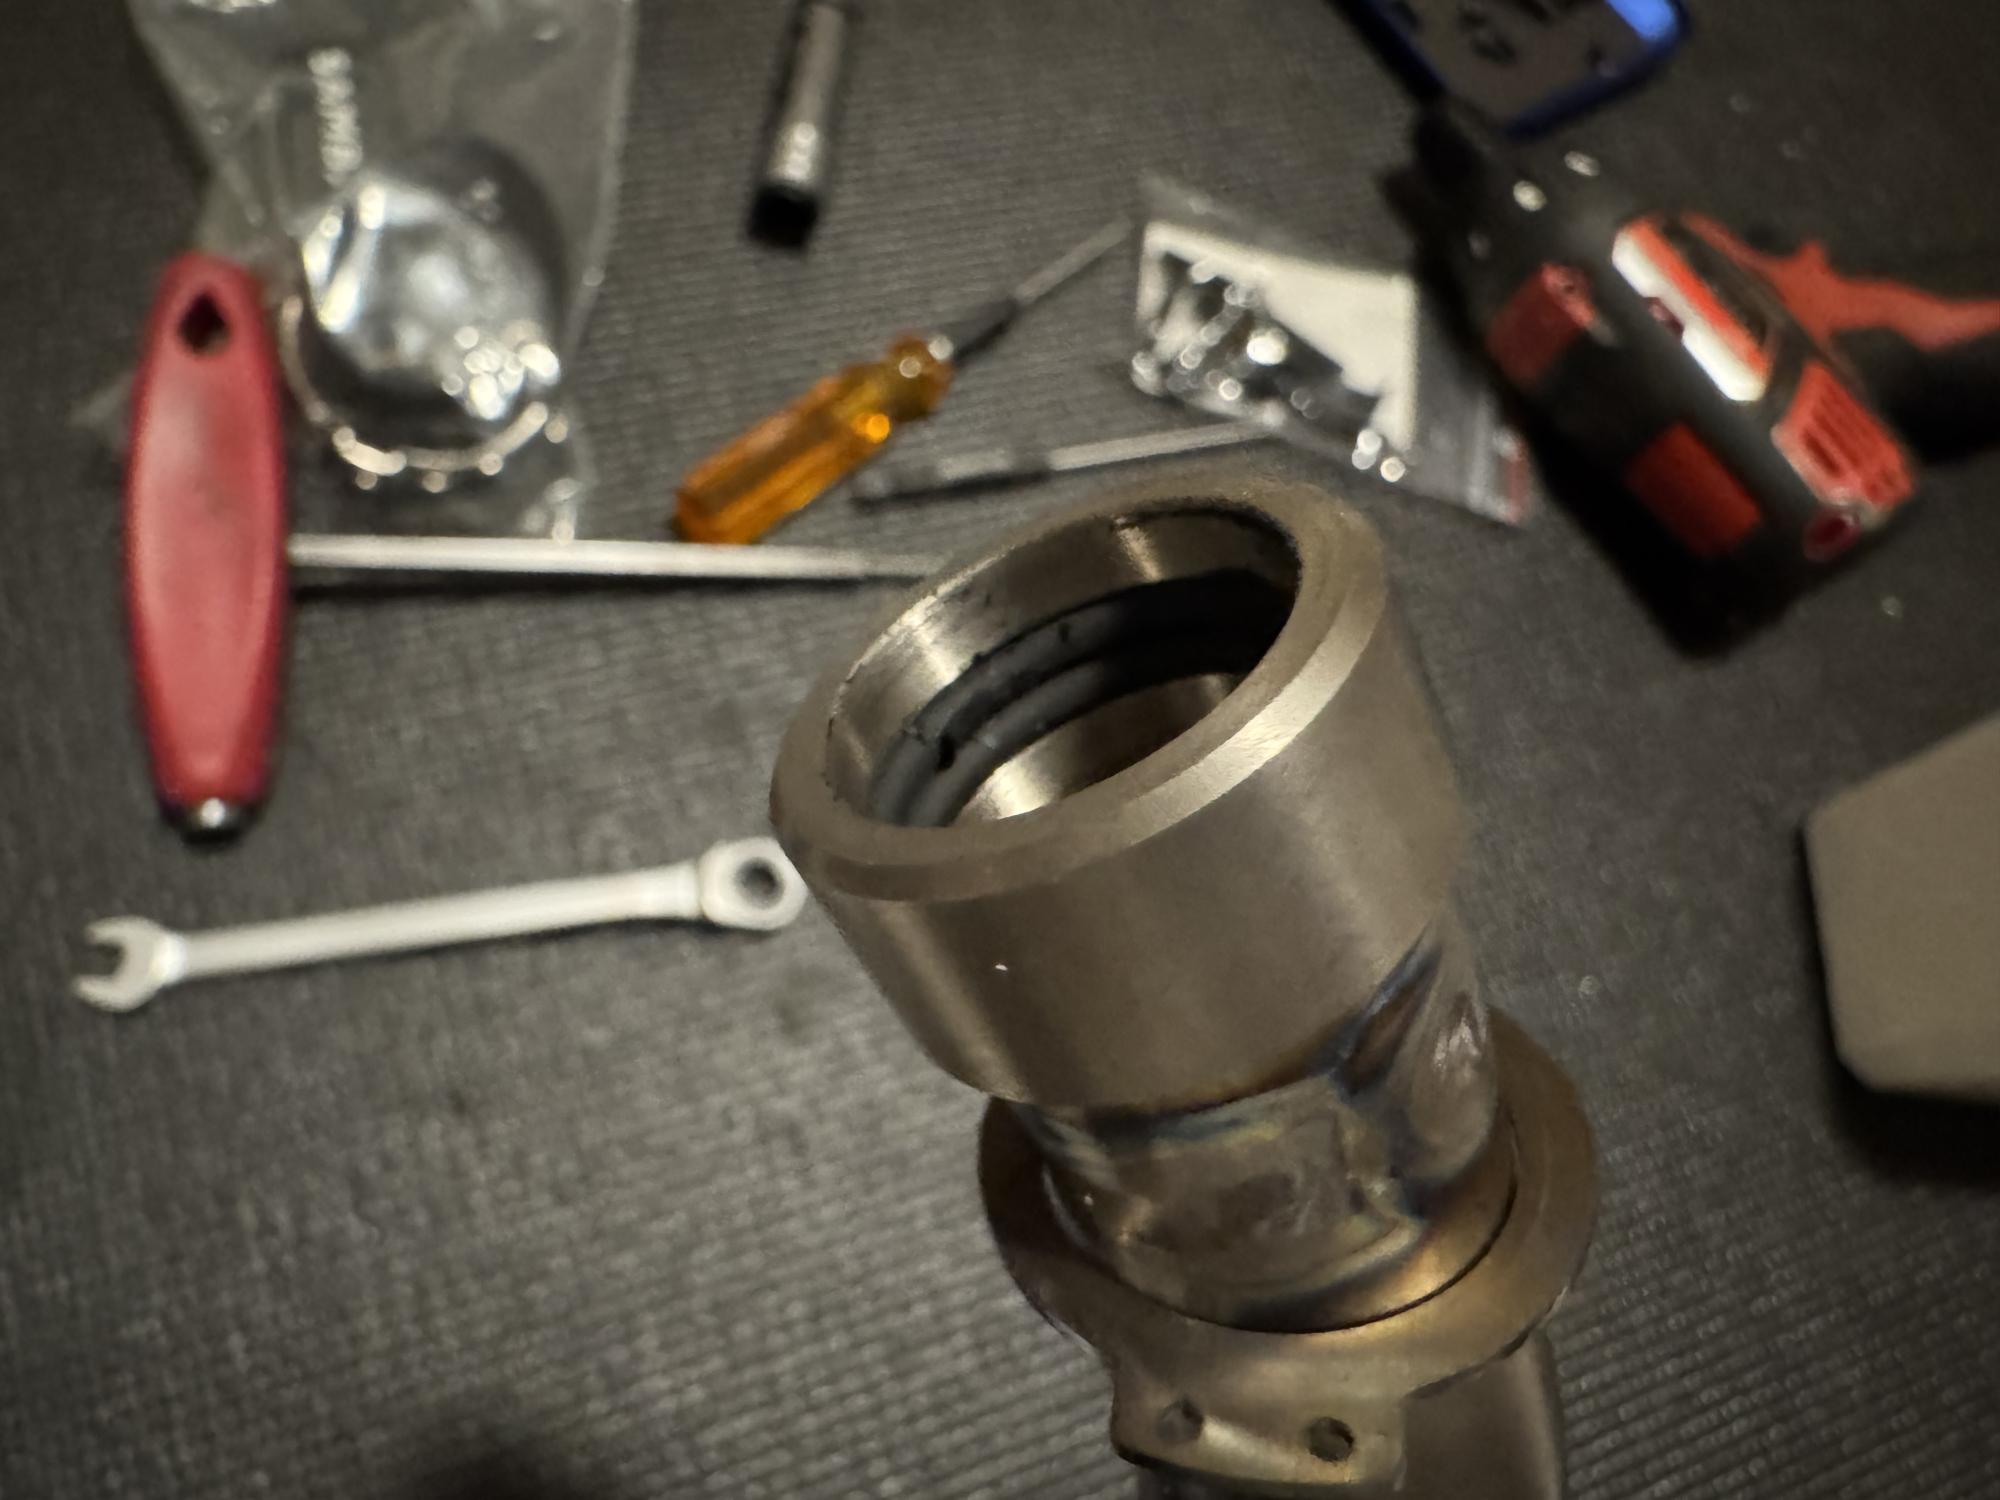
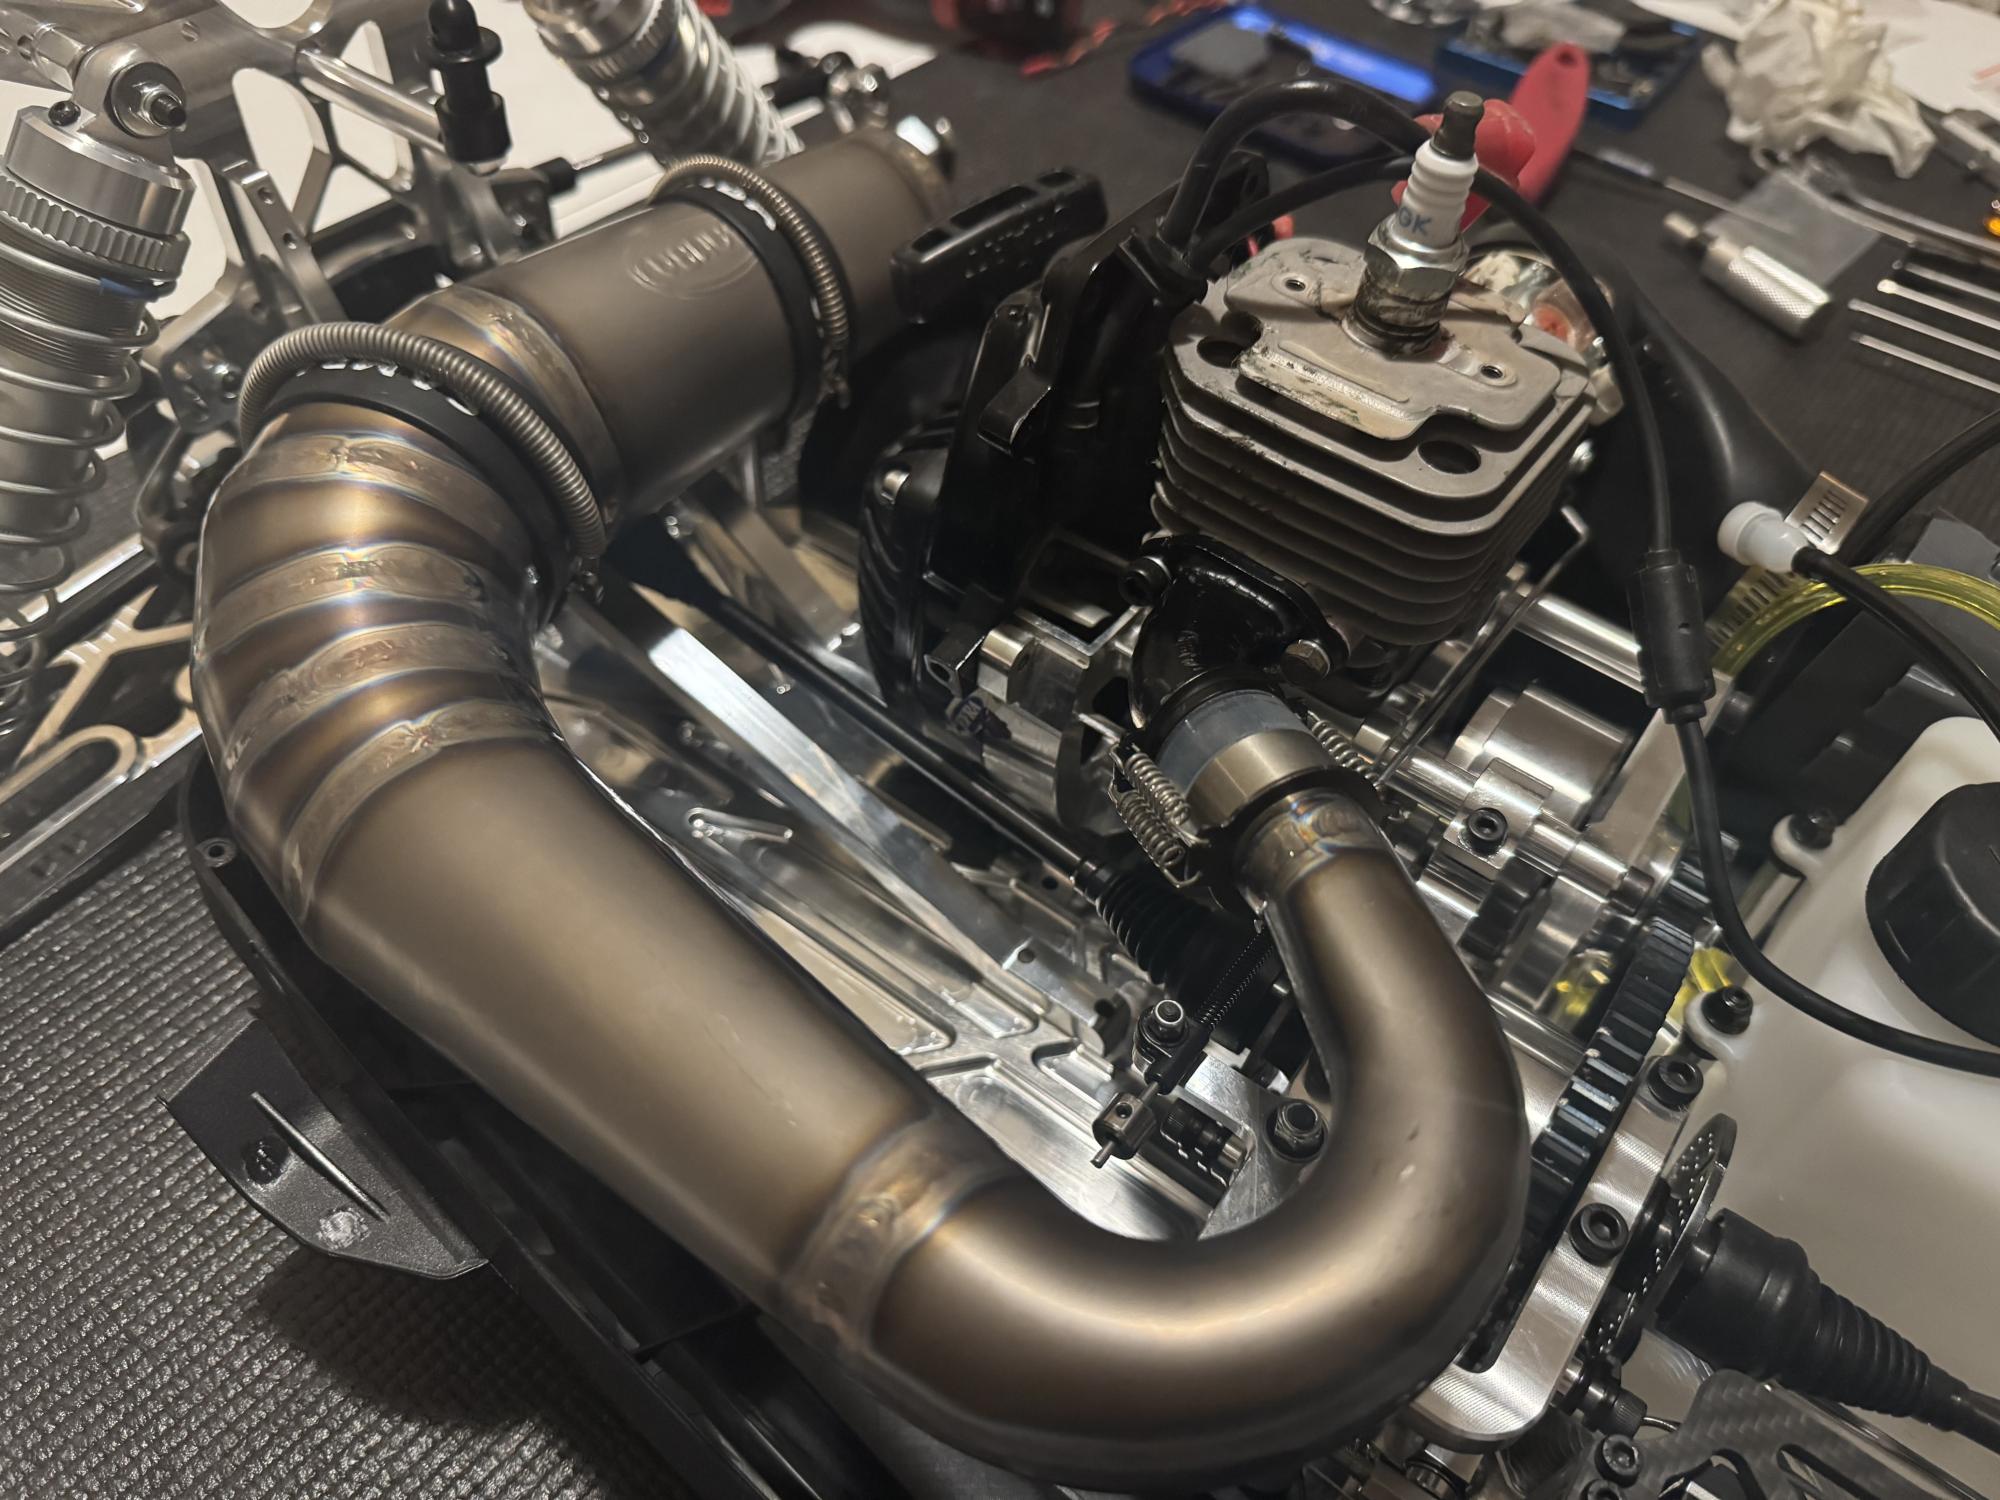
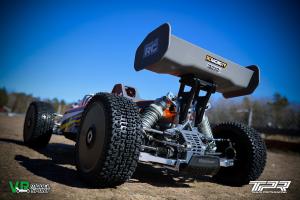
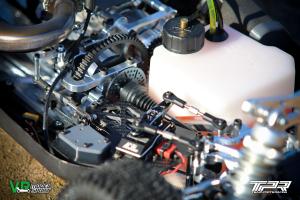
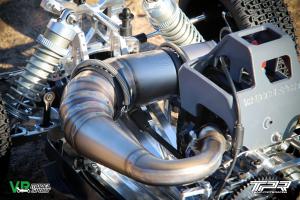
After the engine was screwed into place from underneath with four screws the same way as most cars it was now time for the exhaust pipe. I chose the titanium pipe that is much lighter than the regular steel pipe. It's really nice pipe from Samba resembling the same I had on my Ultron. But since the engine was rotated 180 degrees on the Ultron the pipe was coming out on the other side instead.
The pipe has 2 o-rings on the inside that seals it between pipe and the manifold.
The pipe is secured with 4 small springs and has a rubber tubing for even more sealing. The pipe is hold into place with 2 longer springs in two rear brackets.
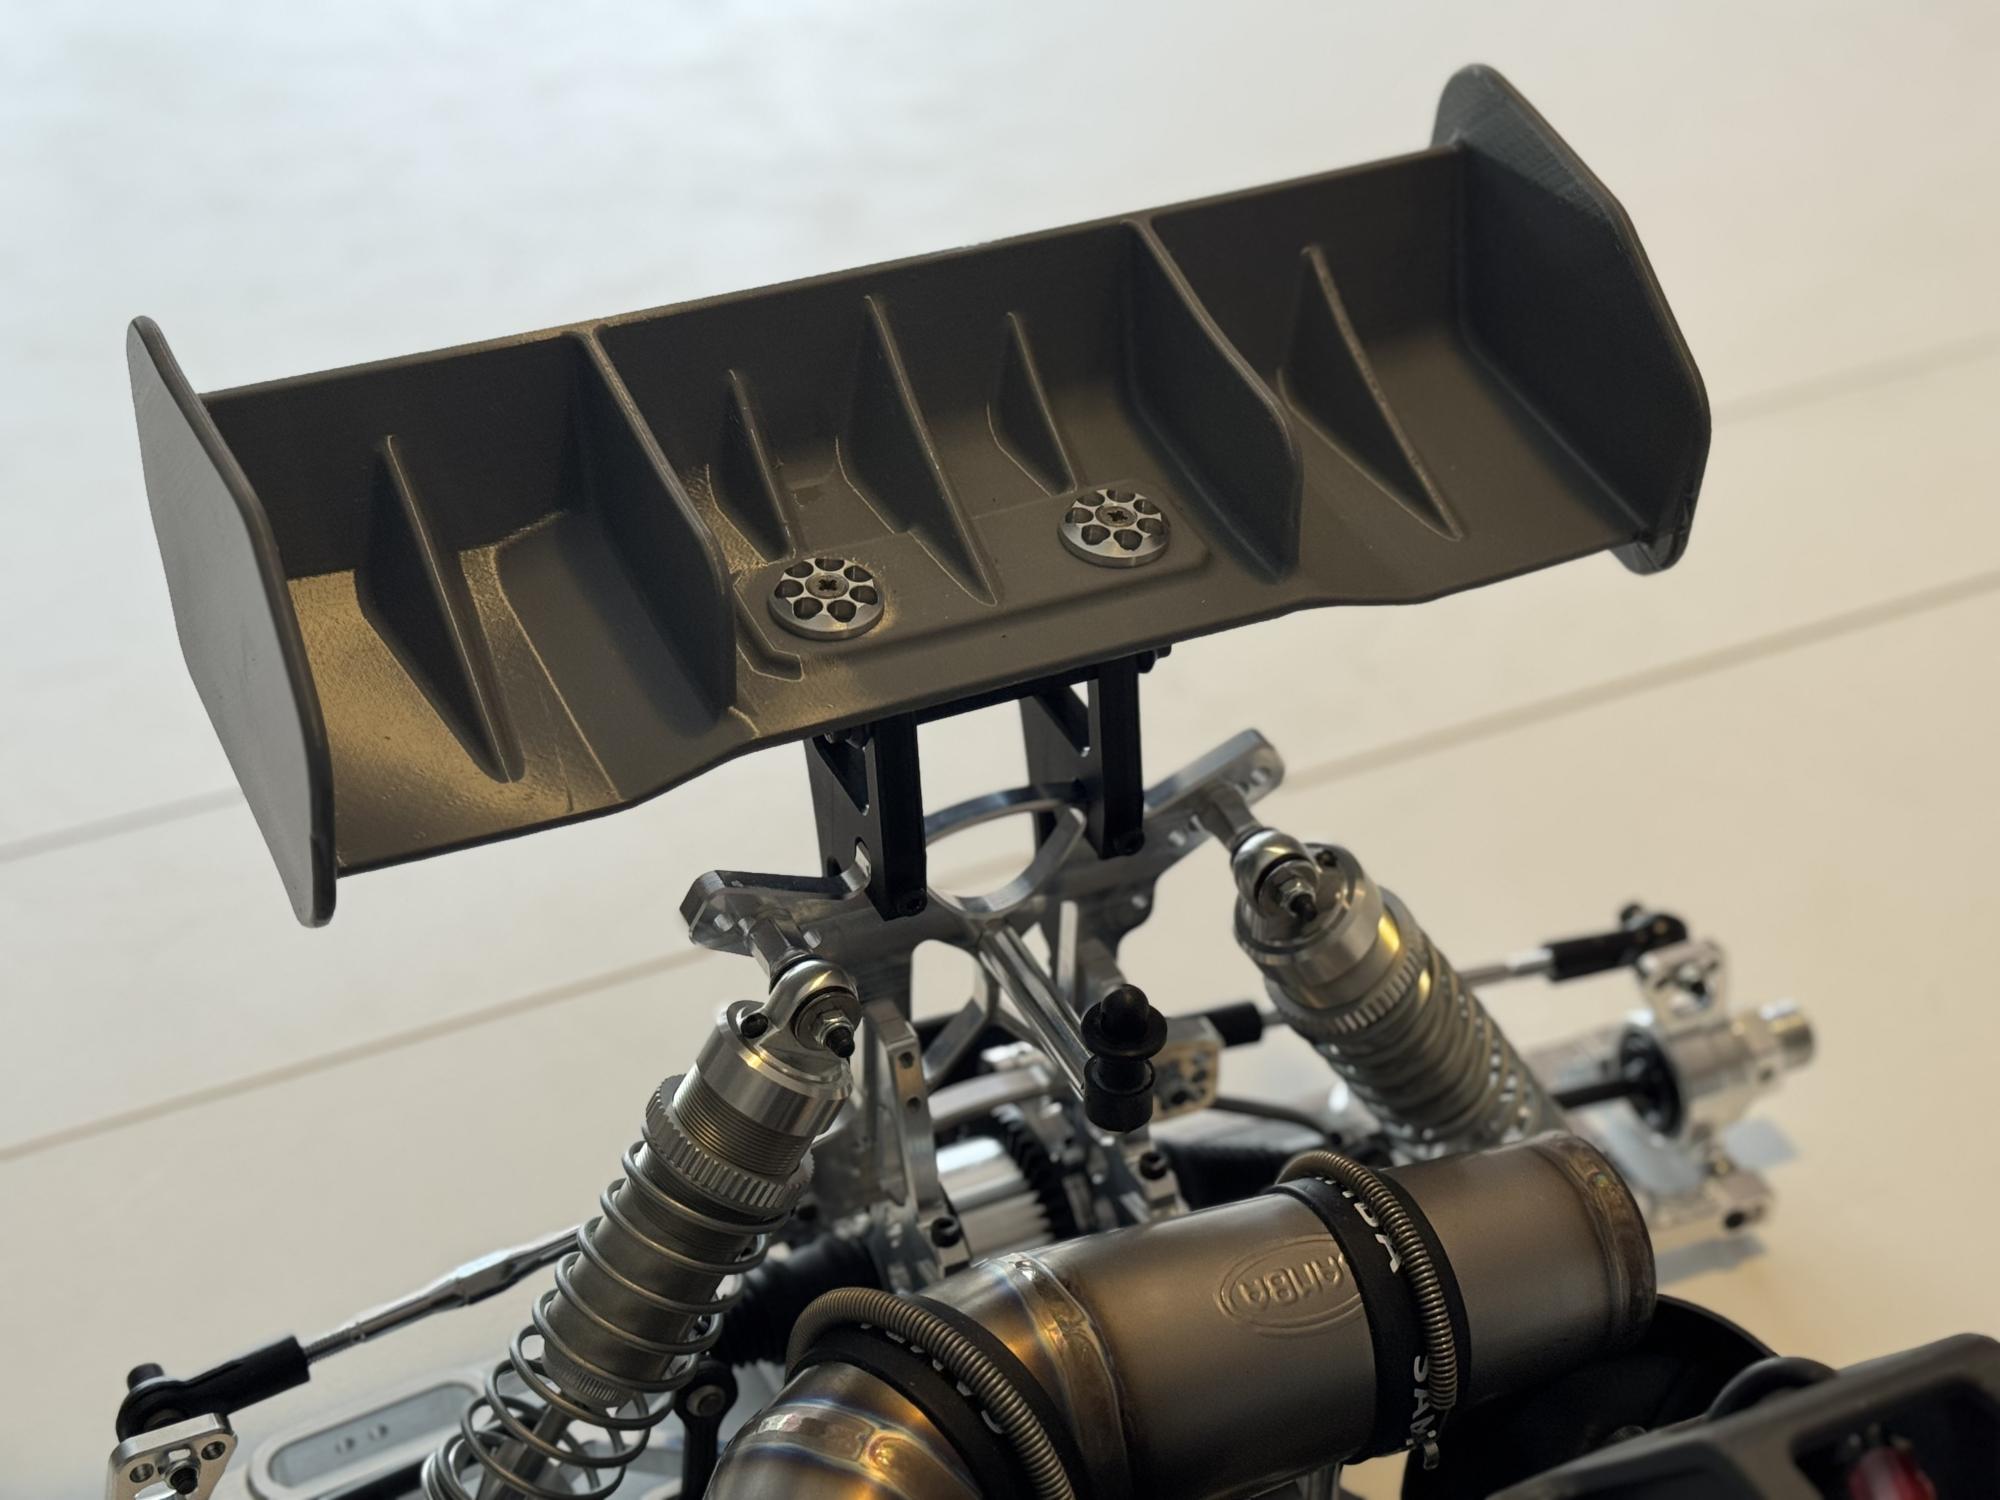
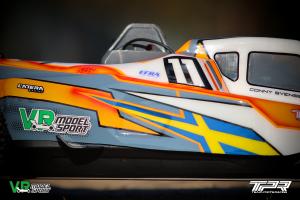
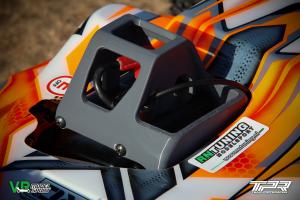
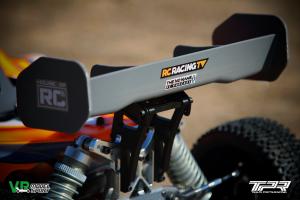
To finish off the build I mounted the air filter box and the wing. The wing is offering a design much like modern 1/8 wings and is mounted higher up than on any car I have seen, this to catch as much clean air as possible. I have always felt the wings are pretty useless on large scale cars. But these two changes might be one secret to why this car looks so nice in the air.
The spark plug and engine protector has a nicely built in air direction feature leading the air up and out from the car. This is something I built myself for the 5ive-X. It's smart to see how that is now in one piece being 3D printed.
I cut the opening for the engine in the body and could mount it nicely on the car. I put 4 MCD wheels with black rims just for the look. What a beautiful car!
This is it for the build. I will continue doing some more posts of the car and leading up to the first races. There are still some small details left to fix. I hope yo enjoyed this build series! |
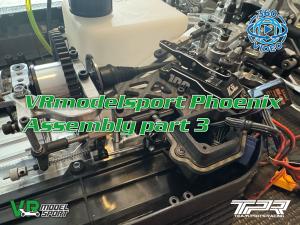
Phoenix diffs, steering, electronics and tank, part #3
We're now halfway into the Phoenix build and it's starting to look like a car. This part will complete the drivetrain, except the engine, put the steering in place and electronics including servos.
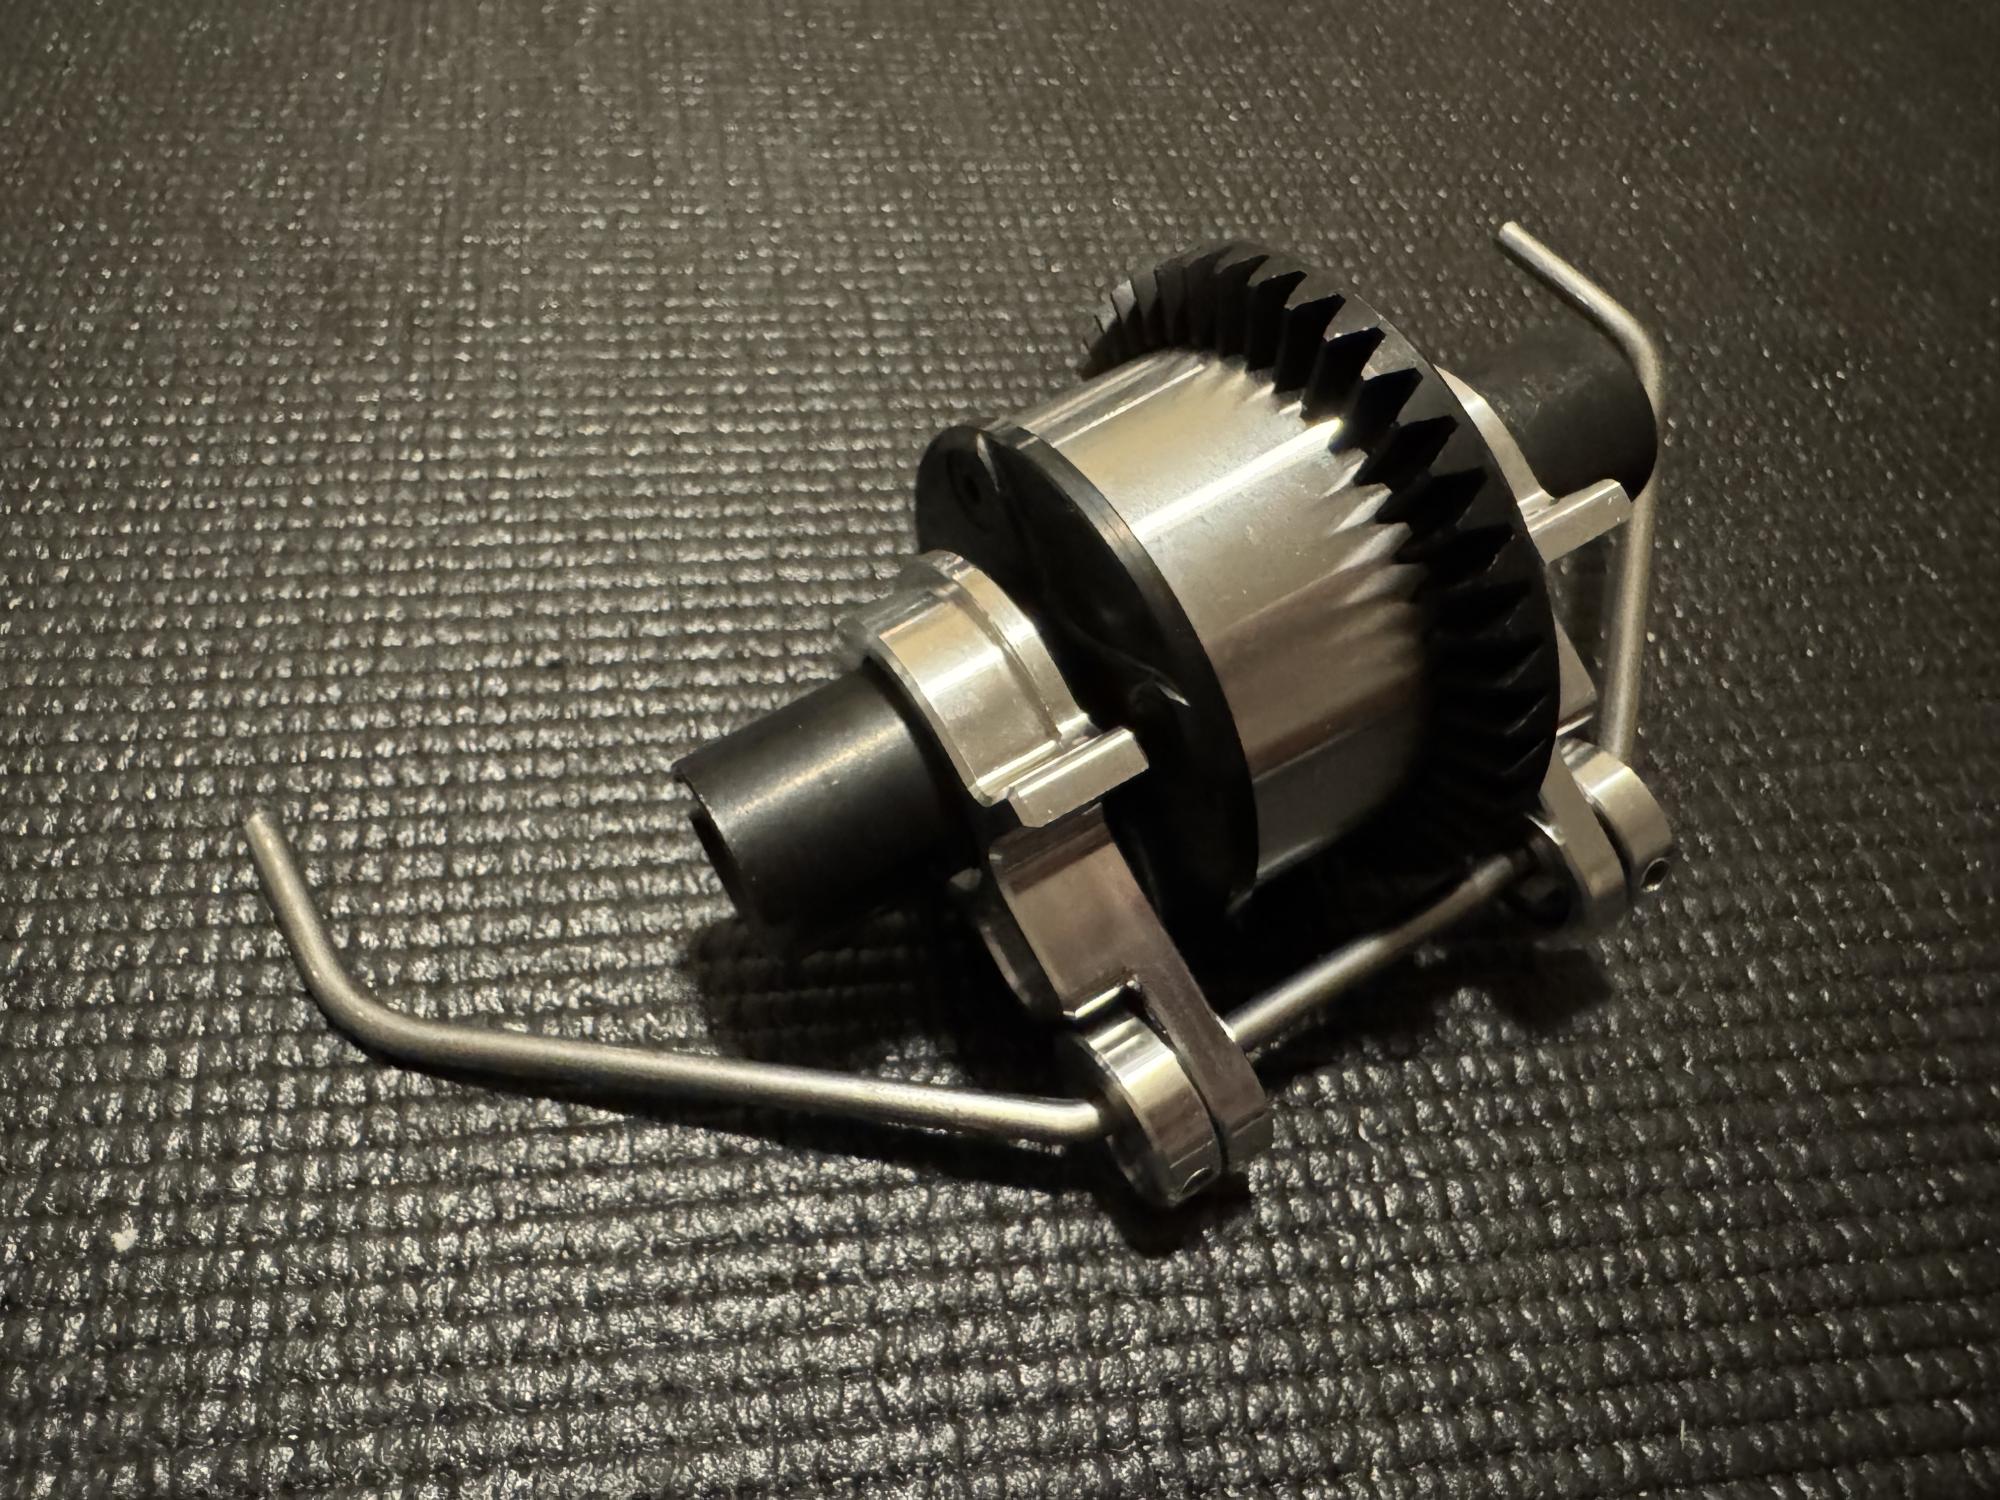
Just as in the other two installments, part 1 and part 2, we have images and 360 videos in the right hand column if you're reading this on a computer and below if you're on a mobile. We continue where we left off by inserting the diff in the rear with 30K oil.
Mounted the 4.5mm sway bar and mounting the top arm to complete the suspension package.
The same procedure is carried out in the from but with 50K oil and a 4.0mm sway bar. The same kind of diff cover is mounted both in the rear and in the front. This is to protect from gravel and other stuff to get into the diff but also preventing any finger to touch the gear when marshaling the car as a safety precaution.
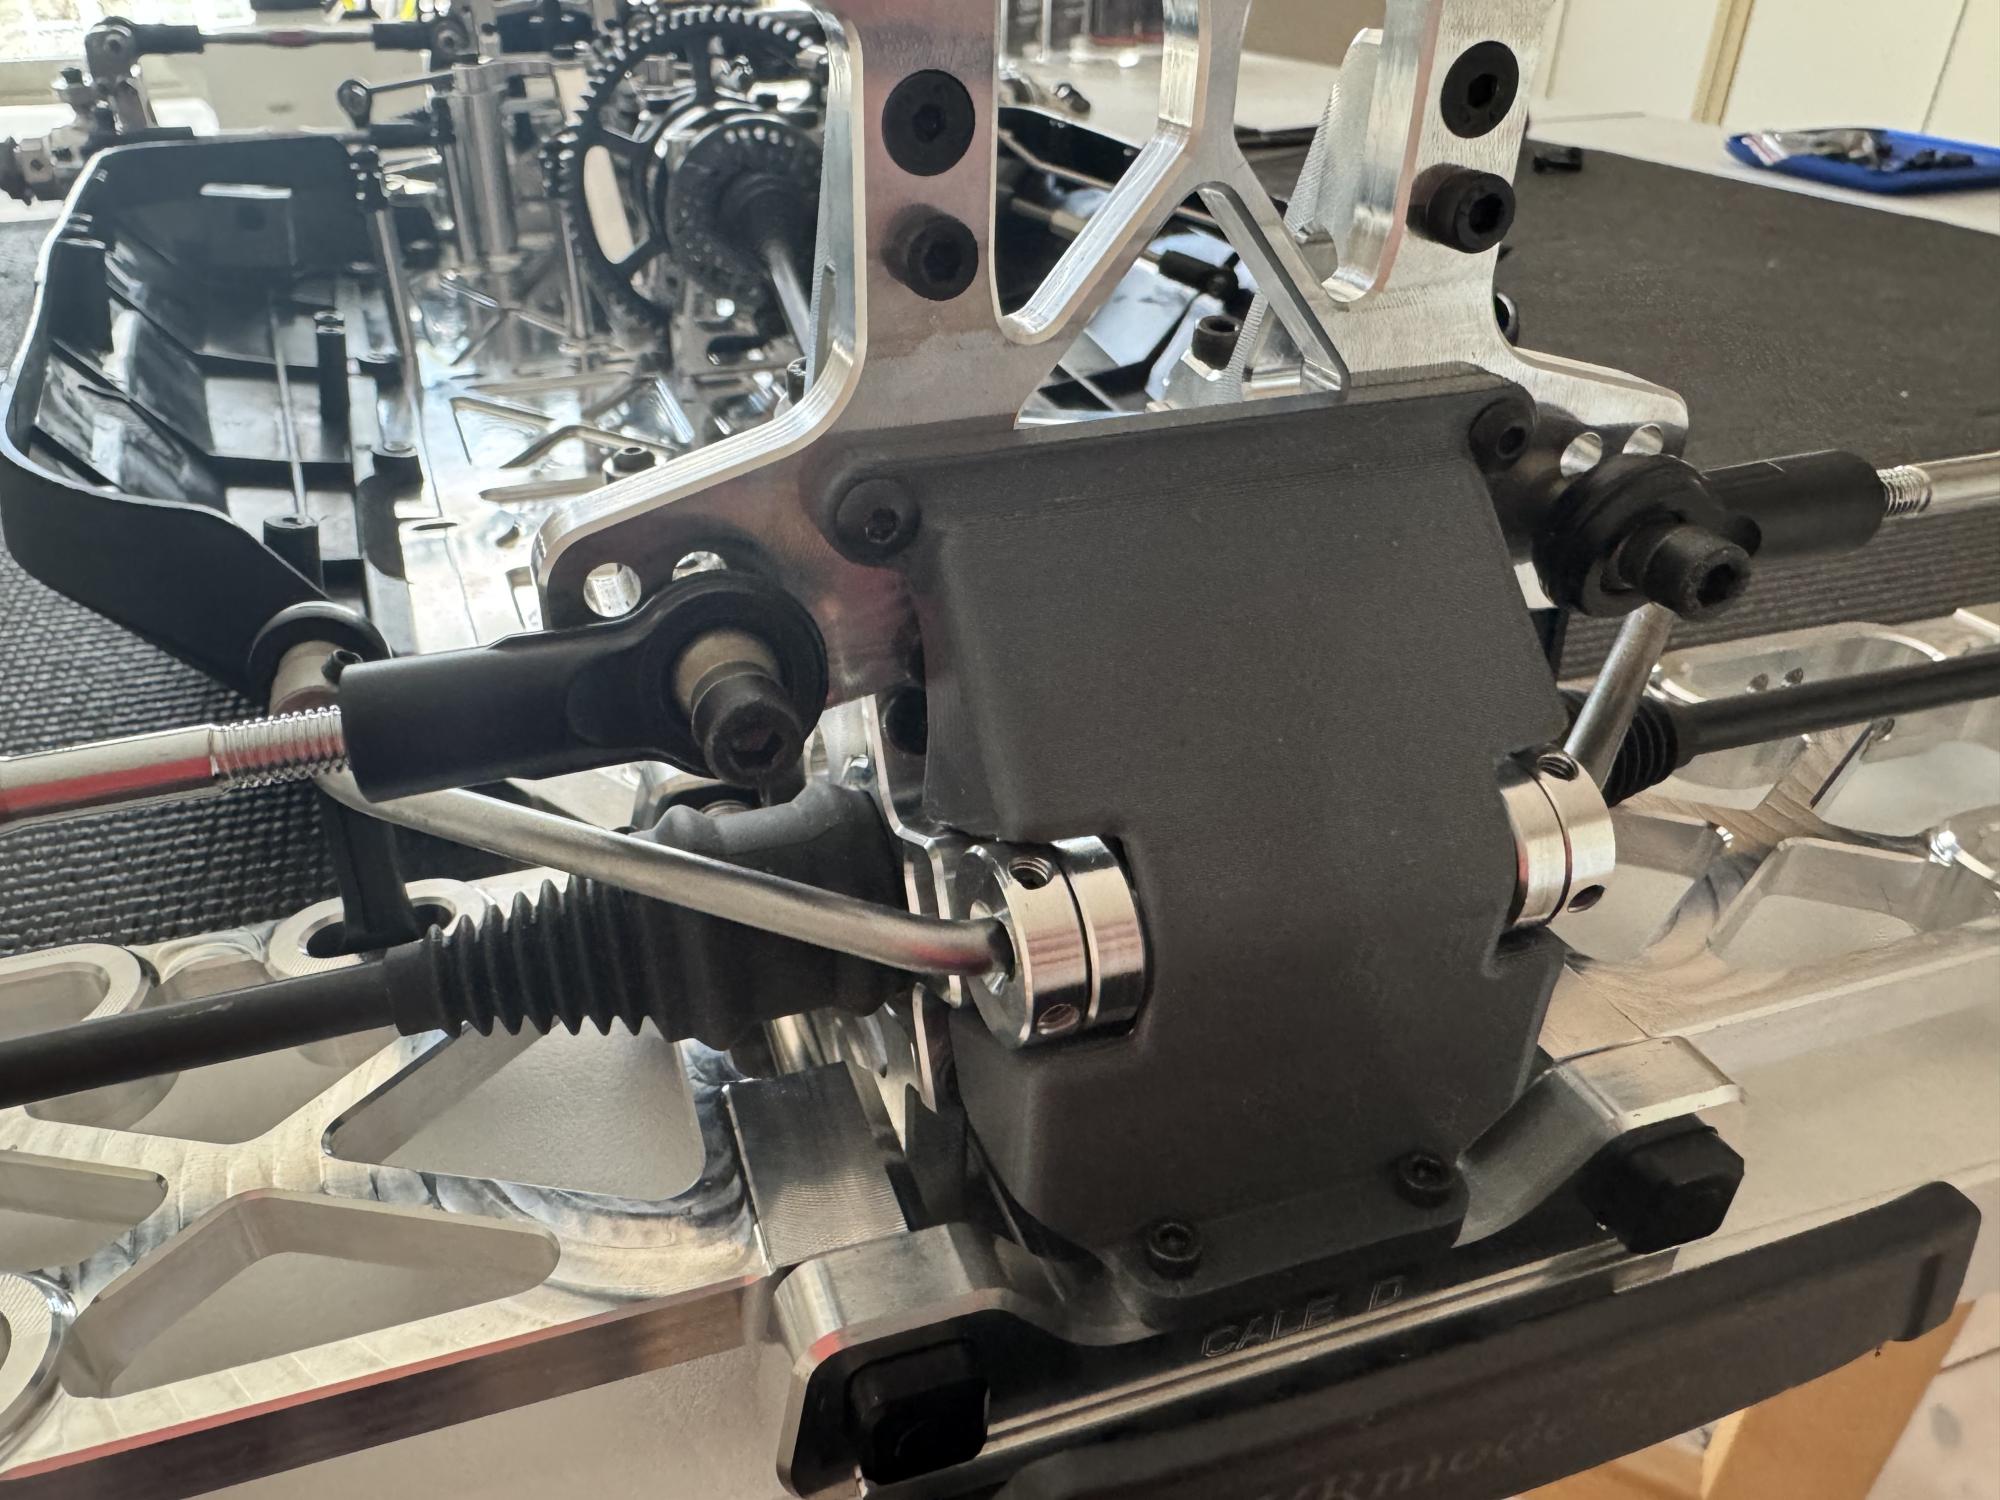
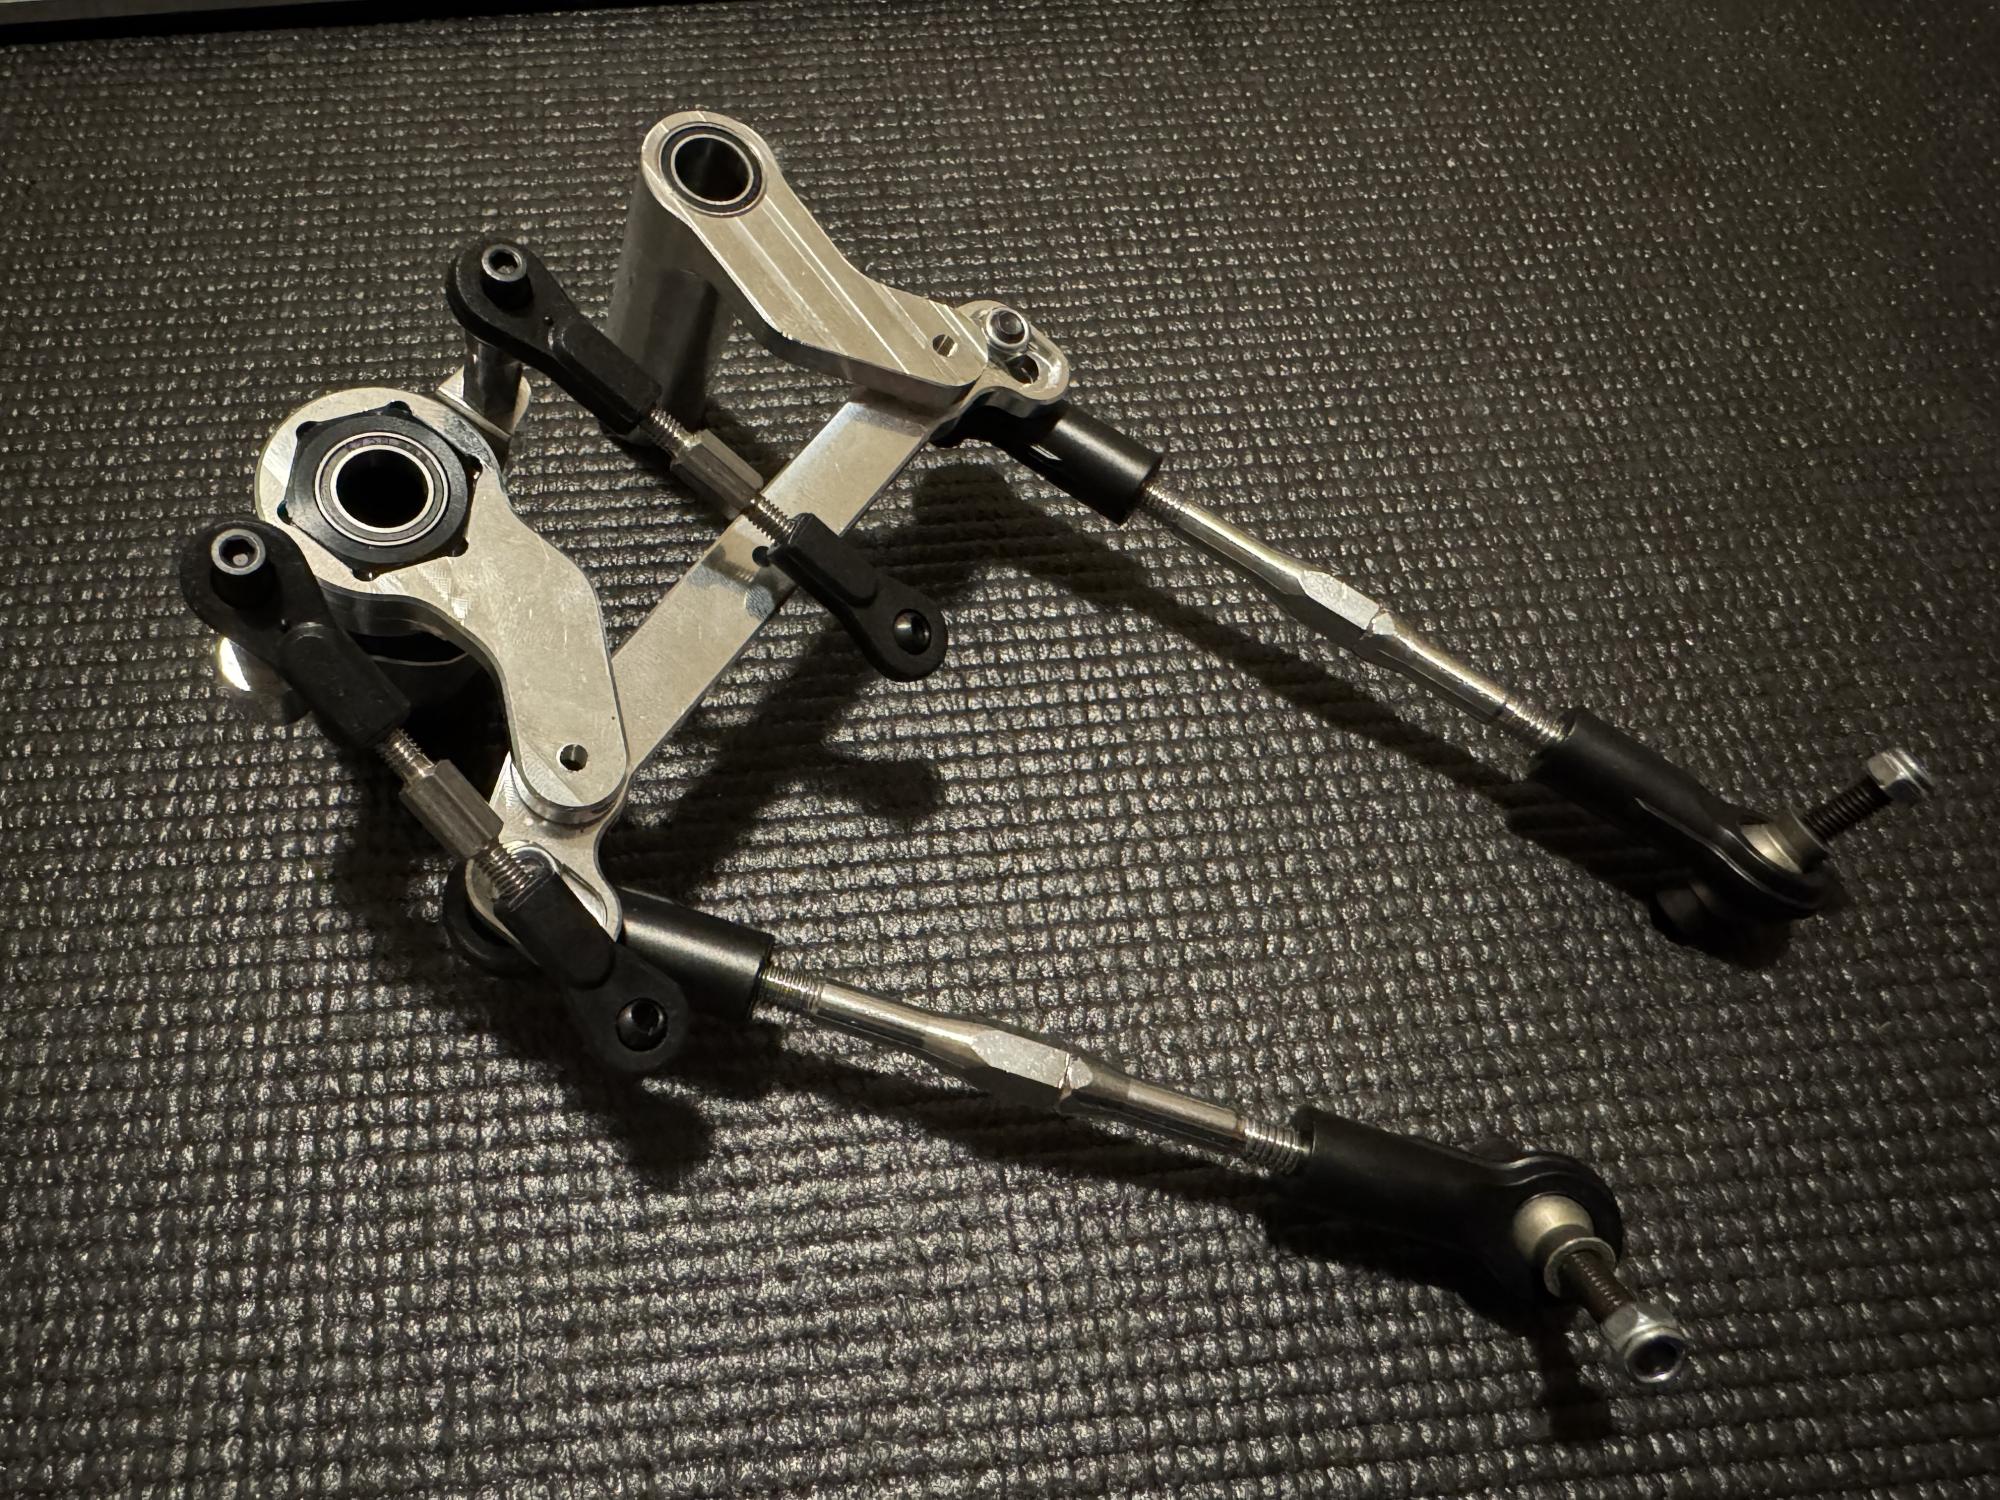
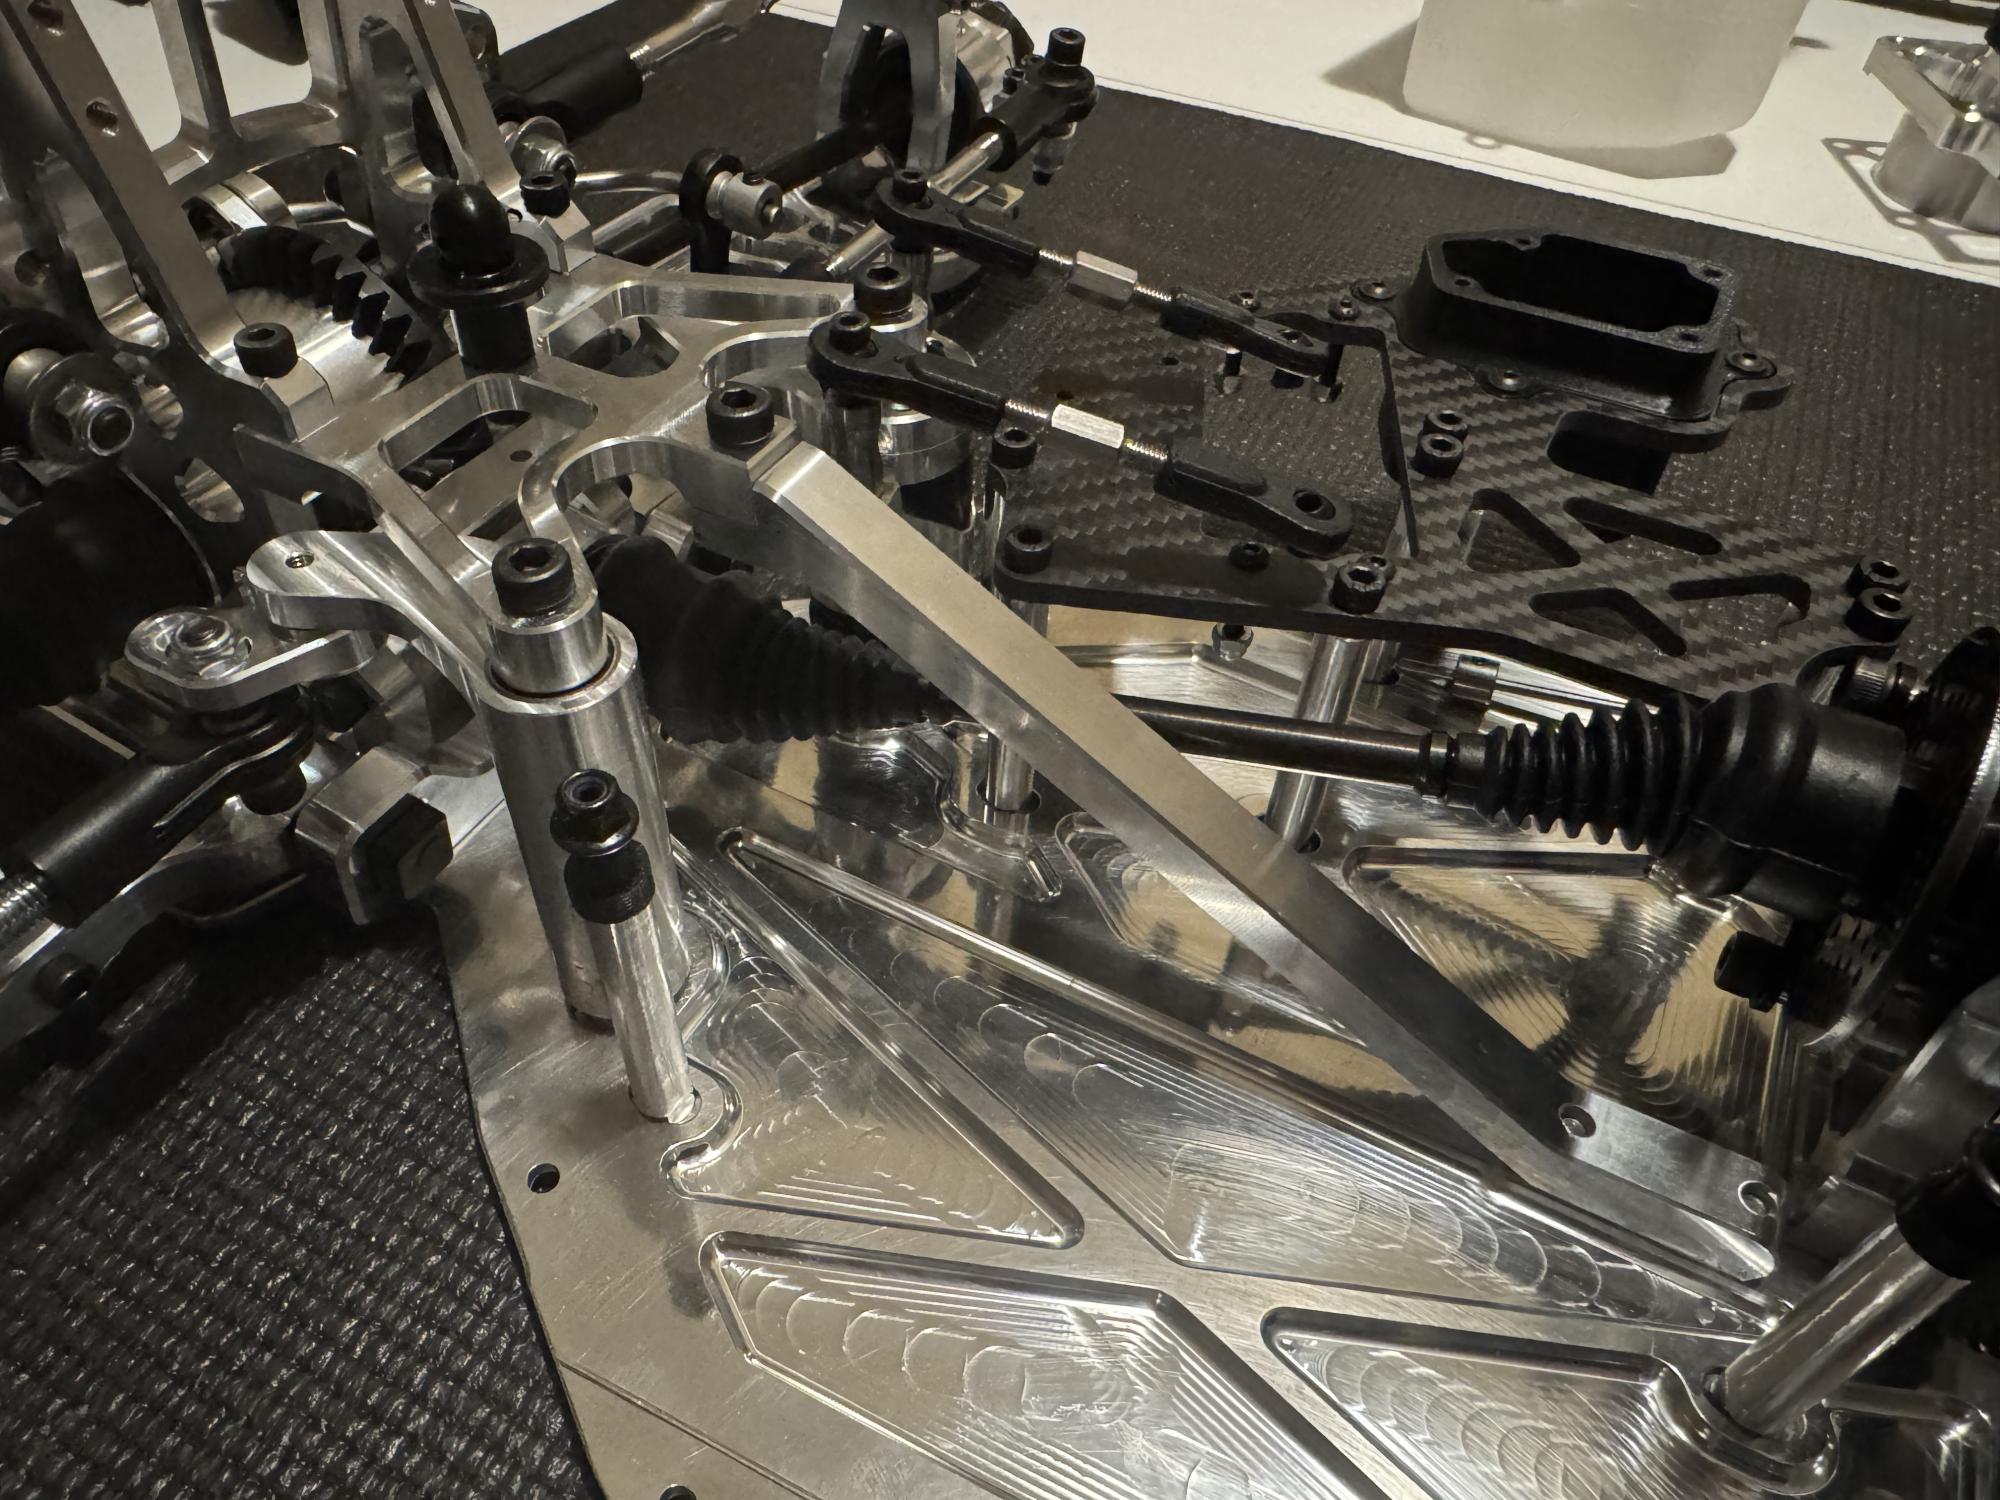
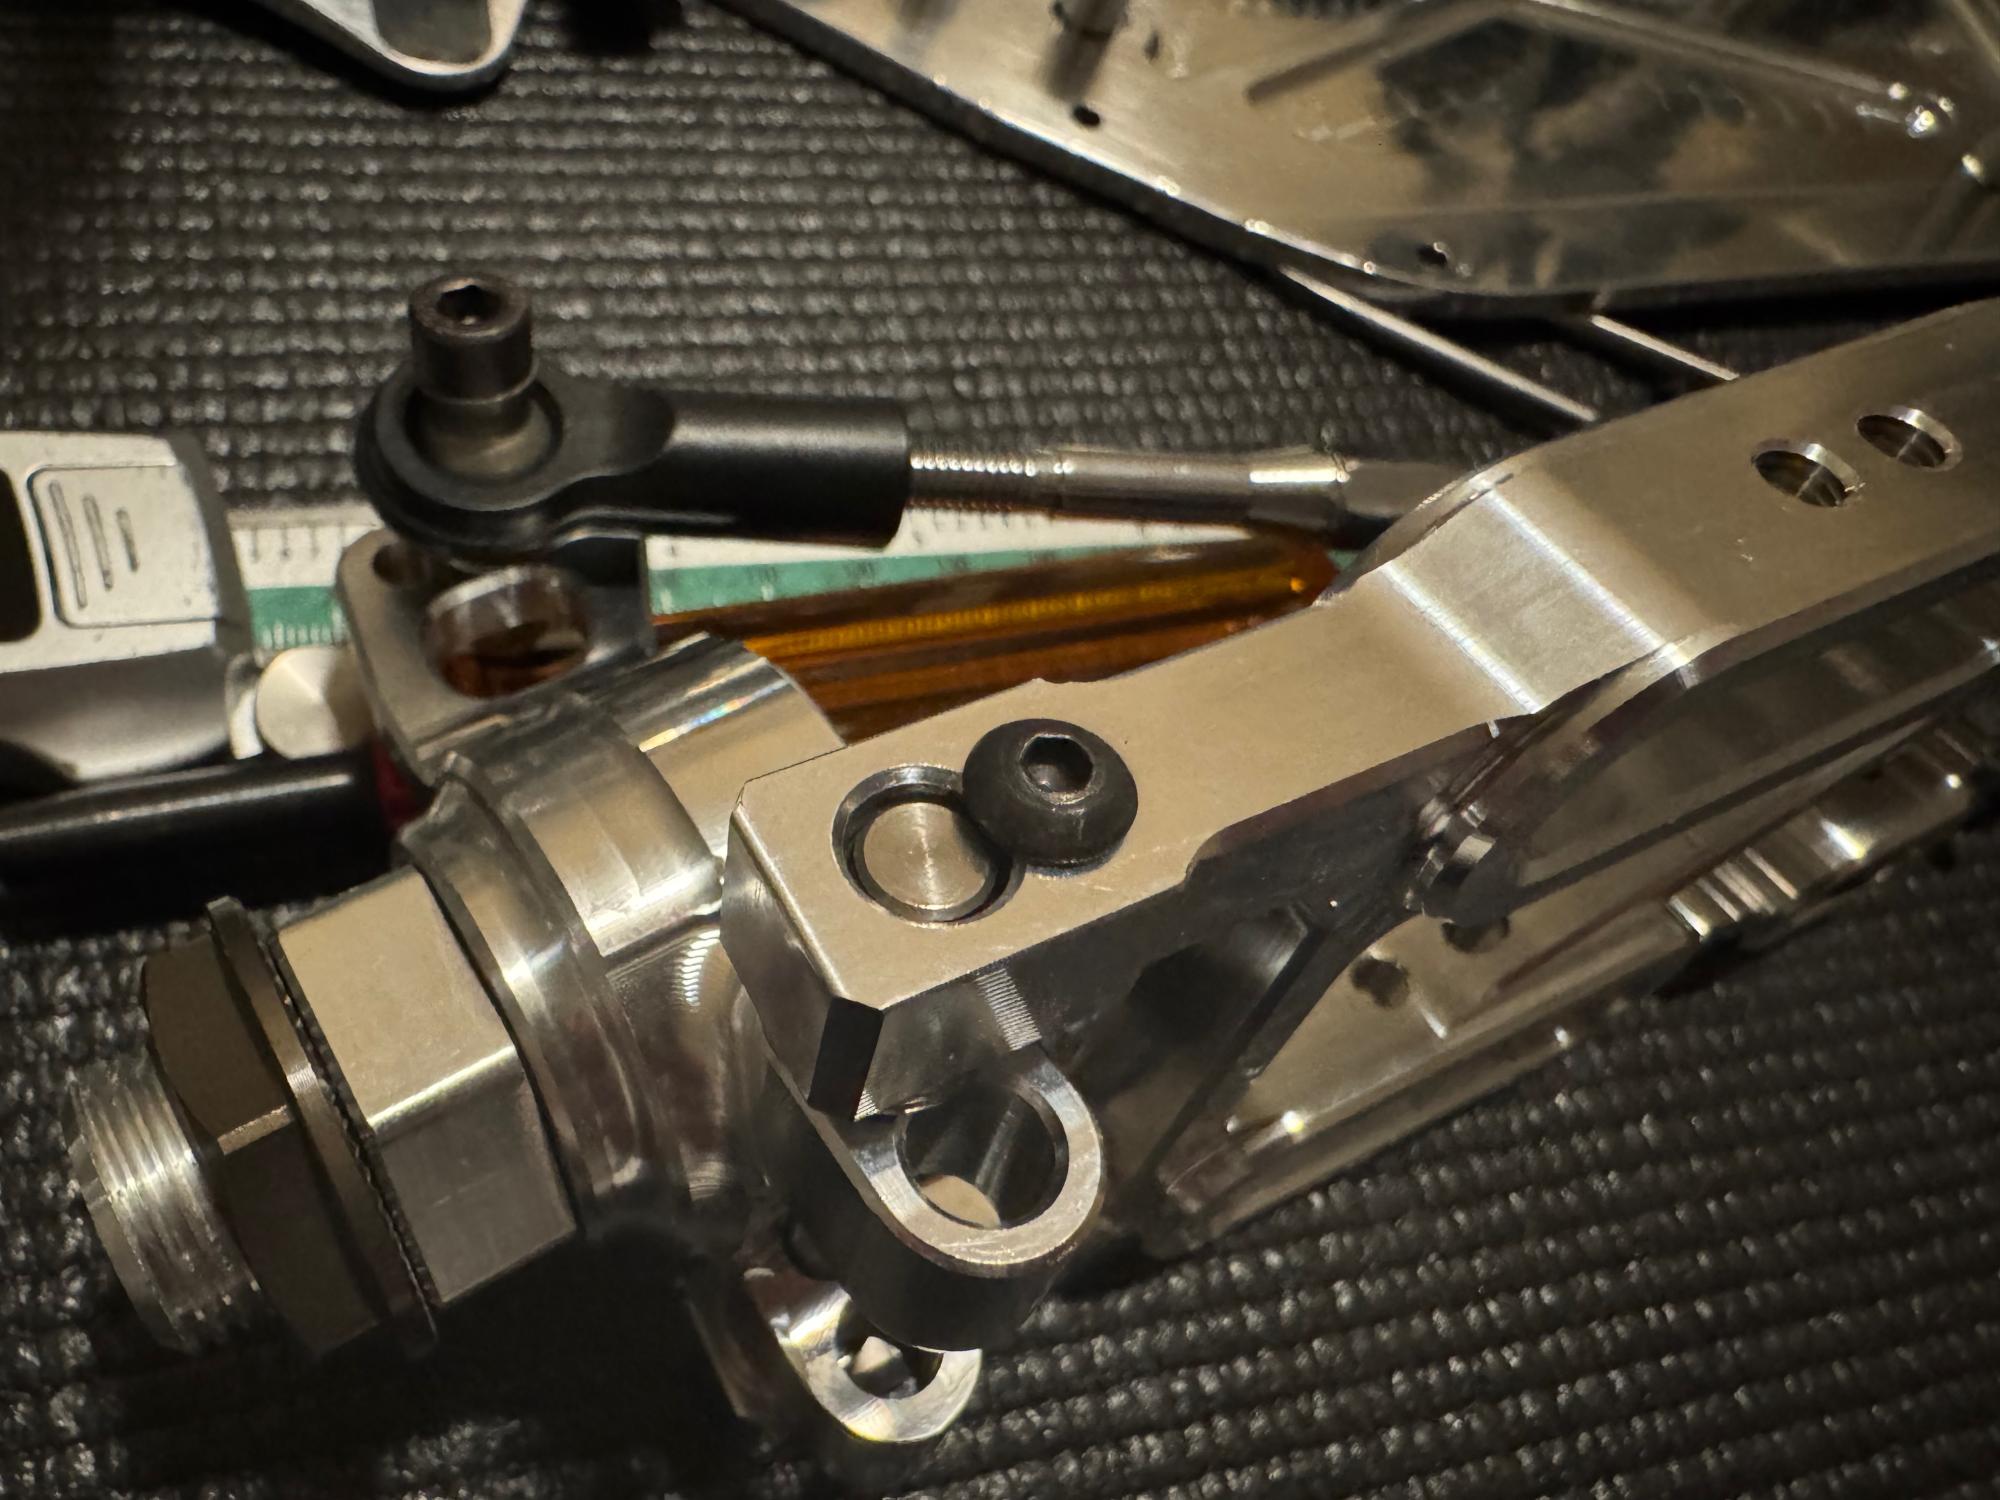
The next part after the rear and front diff and driveshafts being completely assembled we move on to the steering. The steering rack is a pretty regular design with ackermann adjustments to fine the feeling in the steering. The servo saver adjustment screw is in the bottom for tightening the spring and stiffness of the saver depending on how much give you want to have saving servos or having better and more direct control of the steering.
With a top plate and a connecting brace to the chassis the steering is complete.
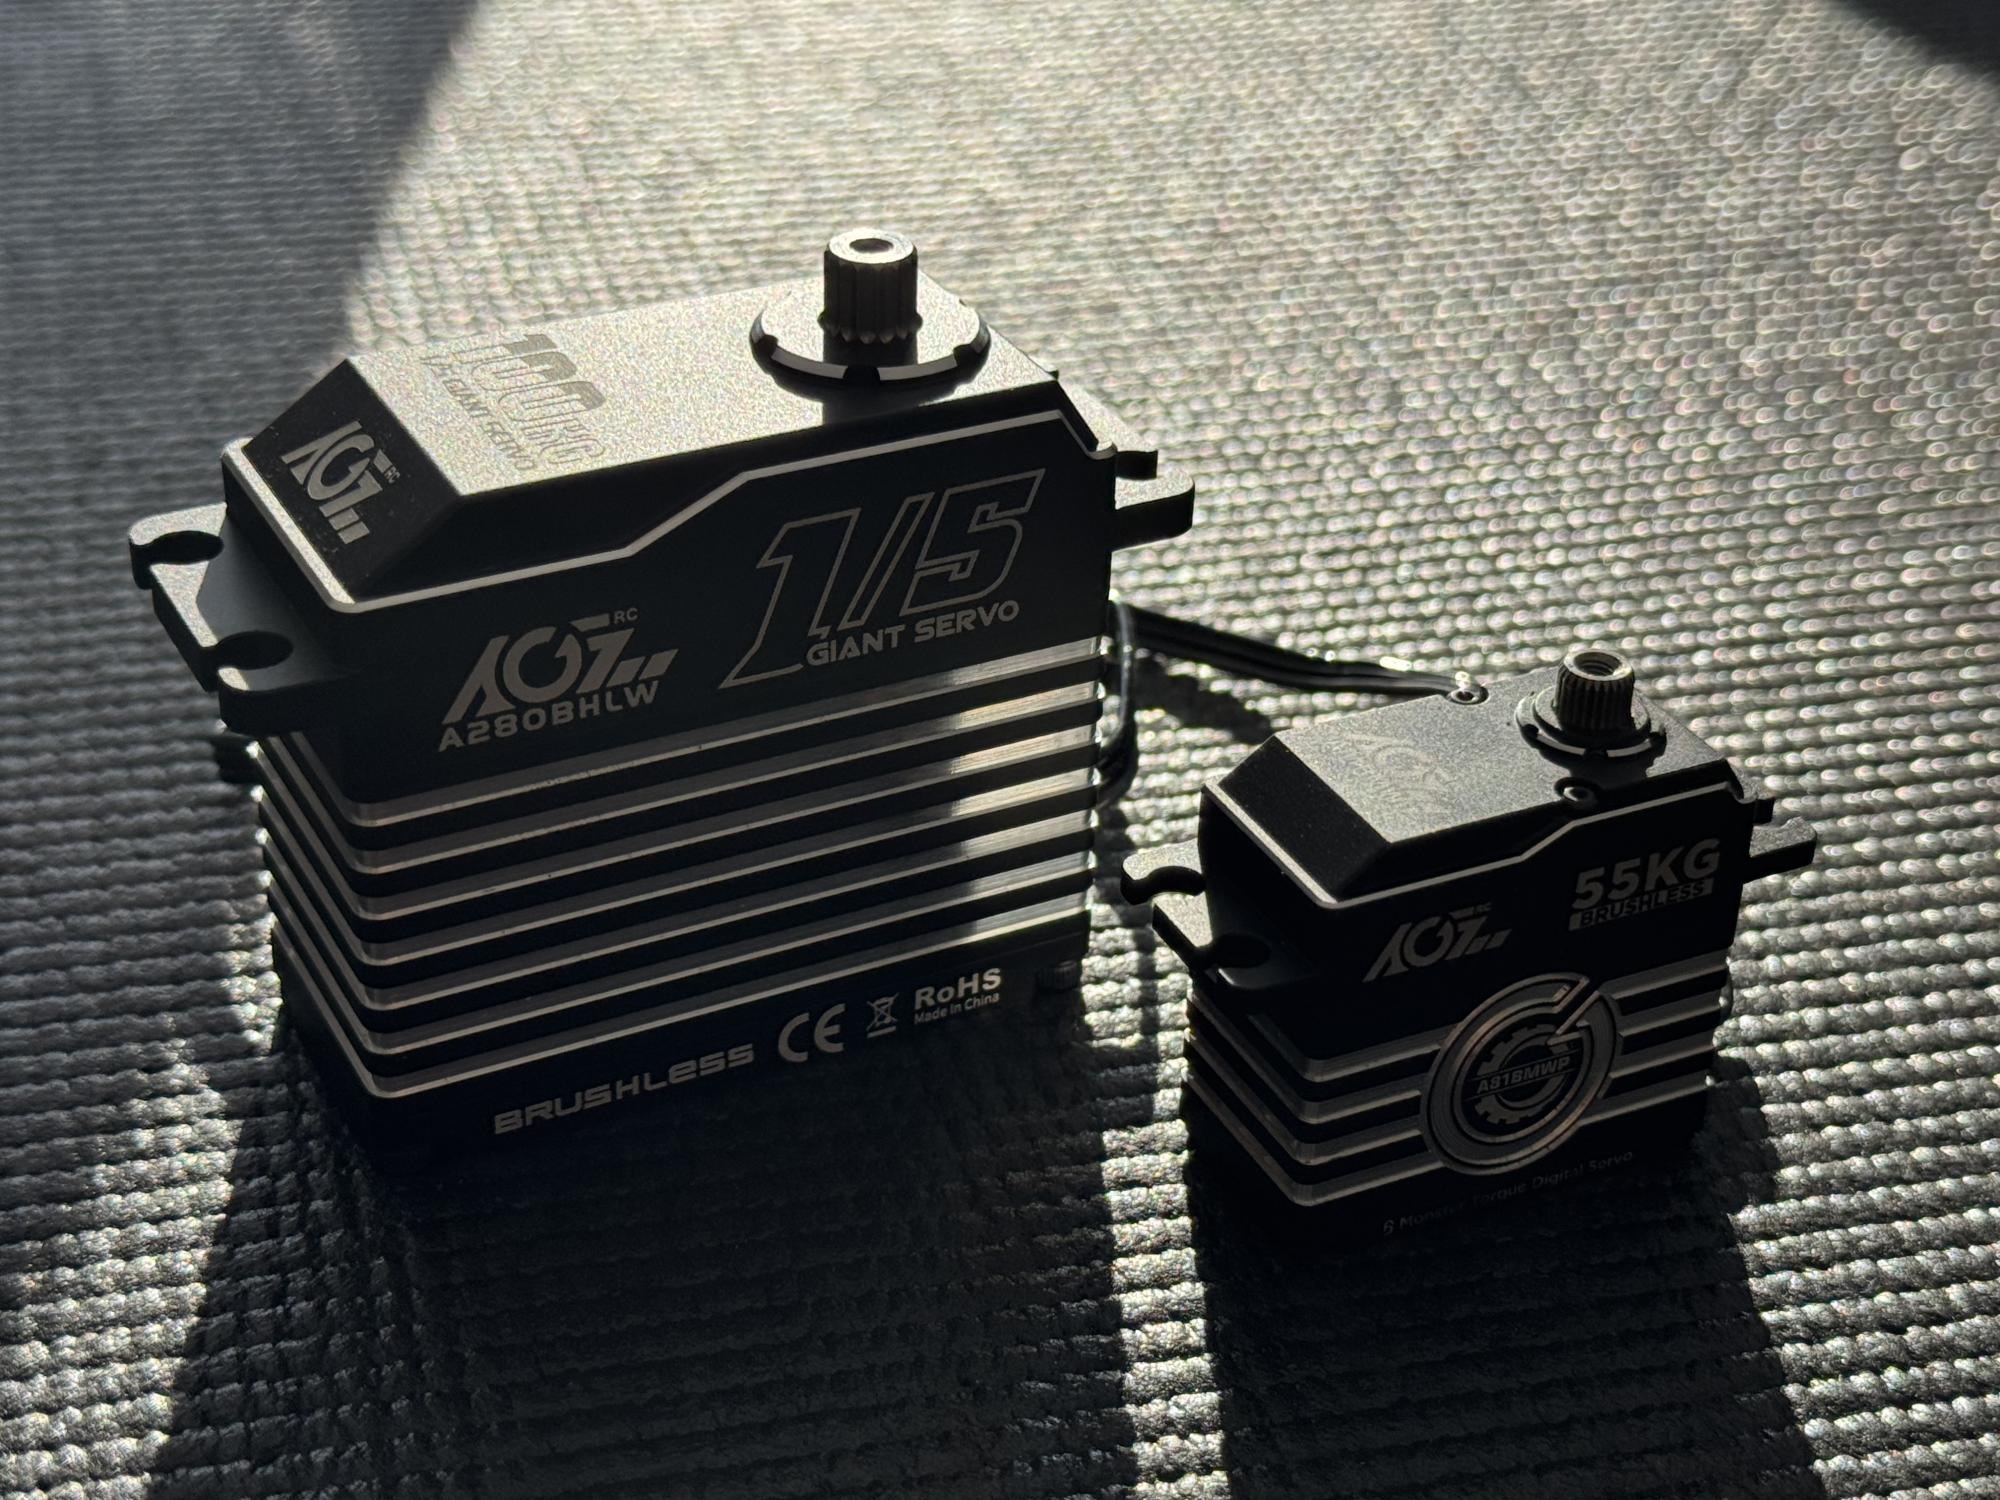
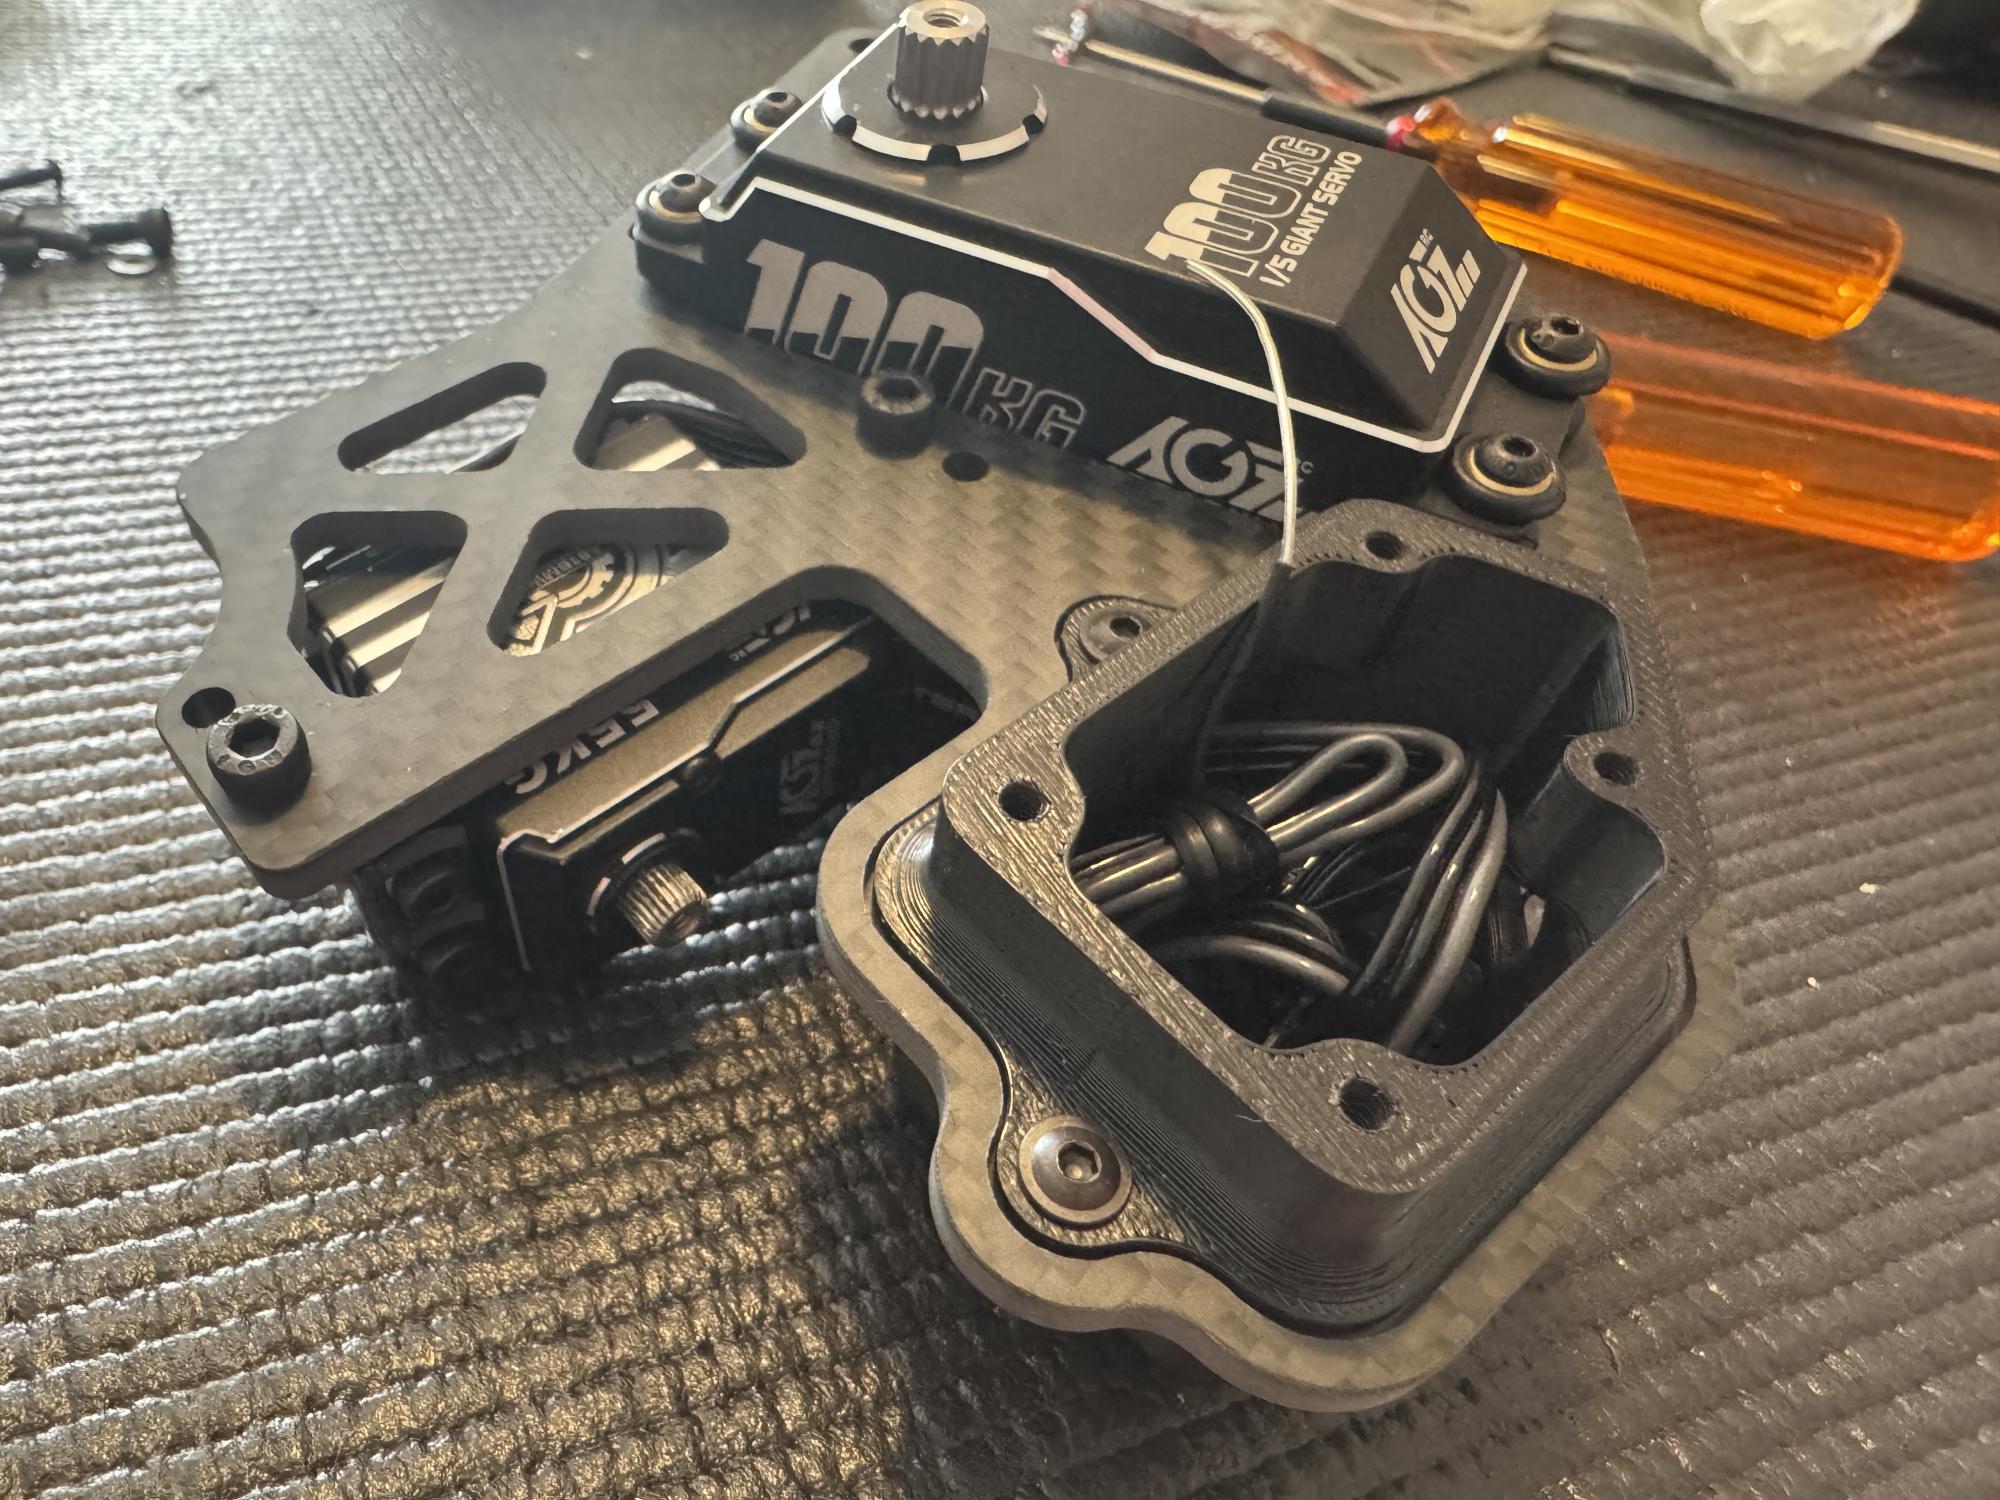
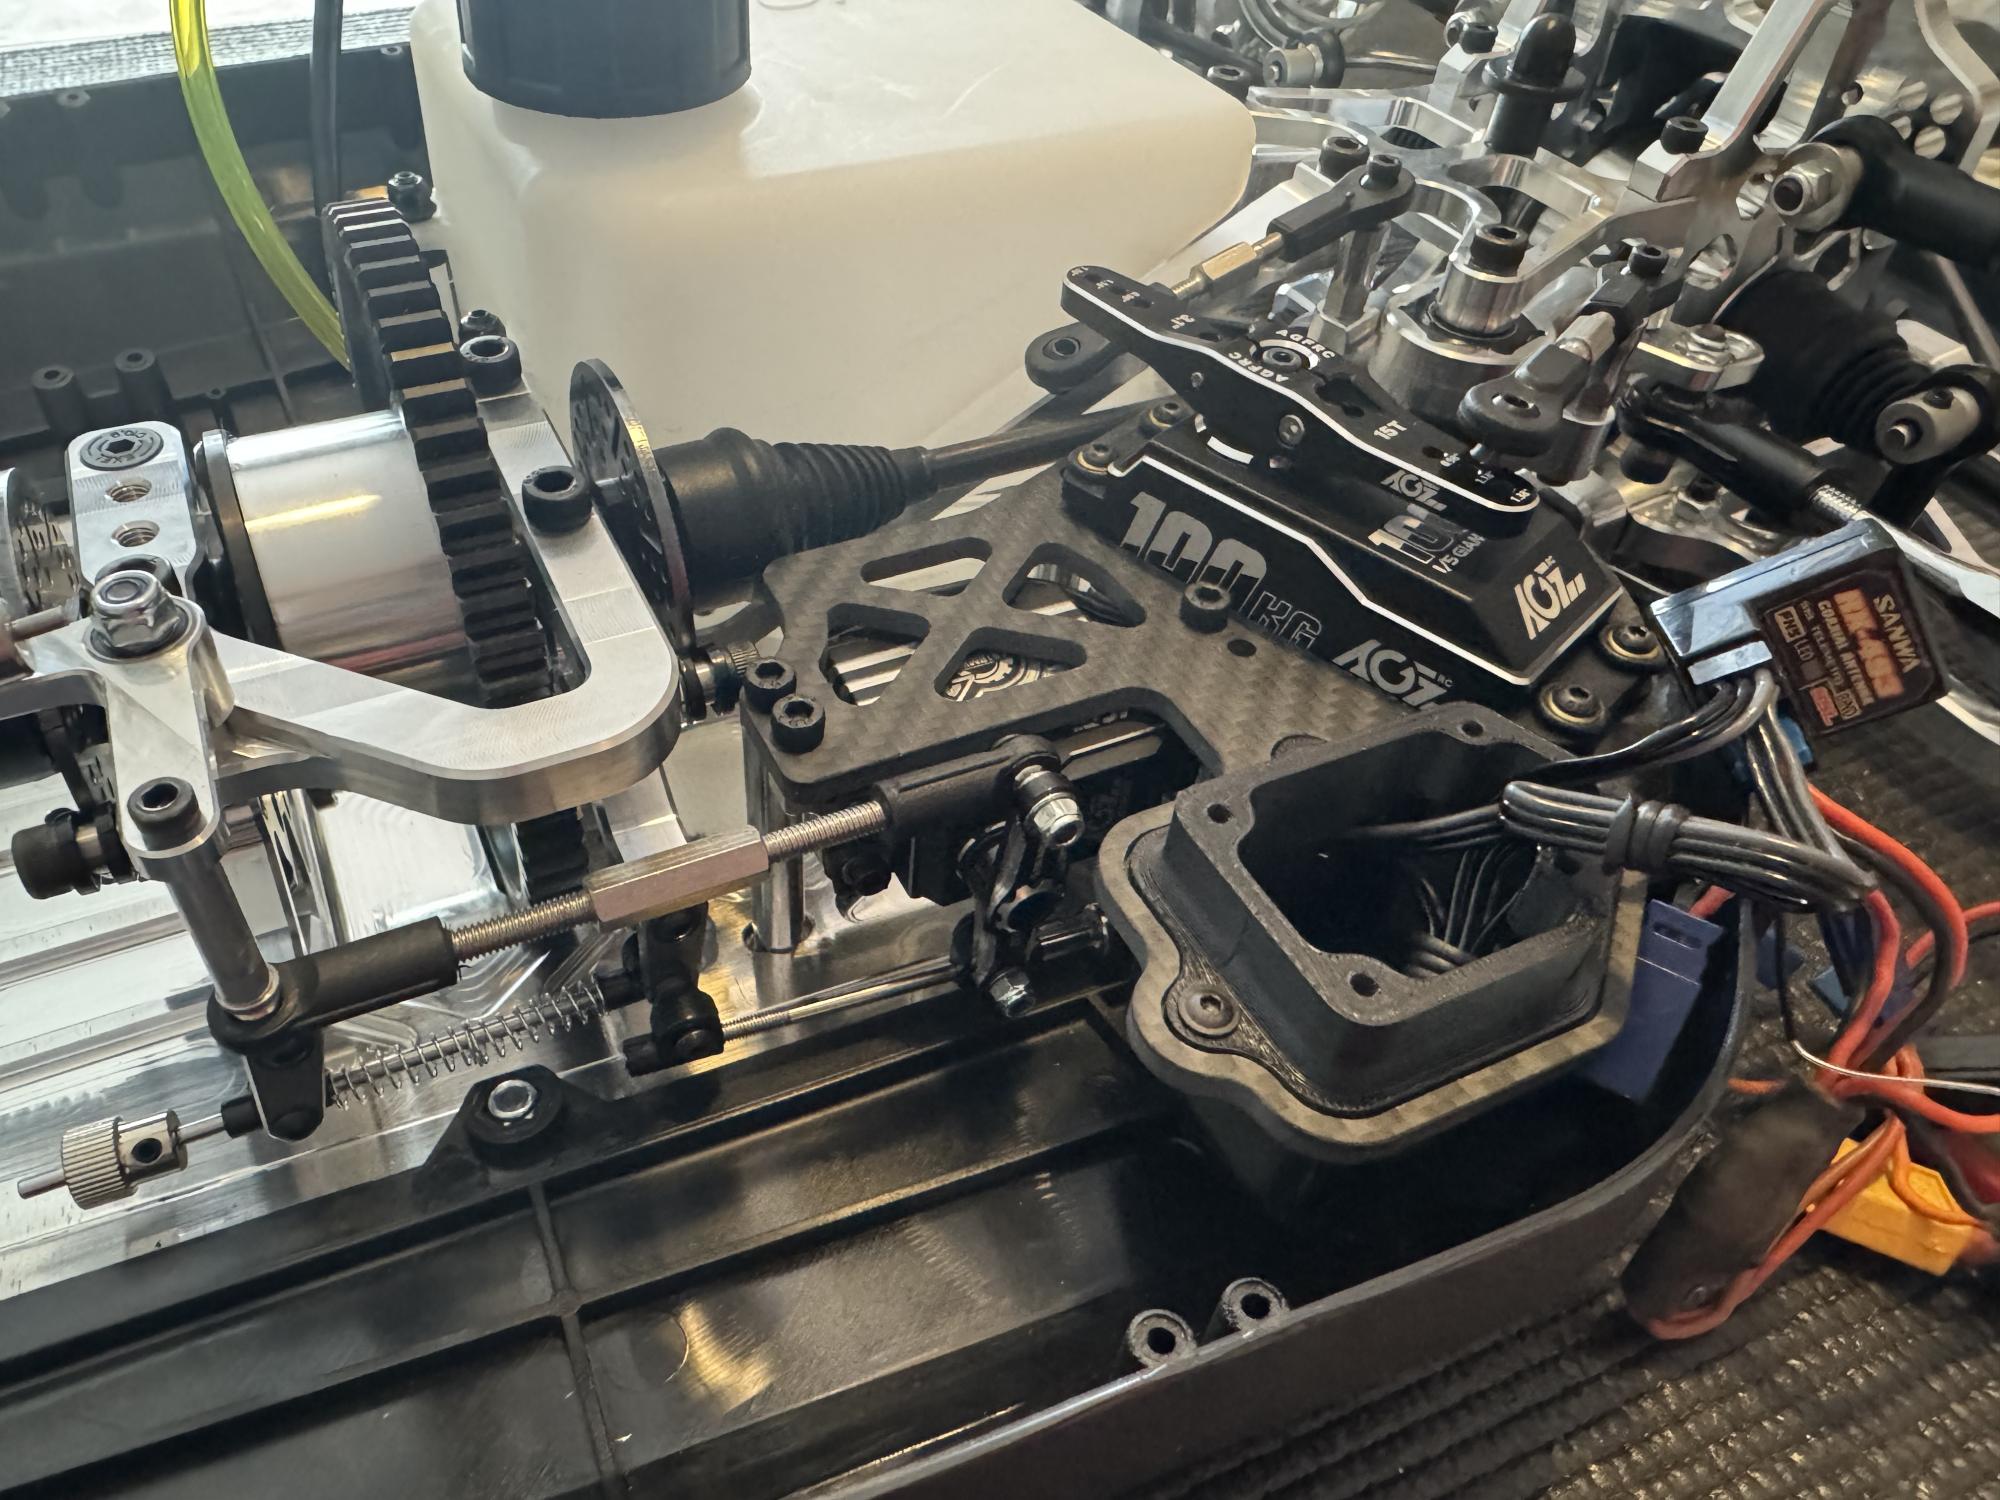
Once the steering rack is in place we need a servo to control it. The Phoenix let you choose between two standard sized servos or a big large scale servos. In the Ultron I was running two servos but this time I opted for a single AGFRC 100kg large scale servo to do the job. For throttle and brake I choose to go for a regular 55kg AGFRC servo.
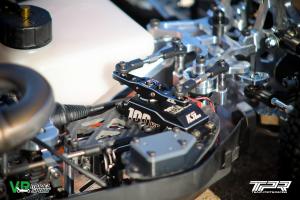
The servo tray in carbon fibre holds both servos and the radio box where the receiver, kill switch and the cable management goes. The throttle and brake servo can be accessed without removing the whole plate just be removing two screws that holds an aluminium servo mount.
The whole thing is mounted to the chassis with five posts for a stable and solid construction. The throttle and brake servo is using a double arm to mount linkage to the throttle L-arm and the double levers for the front and rear brakes.
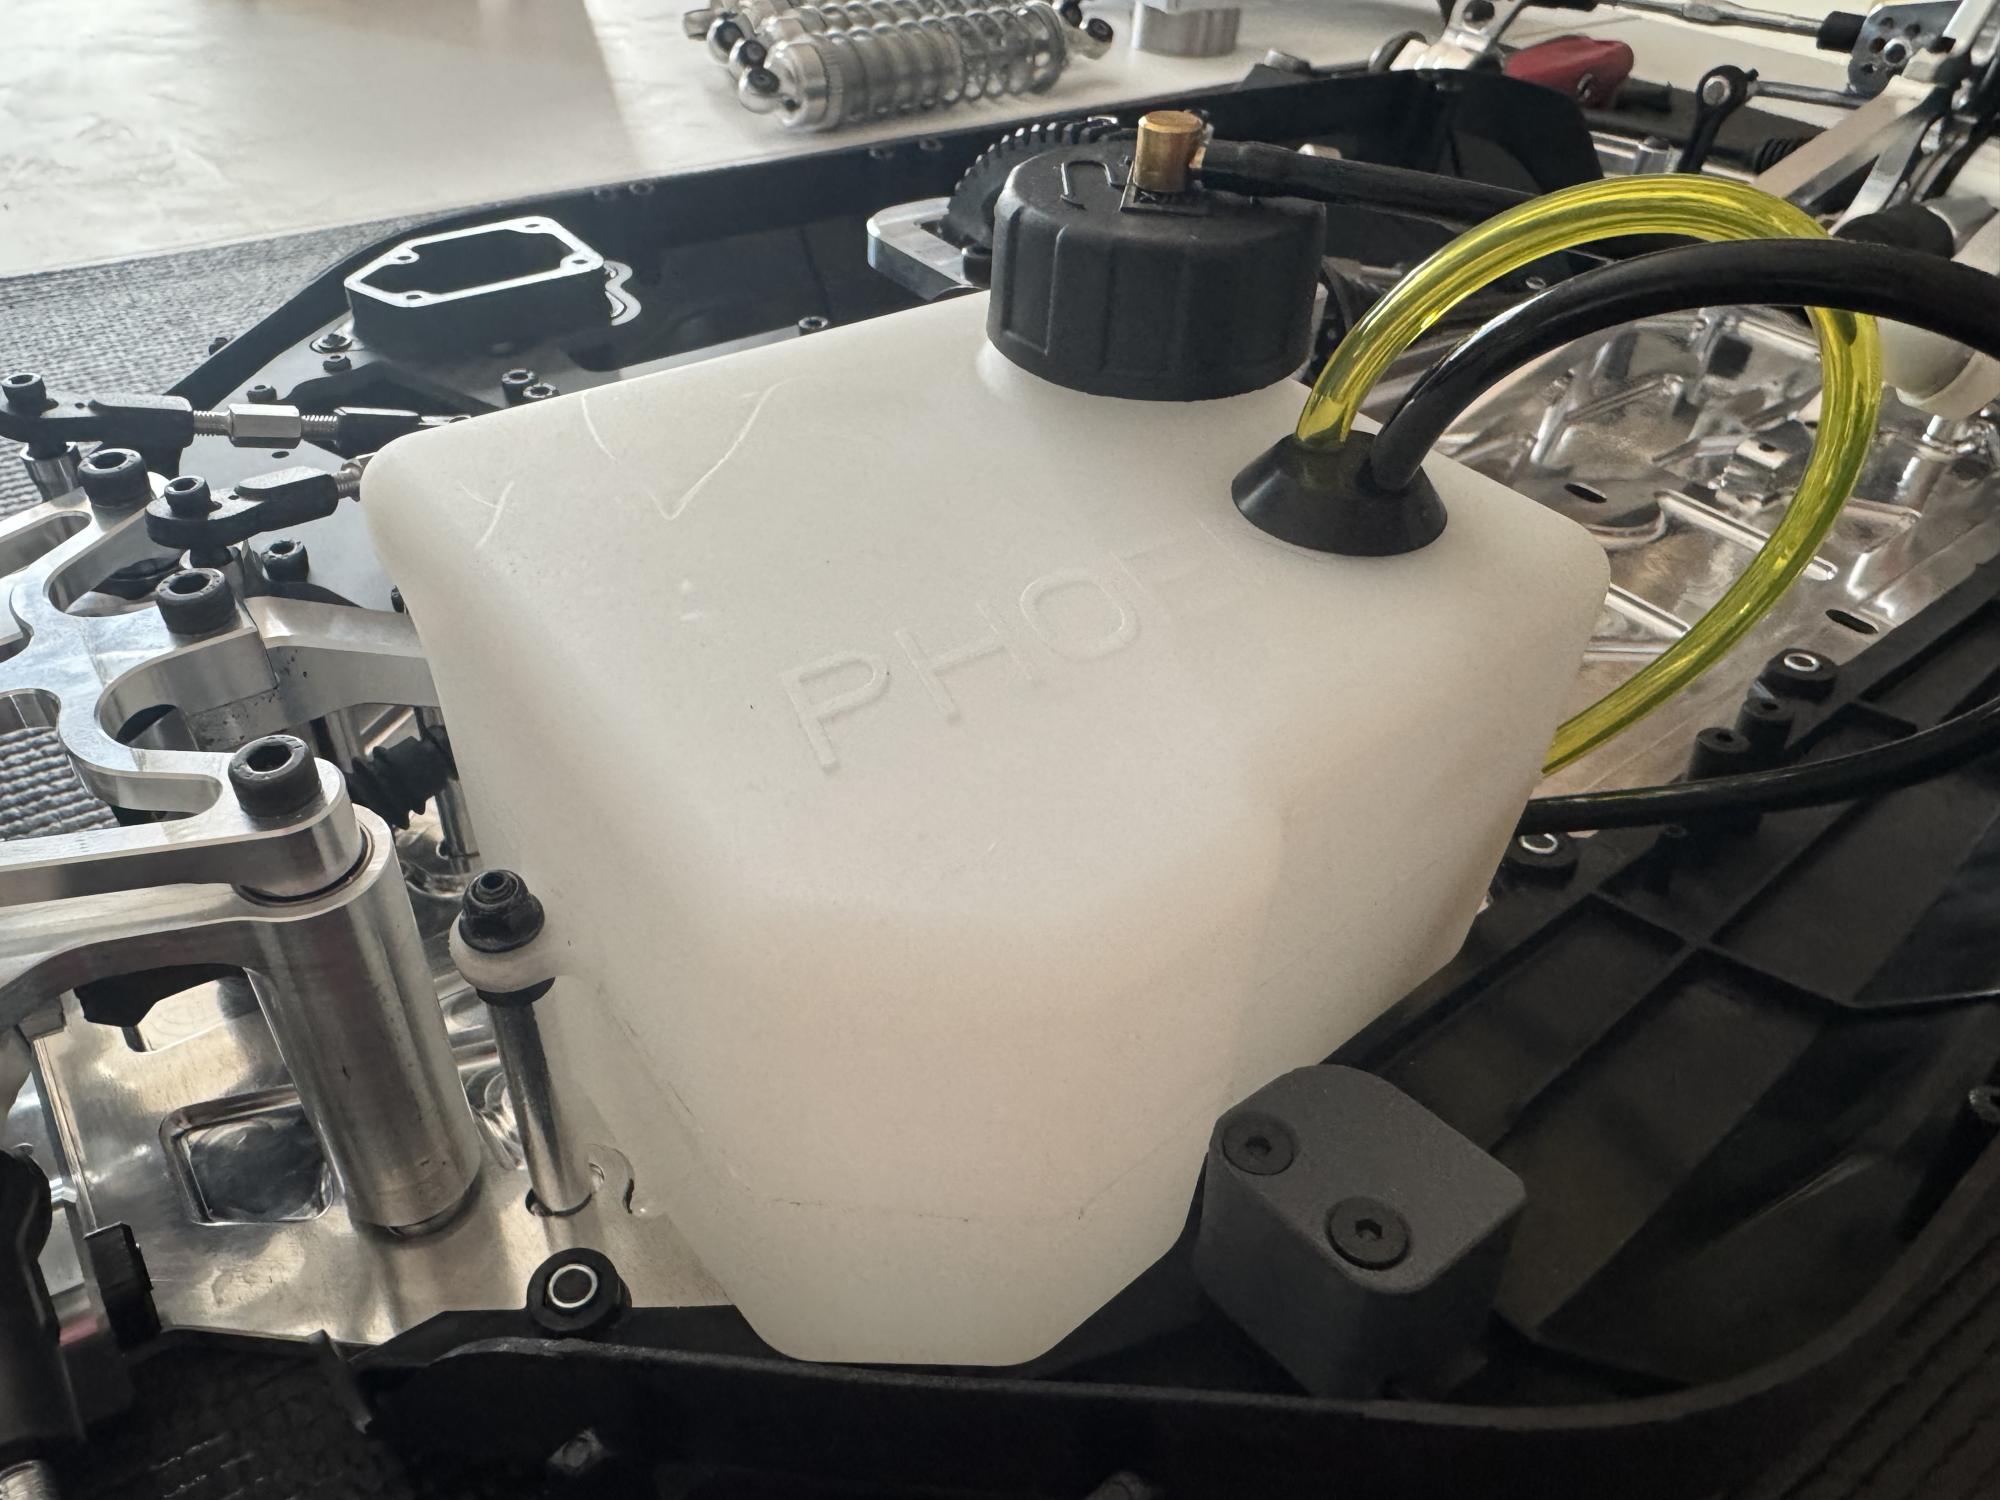
As a final piece for this build the tank is mounted on the three posts in the chassis. The tank is fairly standard and has a simple almost squarish design. The tank holds 950cc so make sure to have balls or other volume compensating parts if you have 800cc EFRA rules where you compete.
Next time we mount engine, exhaust, shocks and the wing for a final part of this build series. See you back then! |
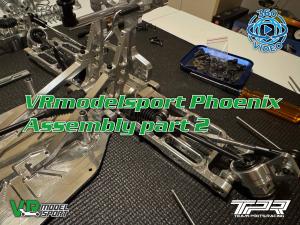
Phoenix front and rear assembly, part #2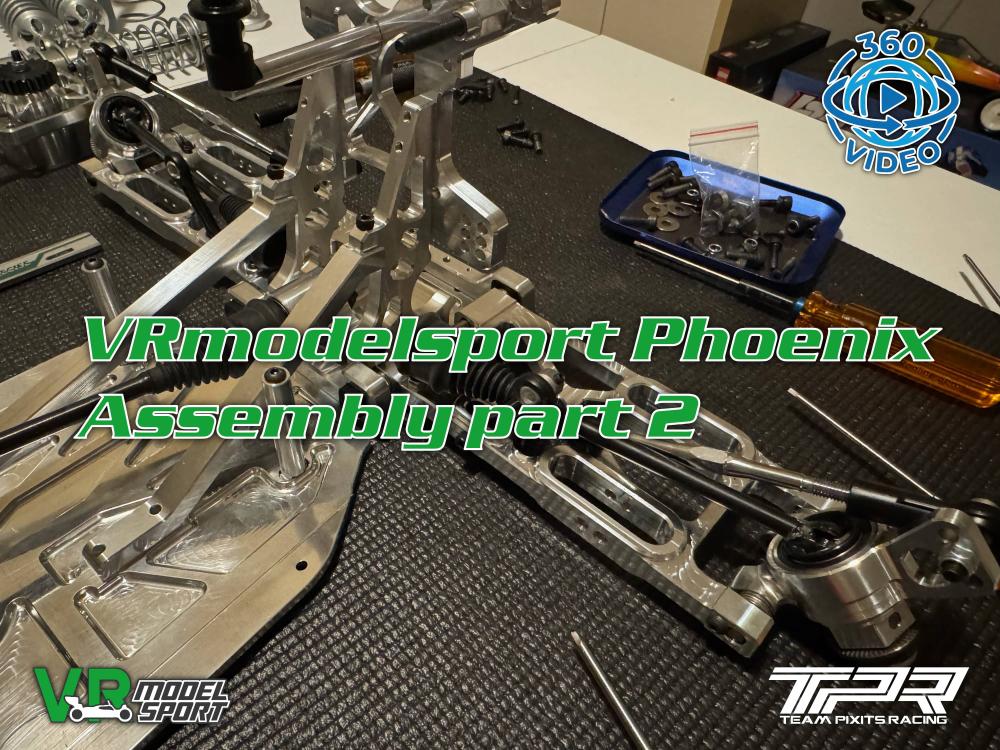
As introduced last time we have even more 360 videos for this post. So make sure to check them out in the right hand column or below if you're on a mobile.
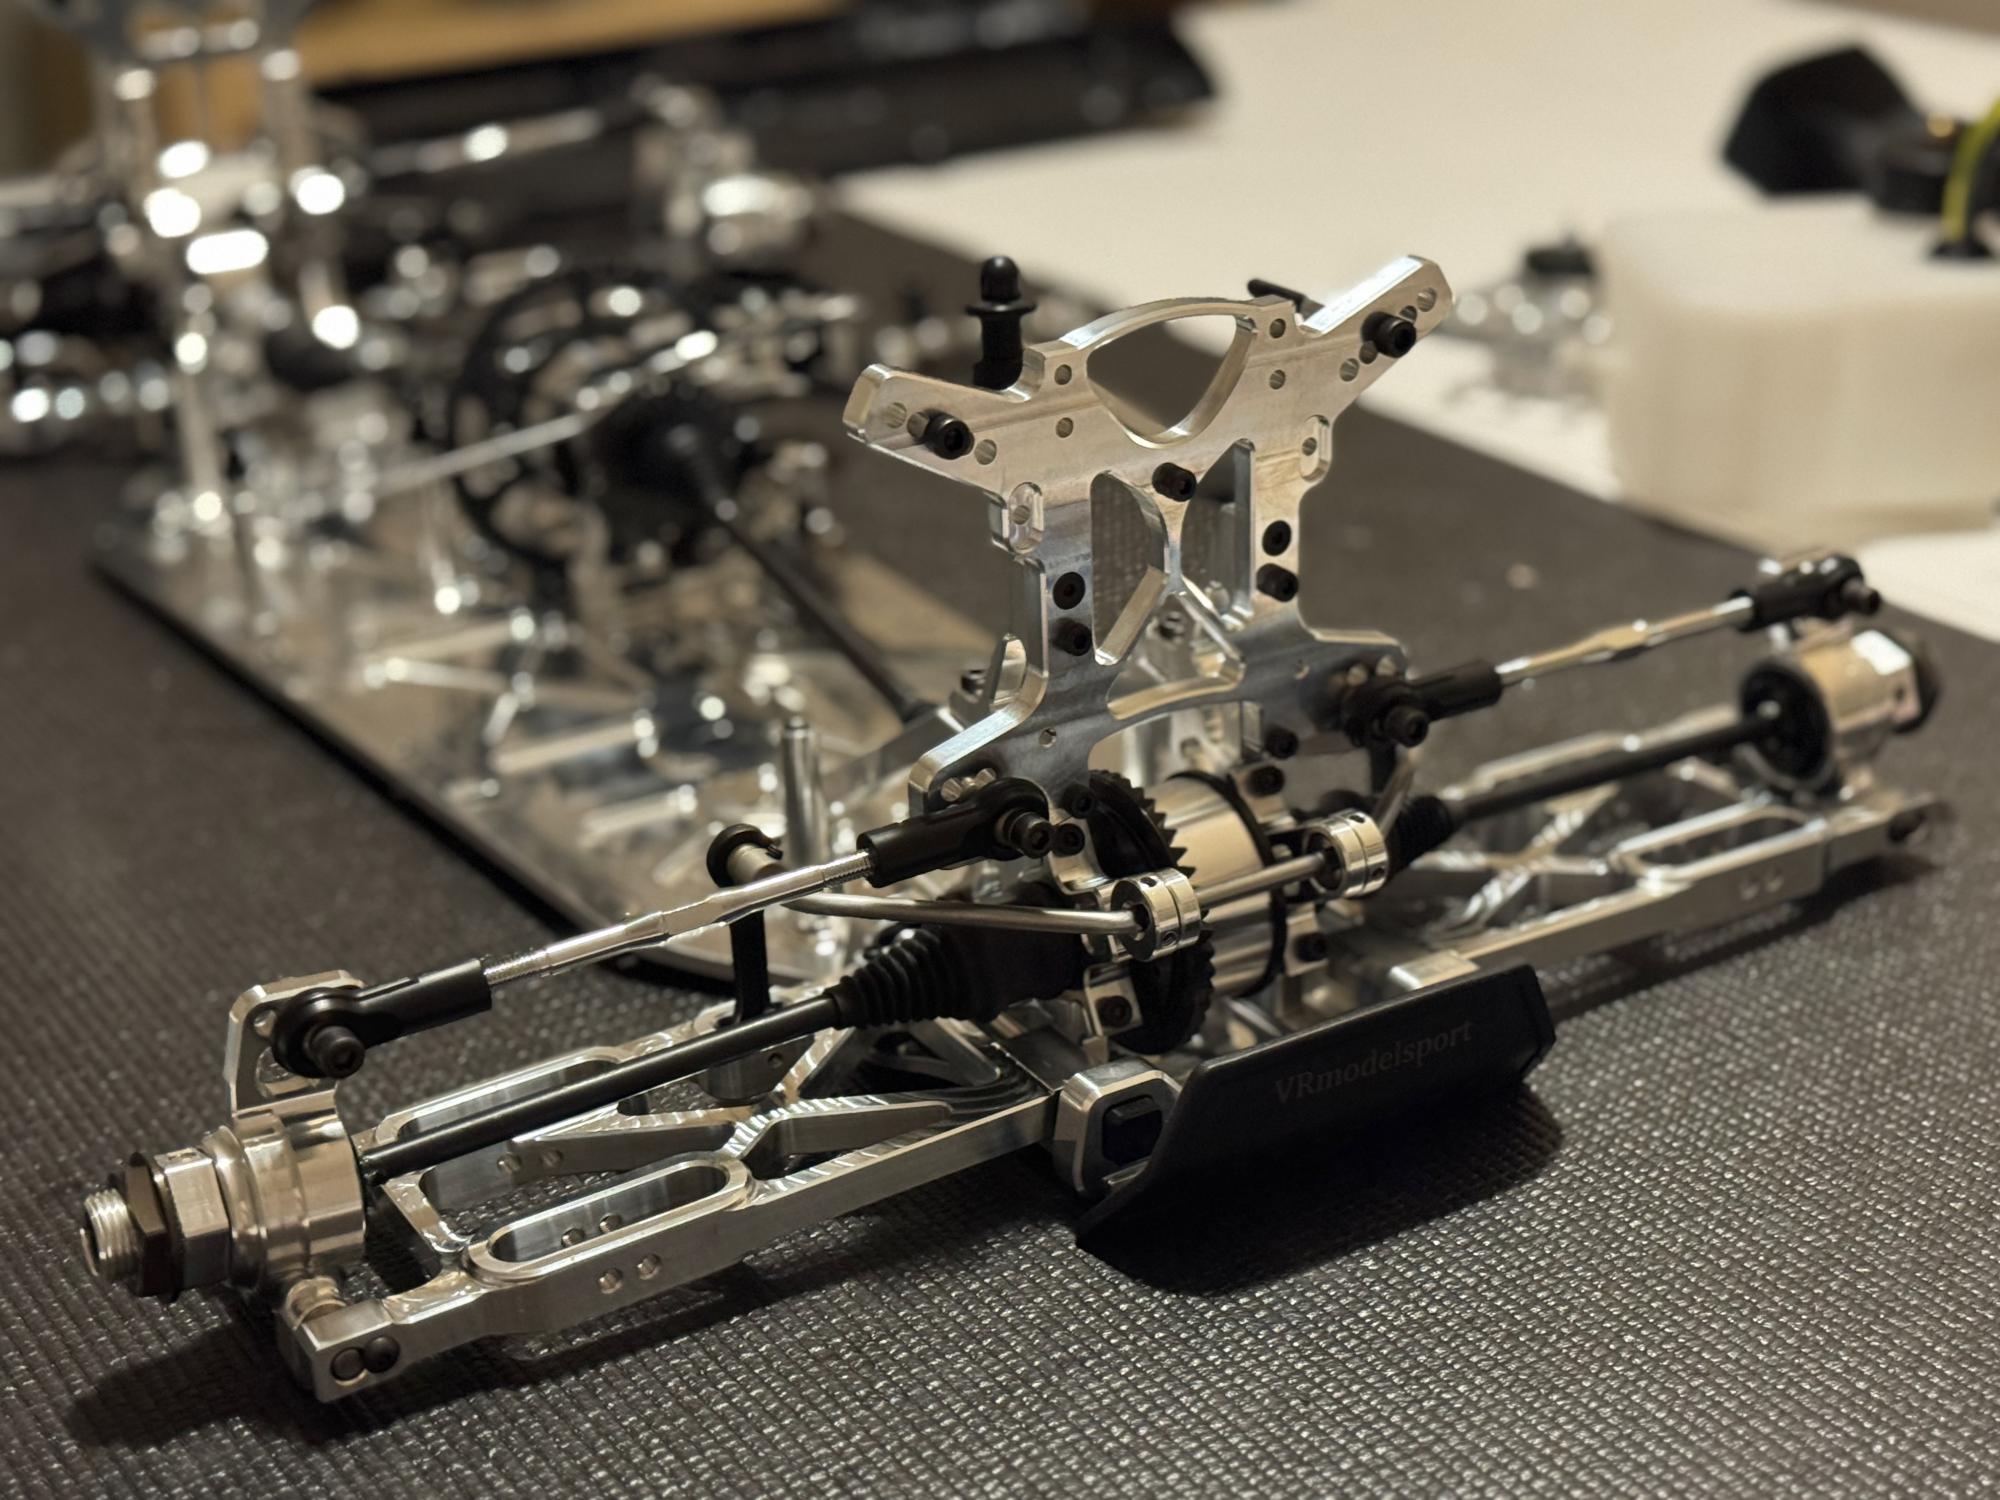
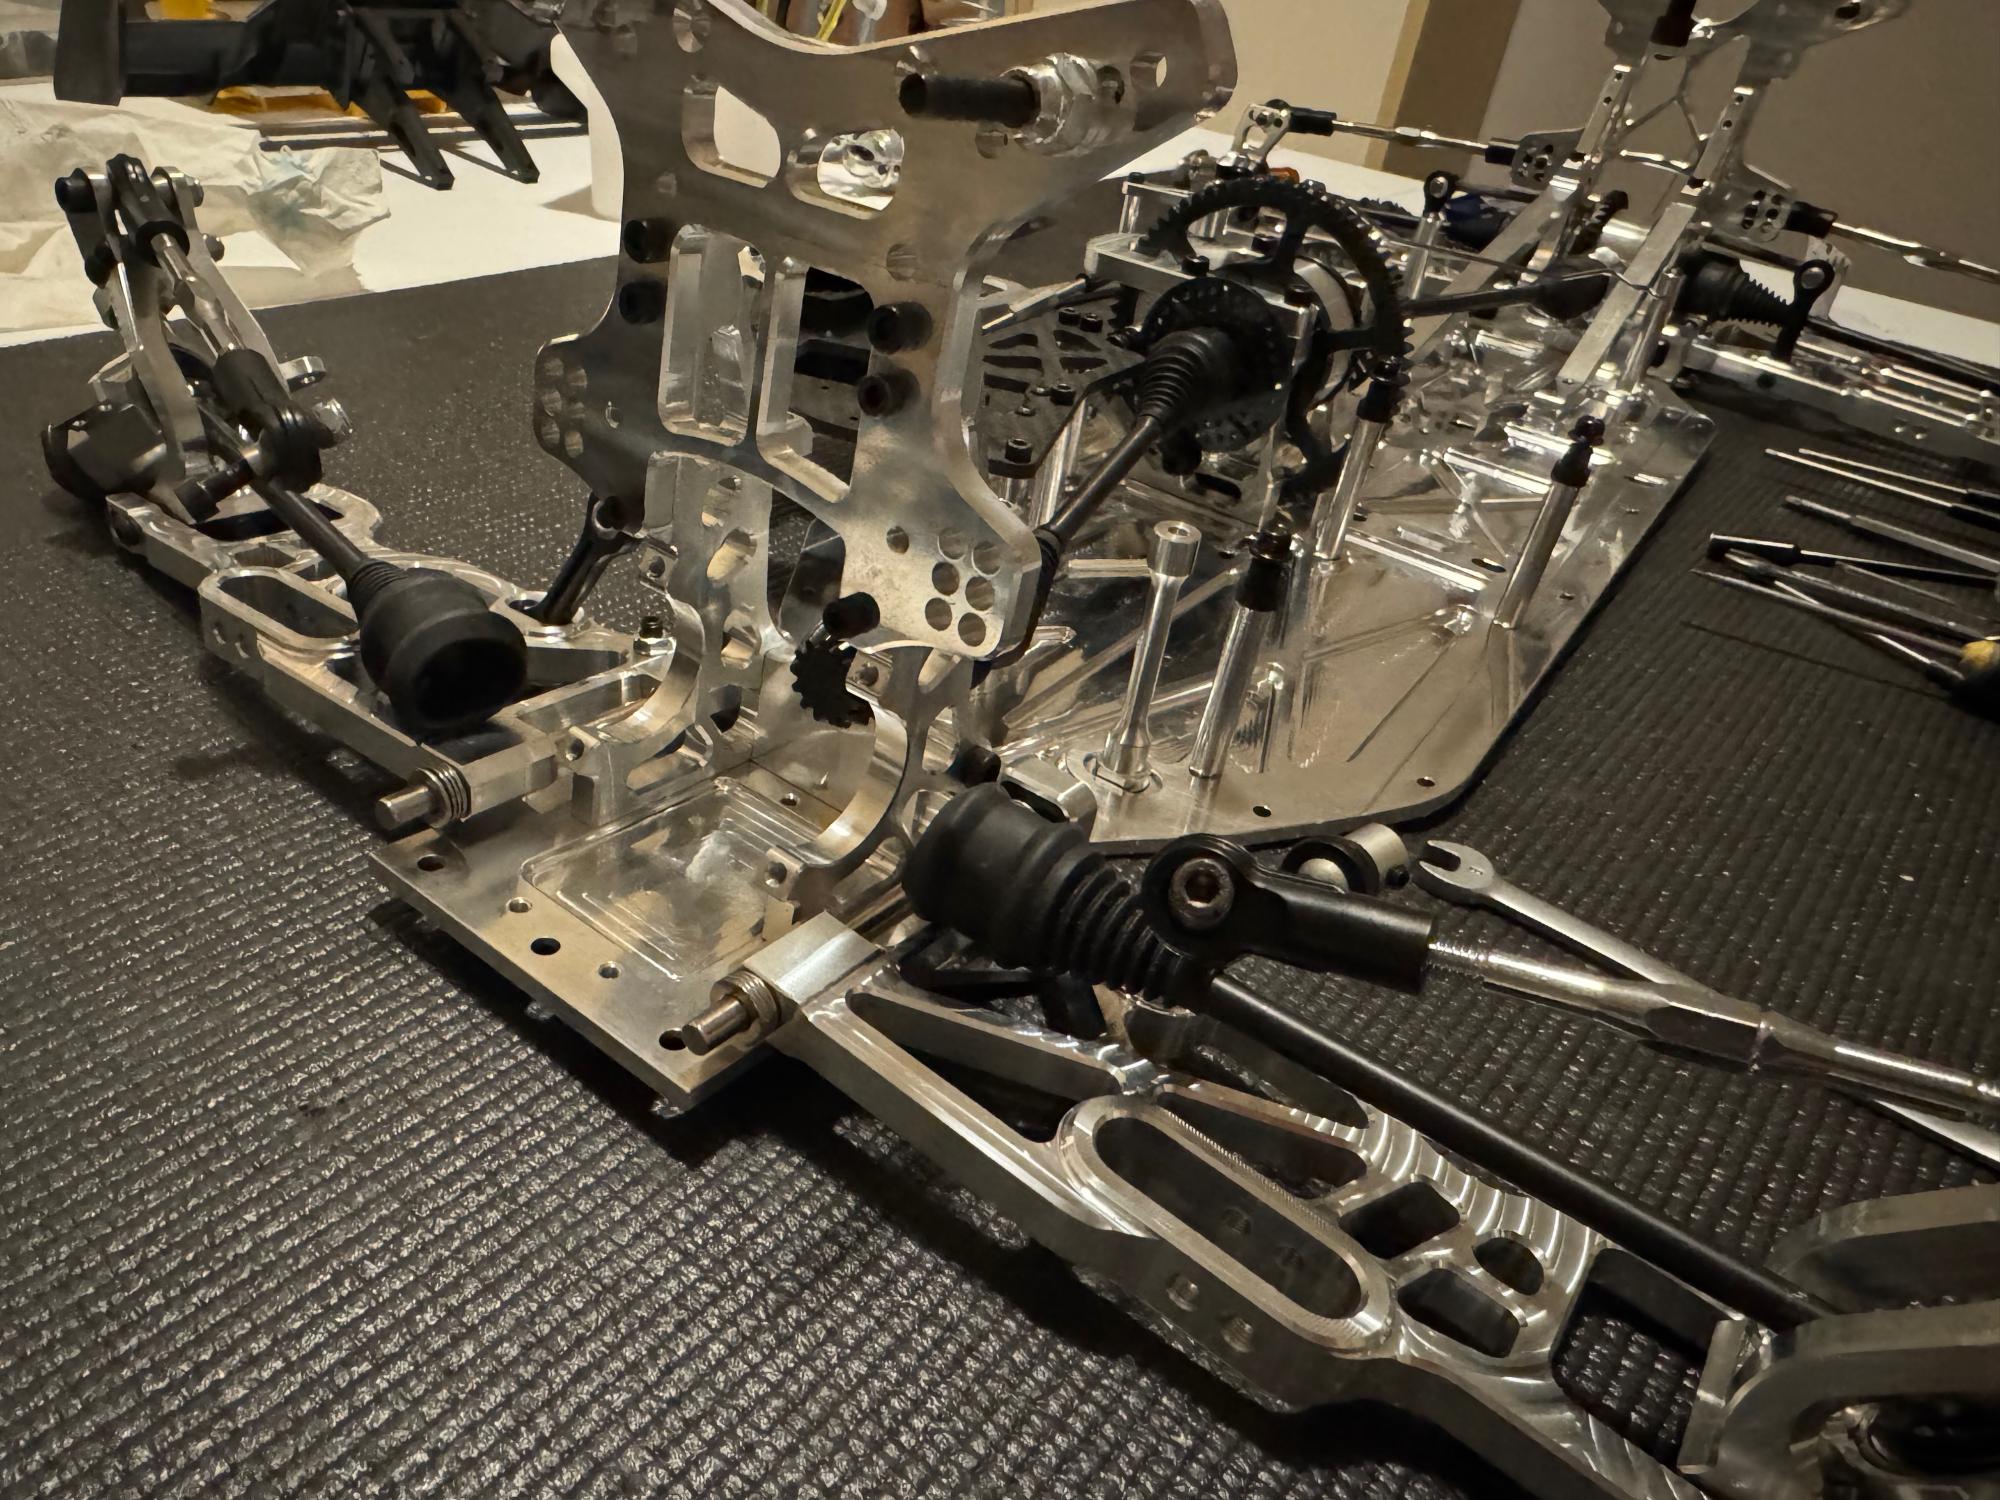
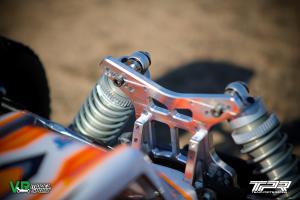
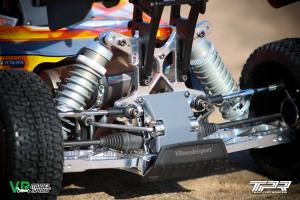
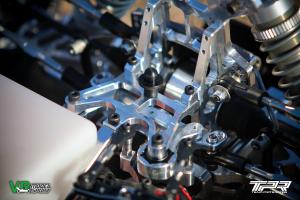
After mounting the center diff mount and different posts lets continue to the front and rear parts which houses both diffs, towers and suspension parts. Well start but noticing one thing. The four support braces carrying the shock tower mounts and holding the diffs in the rear and front are all the same. This is a smart design choice as it makes it easier to fabricate but you also need less spare parts.
Two braces together with the shock tower and the holder for the angled gear connecting with the diff main gear creates a sturdy construction that is mounted directly to the chassis.
One of the small details that really adds to the whole impression that this is very well thought out is the small slots in the chassis where the braces fits in nicely, the same goes with the central engine mount. This makes force distribution more event and everything is not just on the screws.
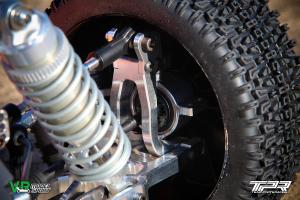
As you can see on the image for the transfer gear it's curved to create a smooth mesh with the main diff gear. This improves efficiency and reduced wear and sound in the drivetrain. The arm mount brackets are mounted separately to the chassis meaning that you can remove the whole shock tower package but still have the suspension arms mounted on the chassis. This is great for serviceability off the car. It makes for some more screws underneath the chassis but it's good to have these parts separated.
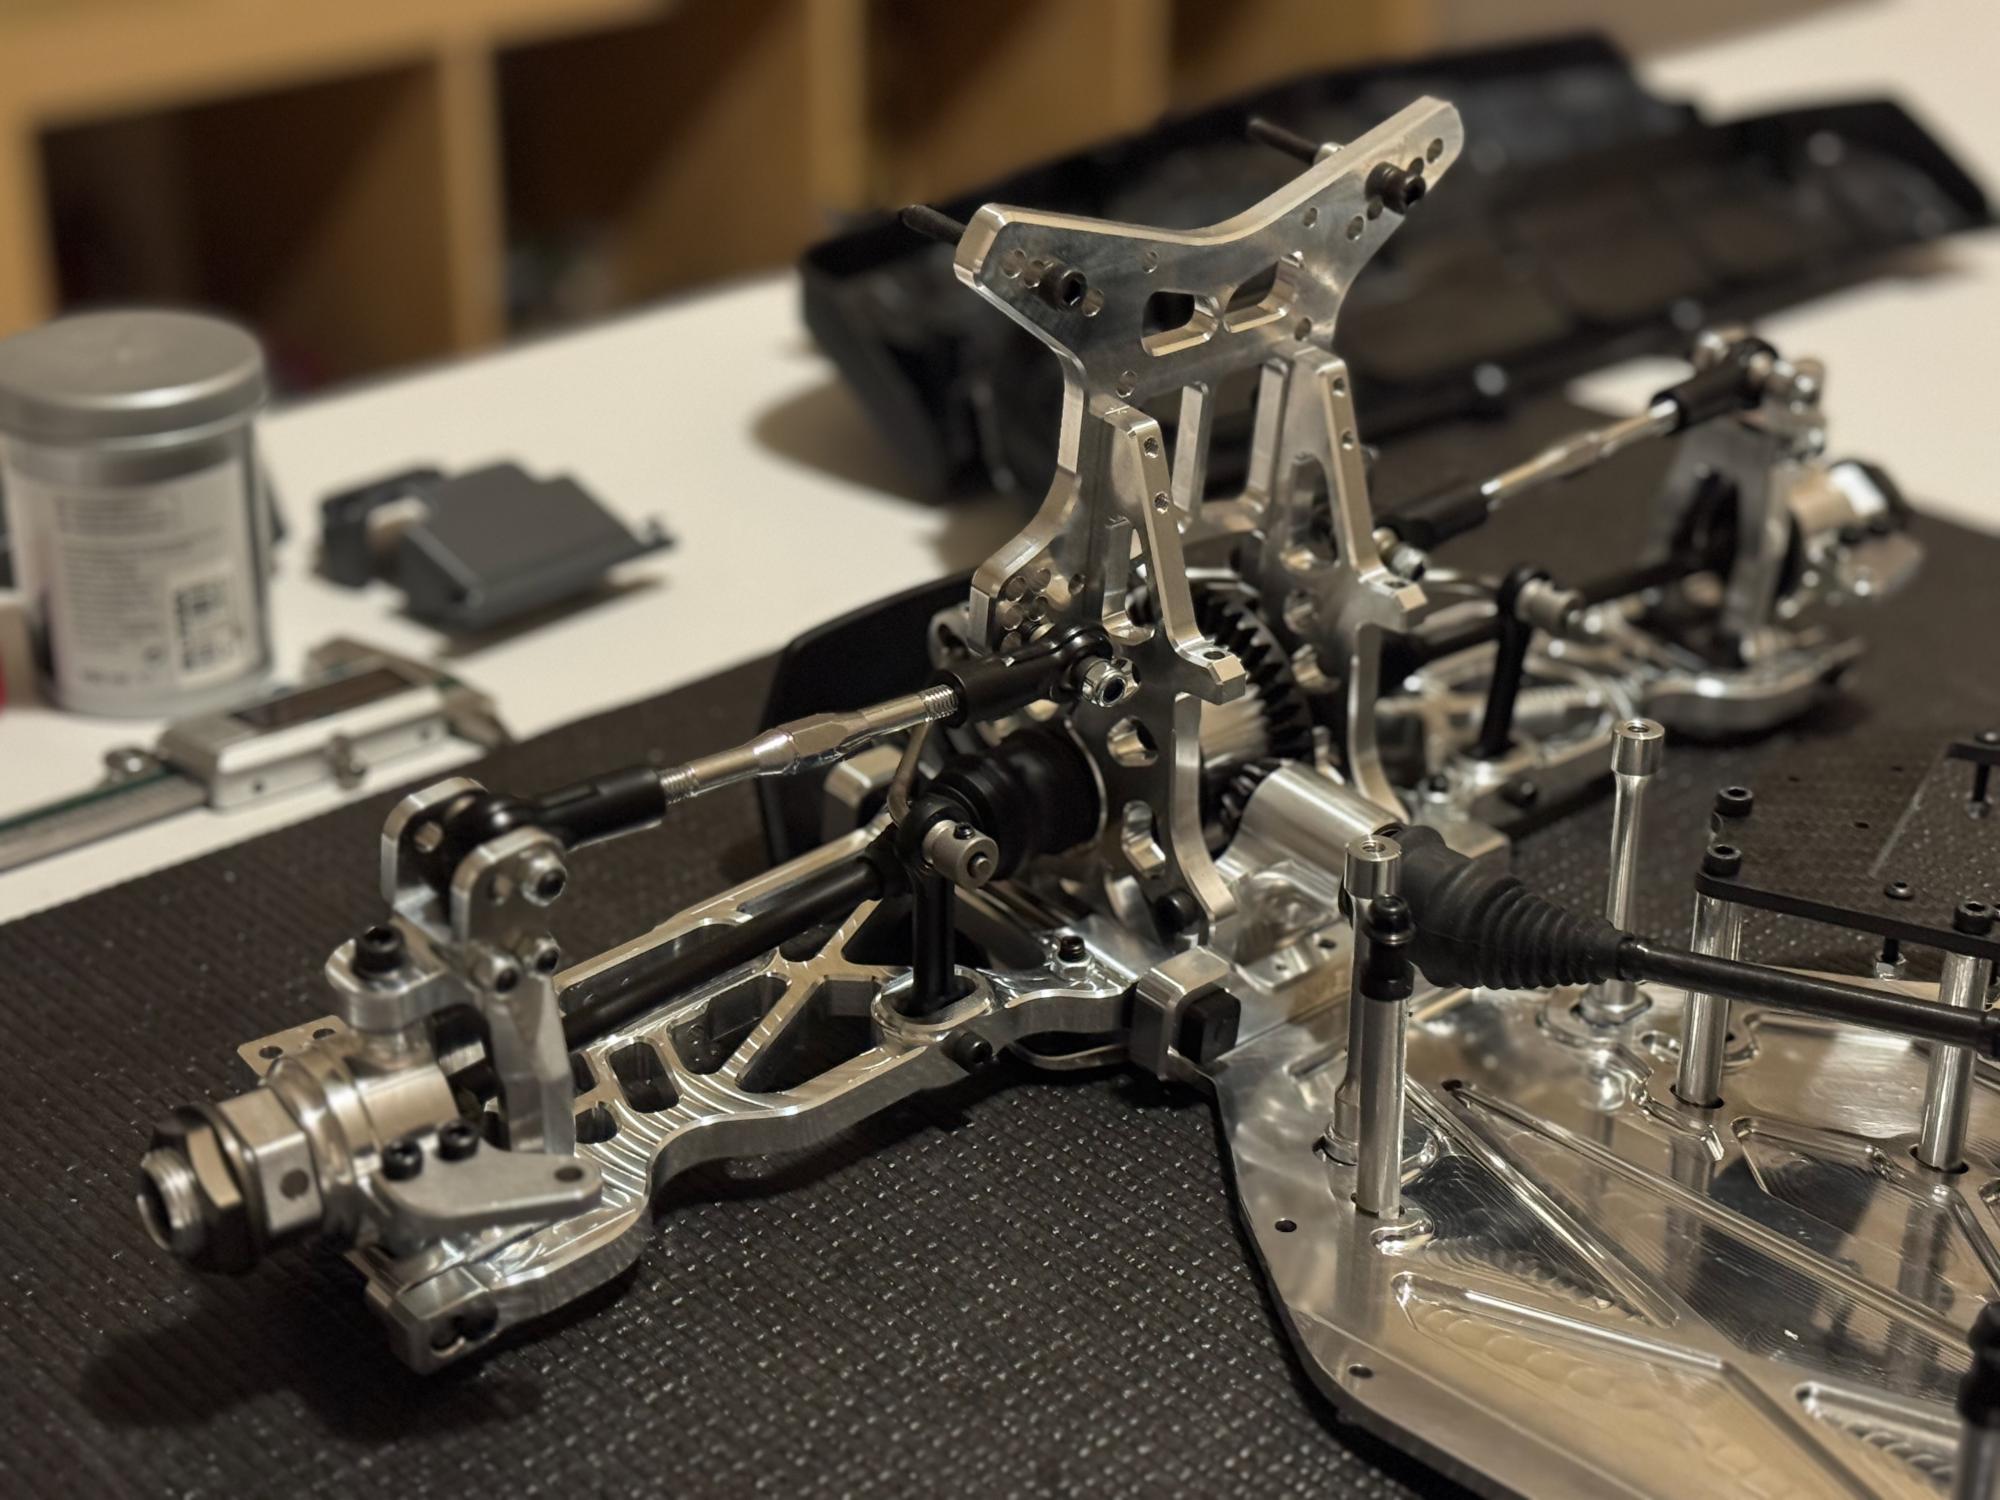
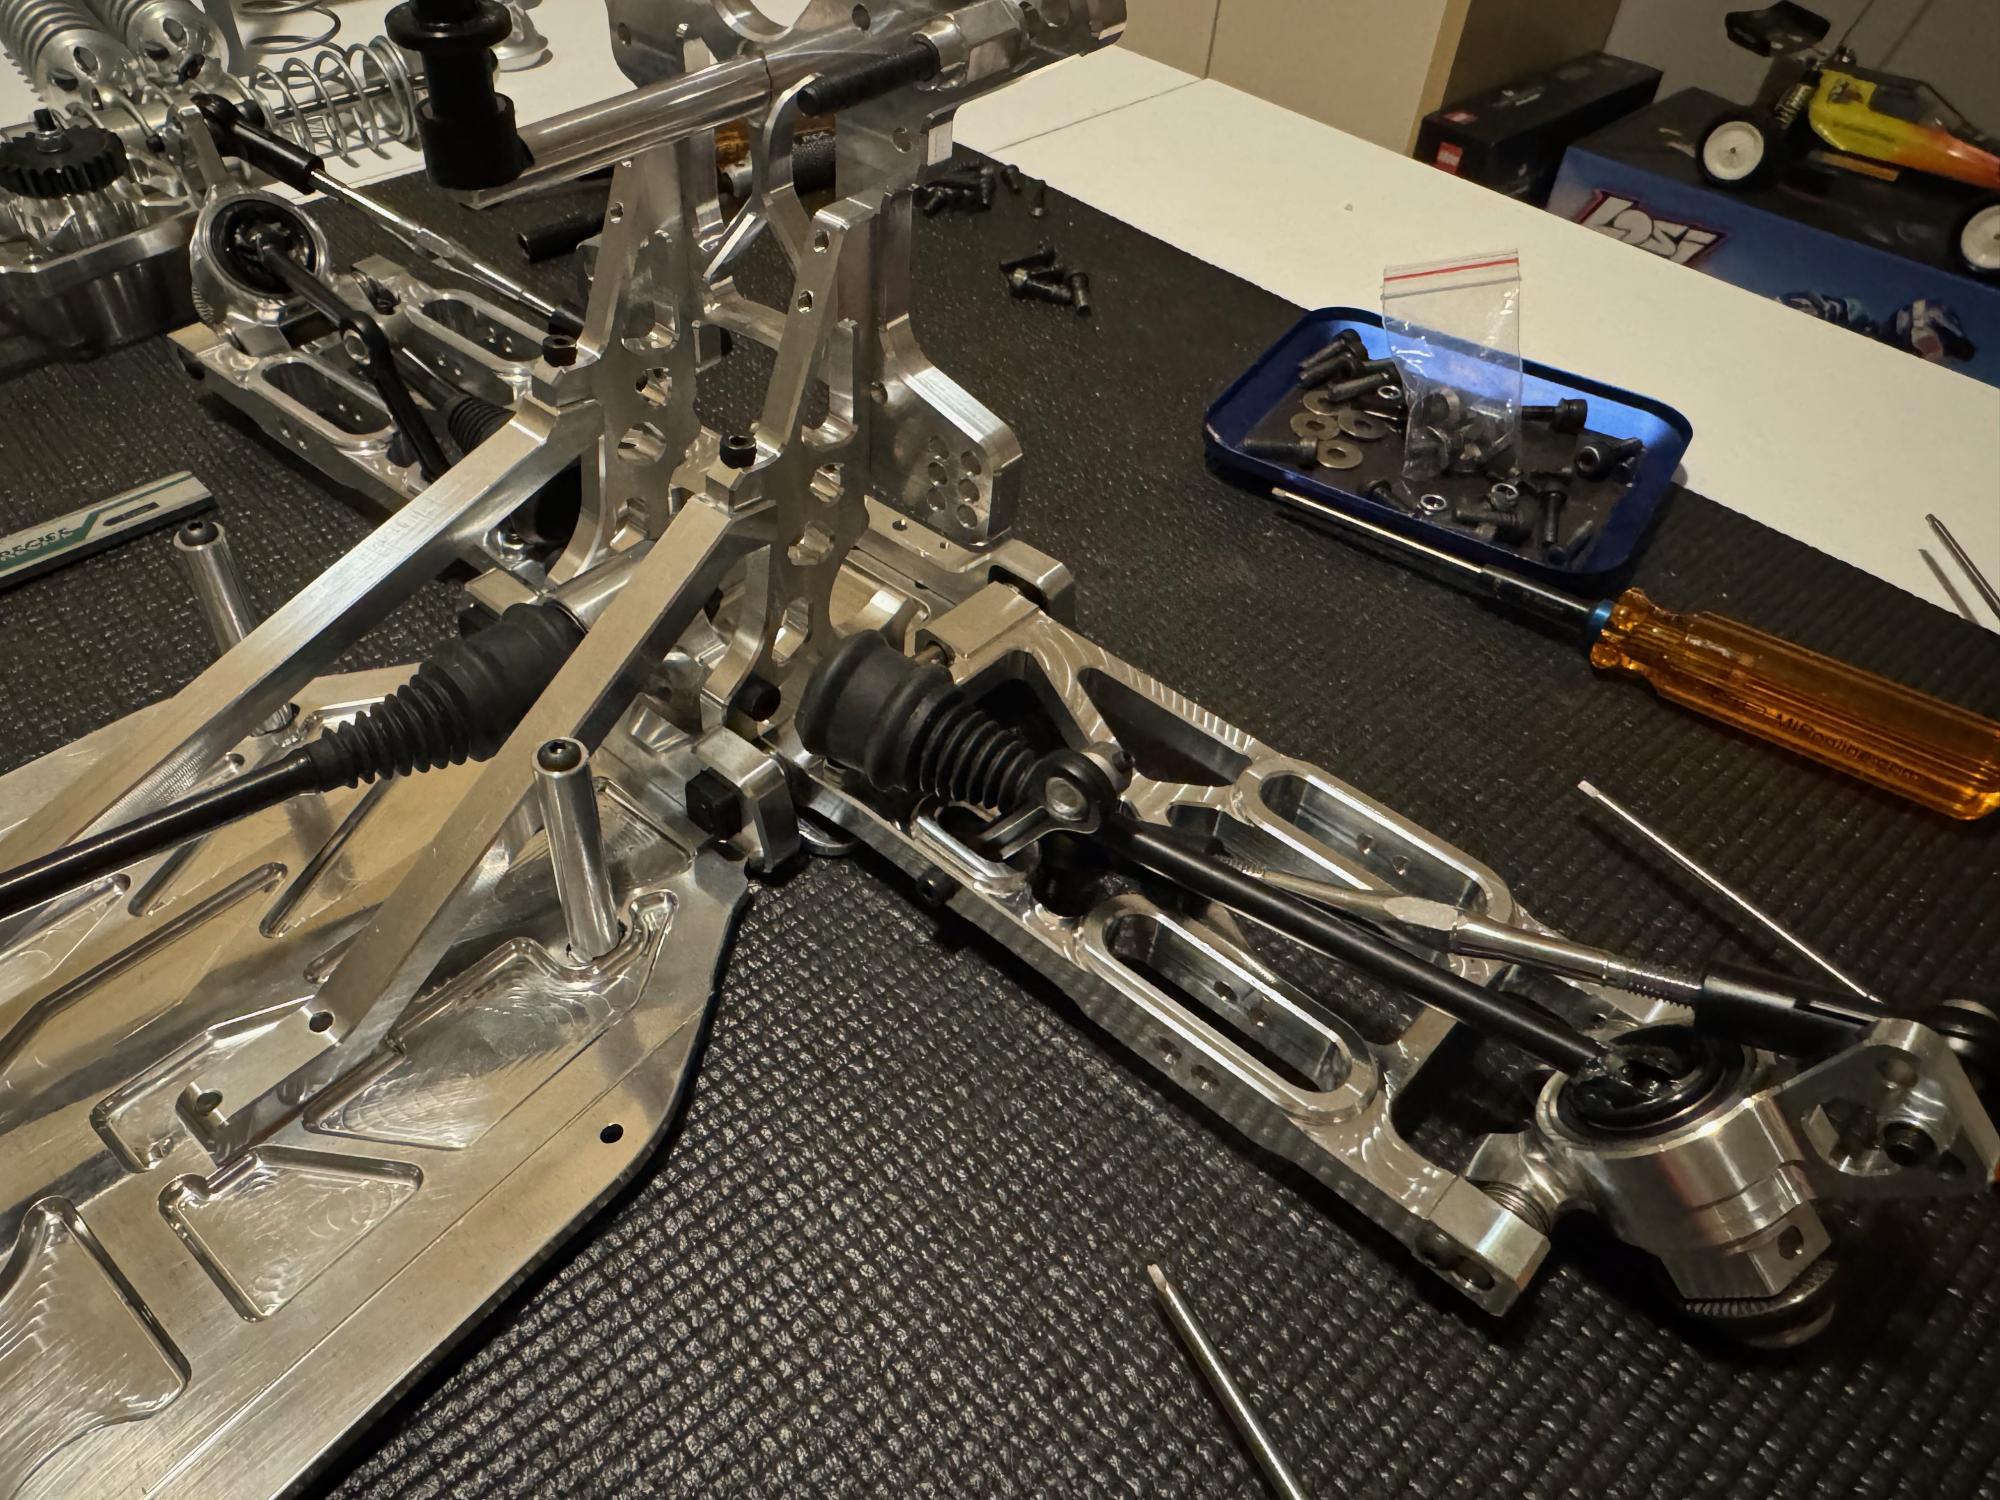
There are 3 different arms mounting brackets. In the front they're both the same A, in the rear it's C and D as there is a built in 2 degrees toe in.
The plastic pills are now the usual kind that you can rotate and create different toe in and anti squat. There are three different pills, one with the whole in the center, one off center and one in the corner. By mounting different ones and rotating them you can create 9 different positions for each and combining two you get good flexibility in fine tuning your car. The rear and front looks and are designed pretty much the same so no need to repeat my self. Instead lets move on to the suspension arms.
The arms has small stop screws to make sure the hinge pins doesn't fall out. This is much better than the C-clips solution that the Ultron had.
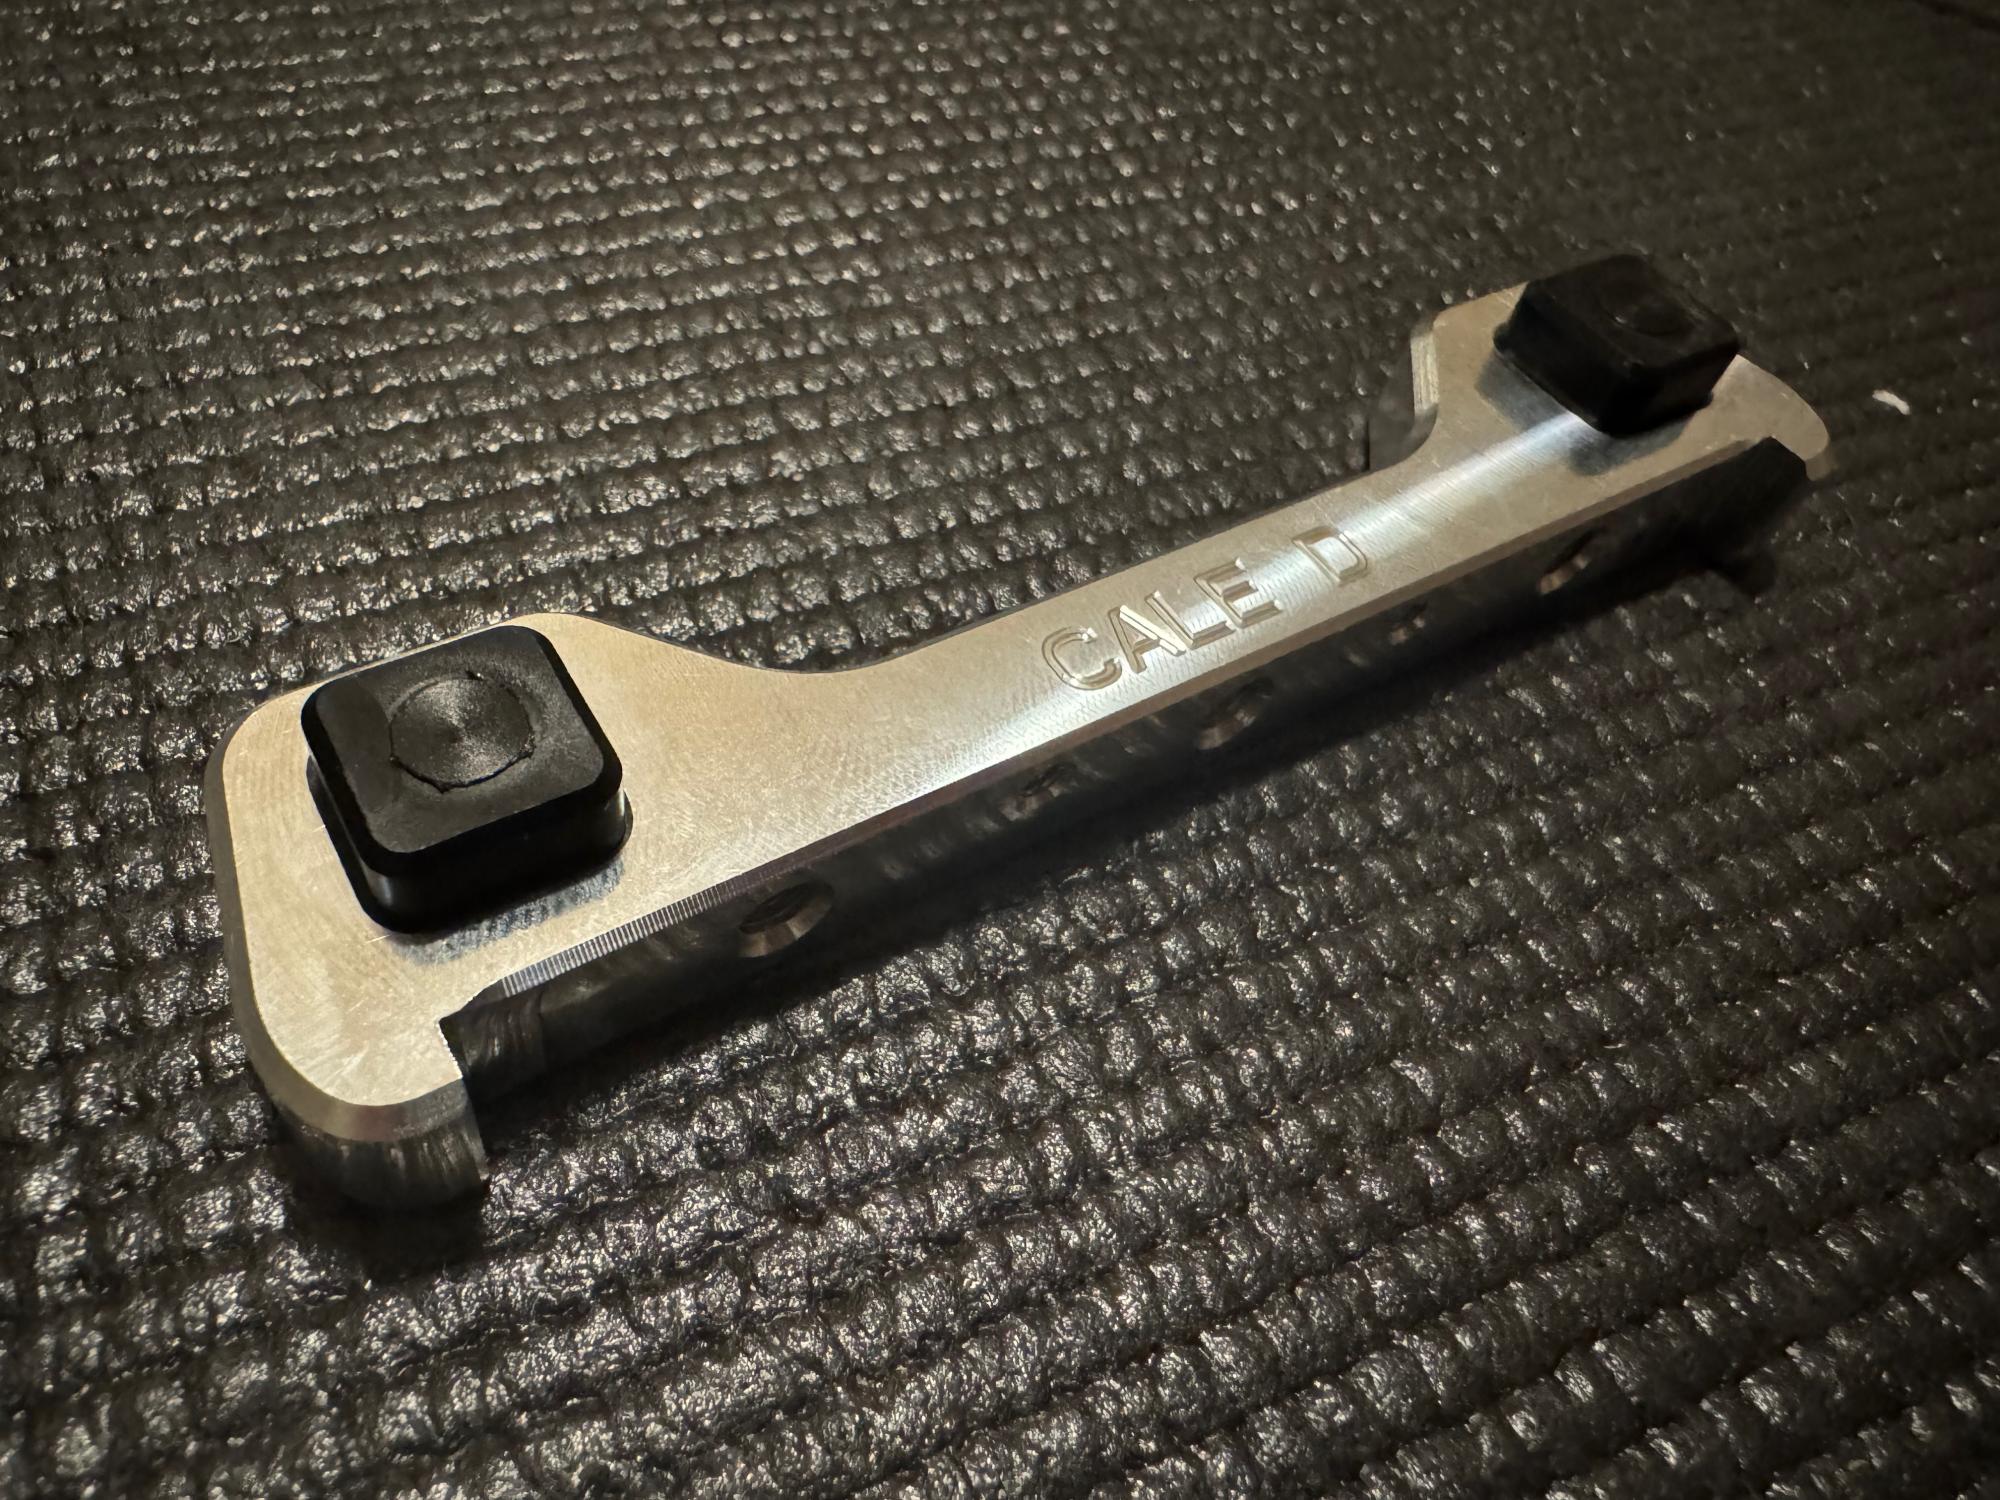
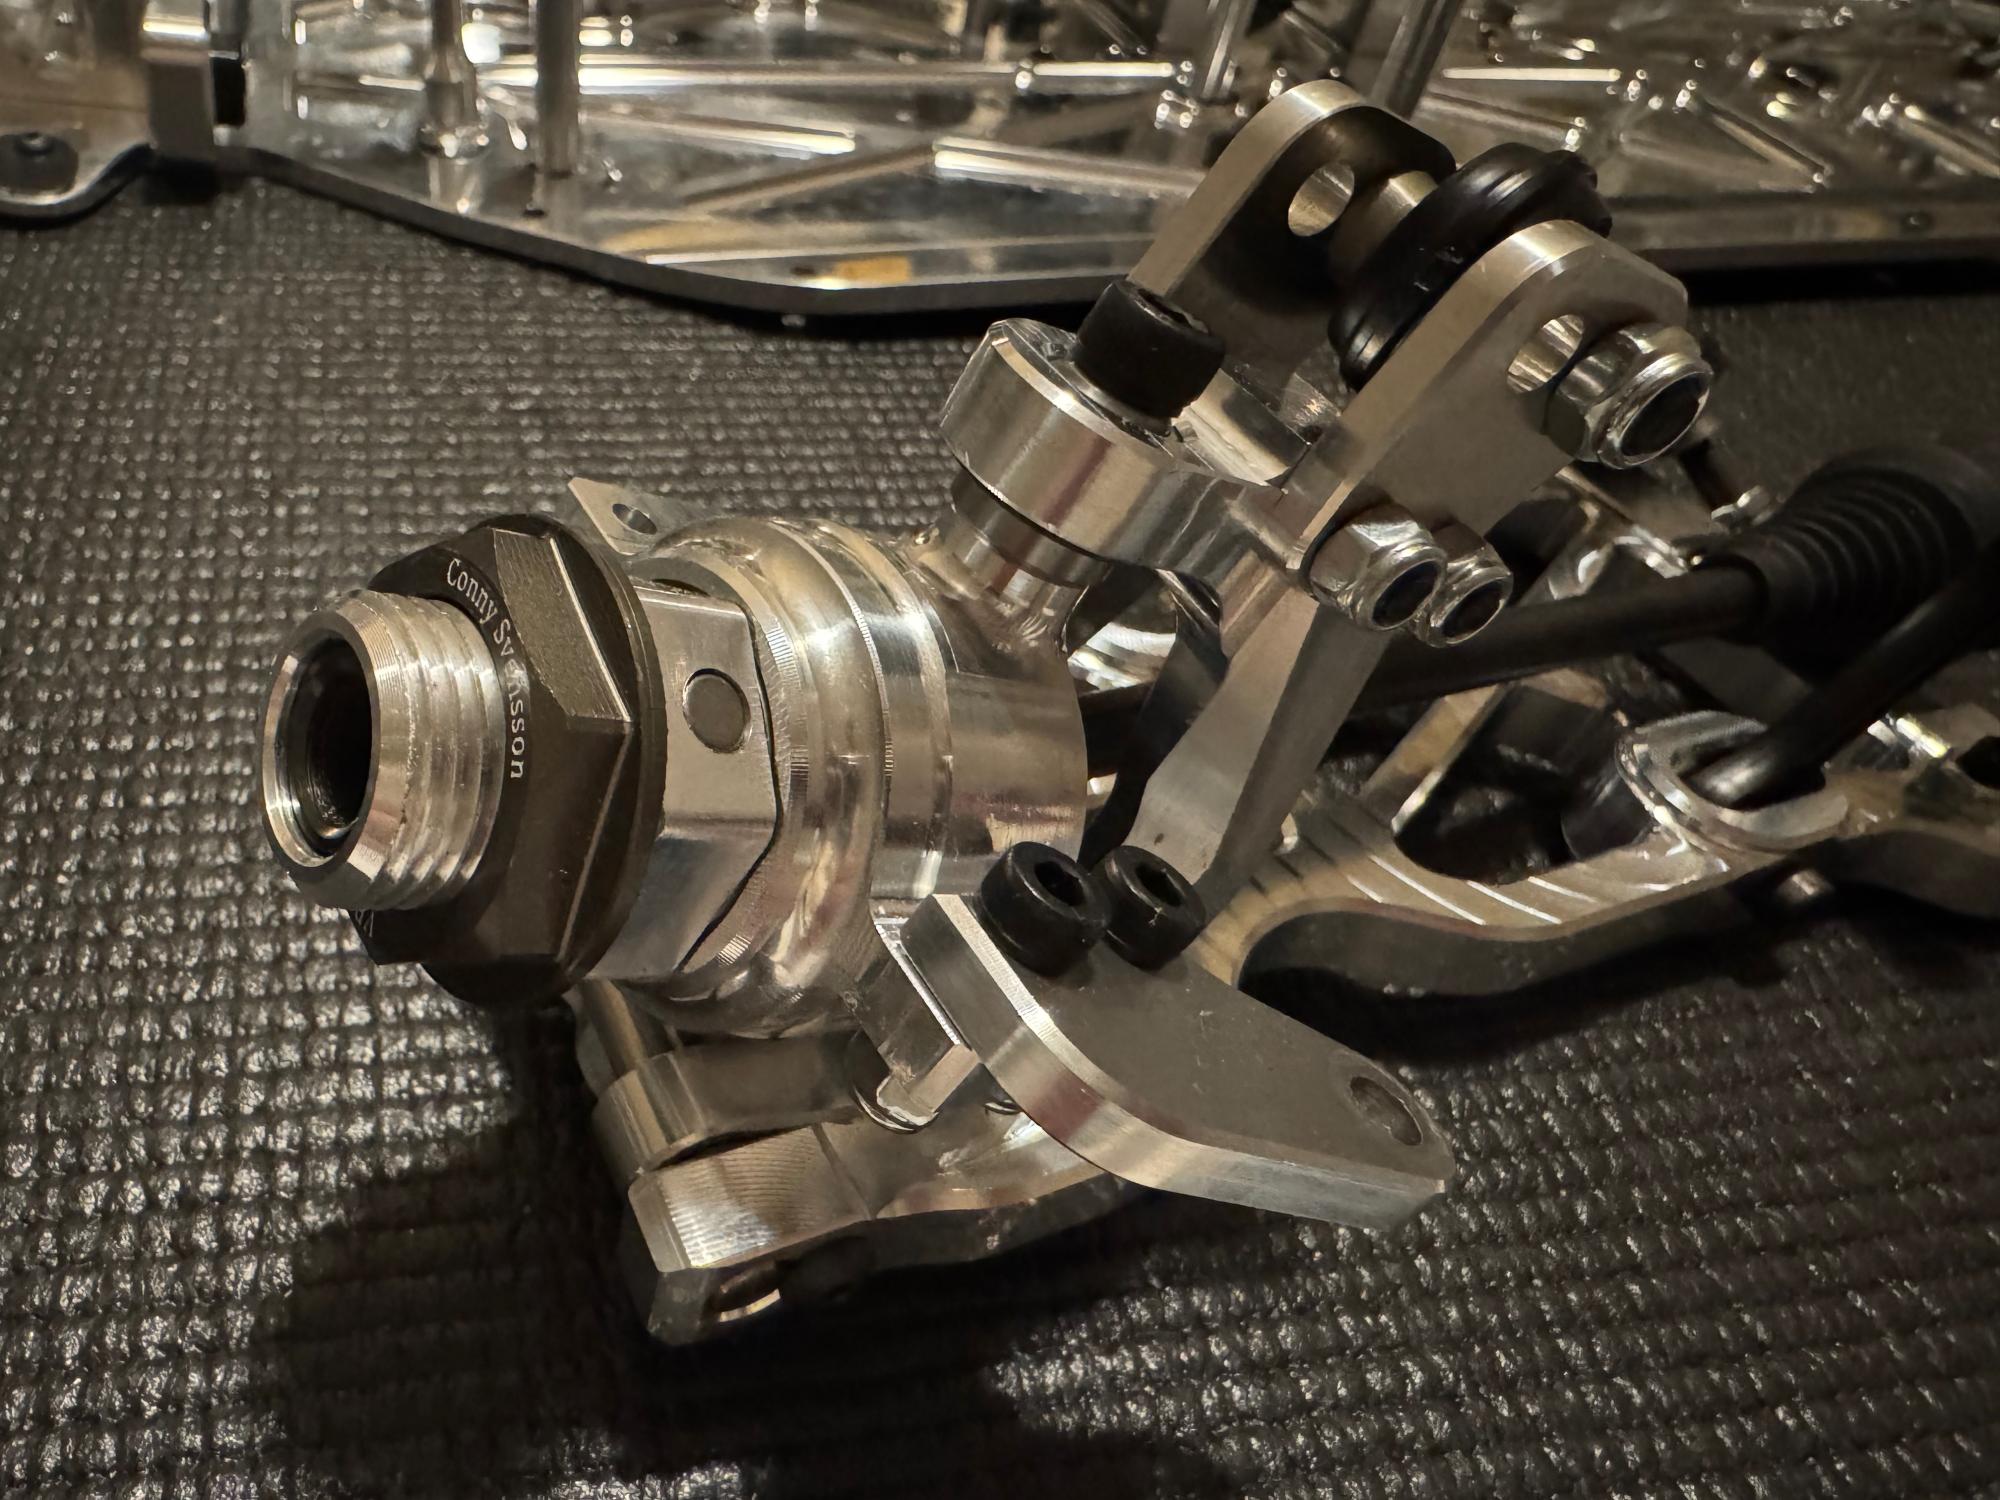
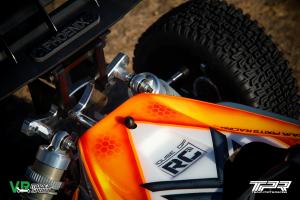
The front uses a regular C-hub design instead of the pivot ball construction that the Ultron has. The design and construction is very solid and there is no slop whatsoever. The real test is how this is after a couple of races. Does it stay the same or start wobbling when plastic bushings get worn? As noted before but can't get mentioned too many times are the nice little details like your name etched on the wheel nuts. A supercool little detail! Both the front and rear arms can be moved back and forward by placing spacers on each side of the arm. In the rear you can also do the same on the other rear hub. This make it possible to adjust the wheelbase about 1.5cm which is quite a lot and can be good to get a more quicker car around the corners or a more stable car.
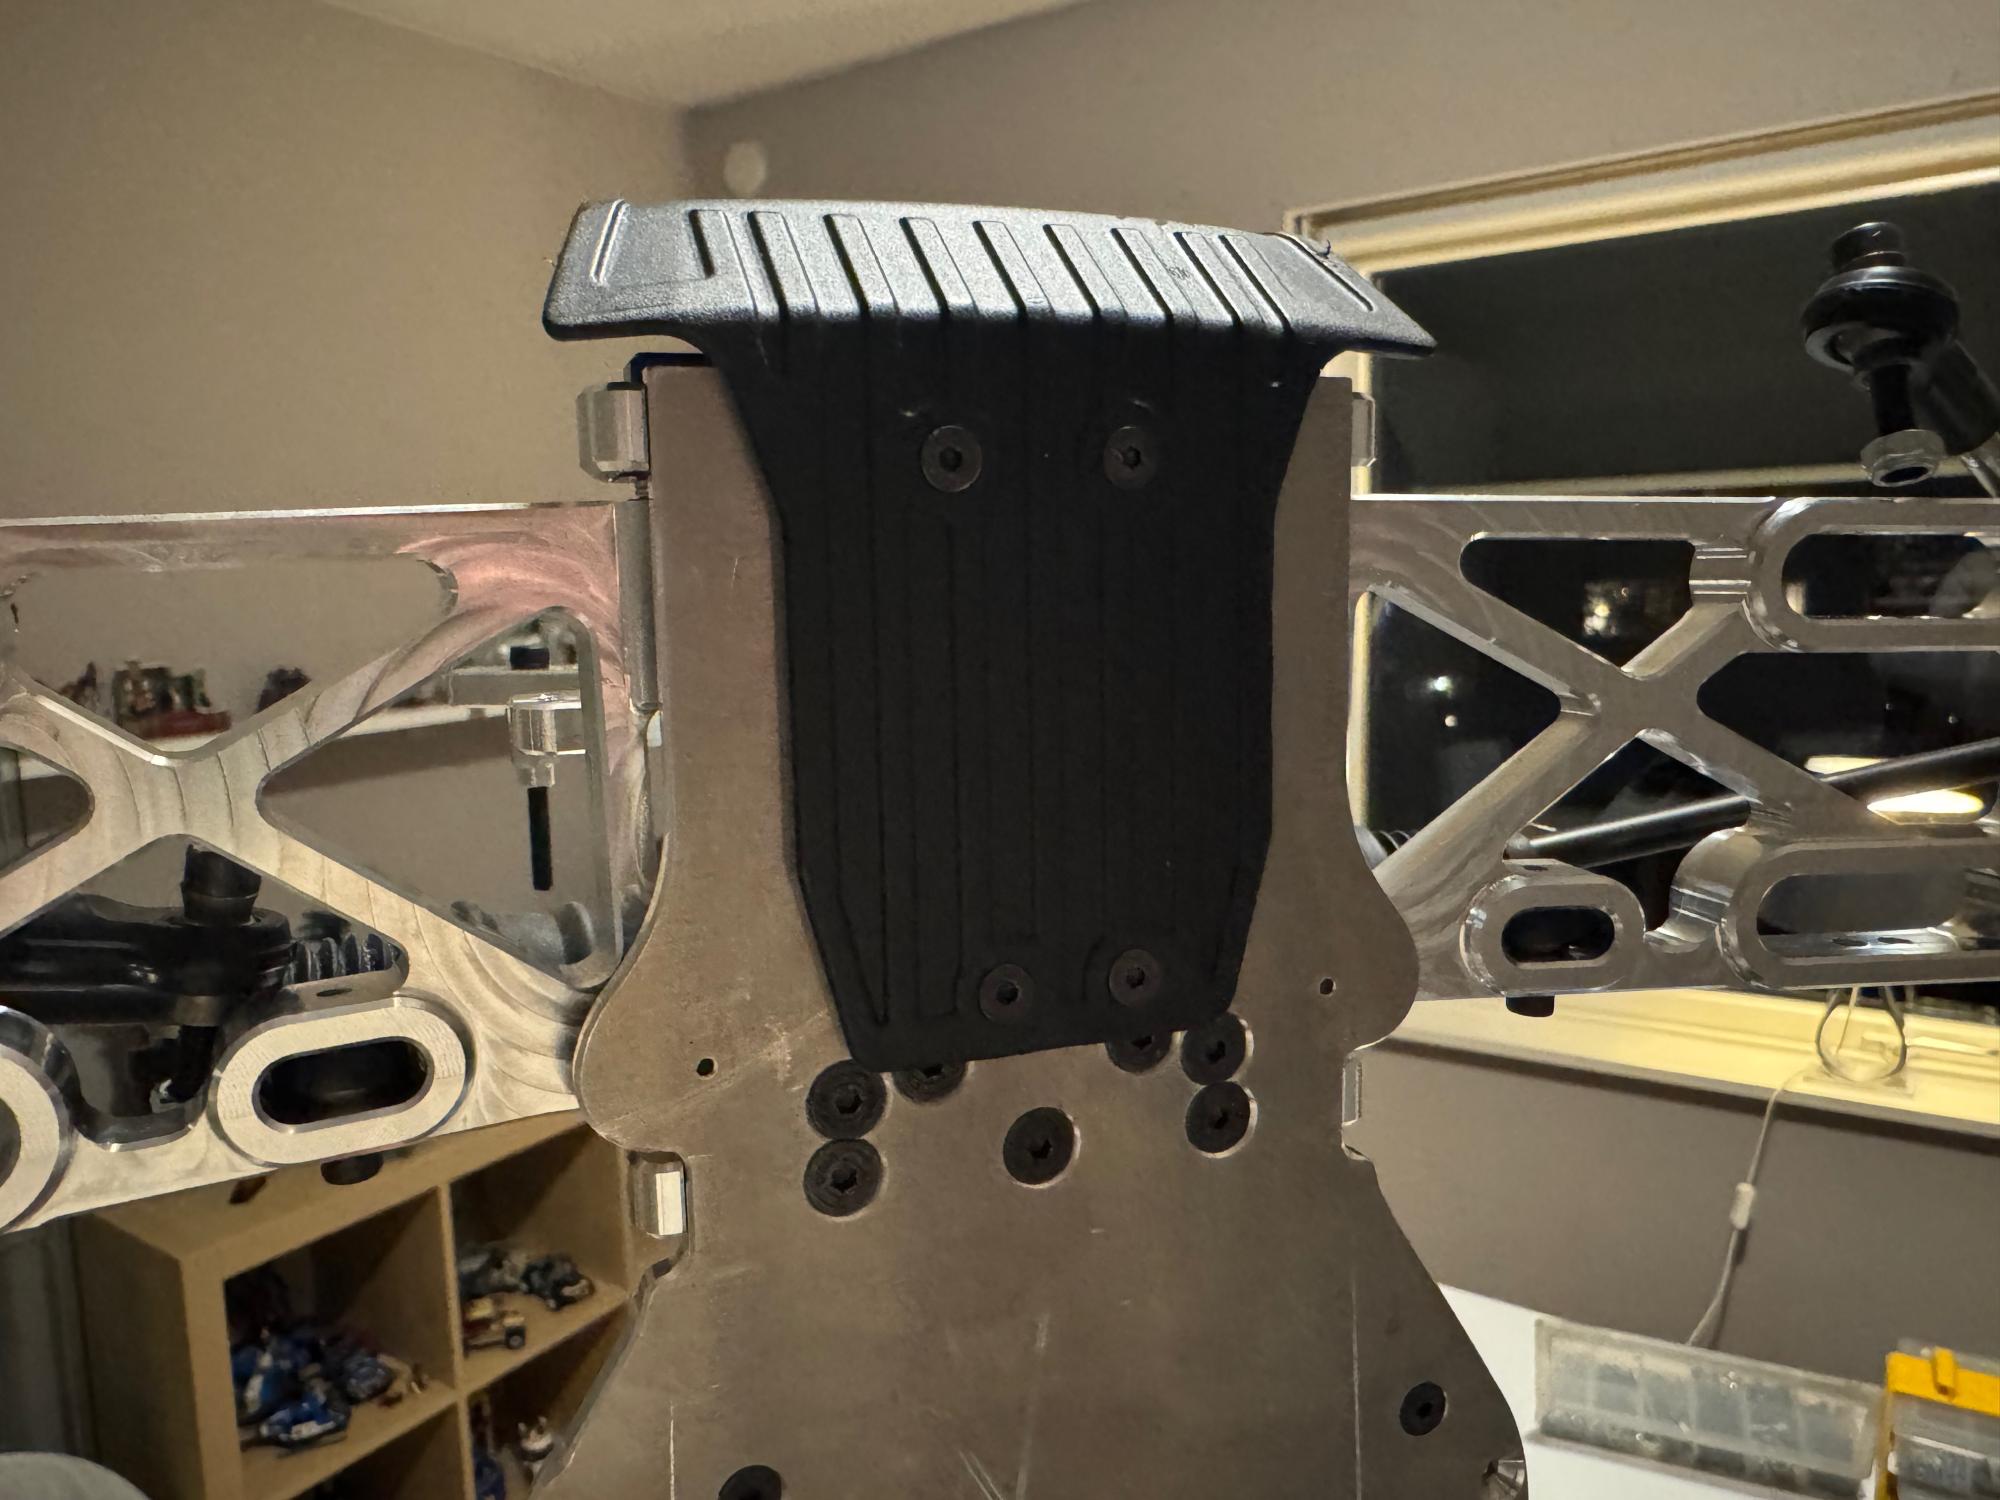
The last thing to mount in this part of the build are the skid plate and bumper. This is the same both front and rear and protects the chassis as well as the car from the front and rear.
Next time we will put in the from and rear diffs and get the whole drive line setup. After that we start with the servo installation and radio tray. Make sure to check out some more images and of course the 360 videos on this page. |
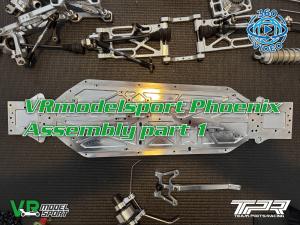
Let the assembly begin, with 360 videos, part #1
Let start from the beginning! The car is now disassembled after arriving pre assembled. But that is only to make sure everything is included, goes together nicely and also shows how everything fits together. No assembly manual needed, even if there is one for reference.
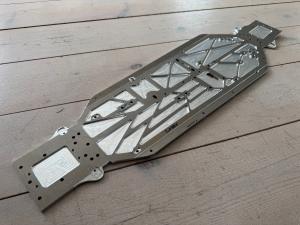
Before we dive into this build I want to make you aware of the new 360 video feature. You will see all posts that have them with a 360 video logo up in the right hand corner. The 360 videos will be detailed videos that you can spin around to get a glimpse from the parts from any angle. Just spin it around. These videos can bee seen in the right hand column, or below if you're on a mobile. You can take a look right away if you want to check them out. But come back here again to read bout the build. Also make sure to check out the images in the resource section as these are many more than displayed in the post itself. Ok, let's get into it! As I described in the last post I wanted to make the chassis really nice and shiny to fit nicely with all other aluminium milled parts and also to make it easy to clean in the future.
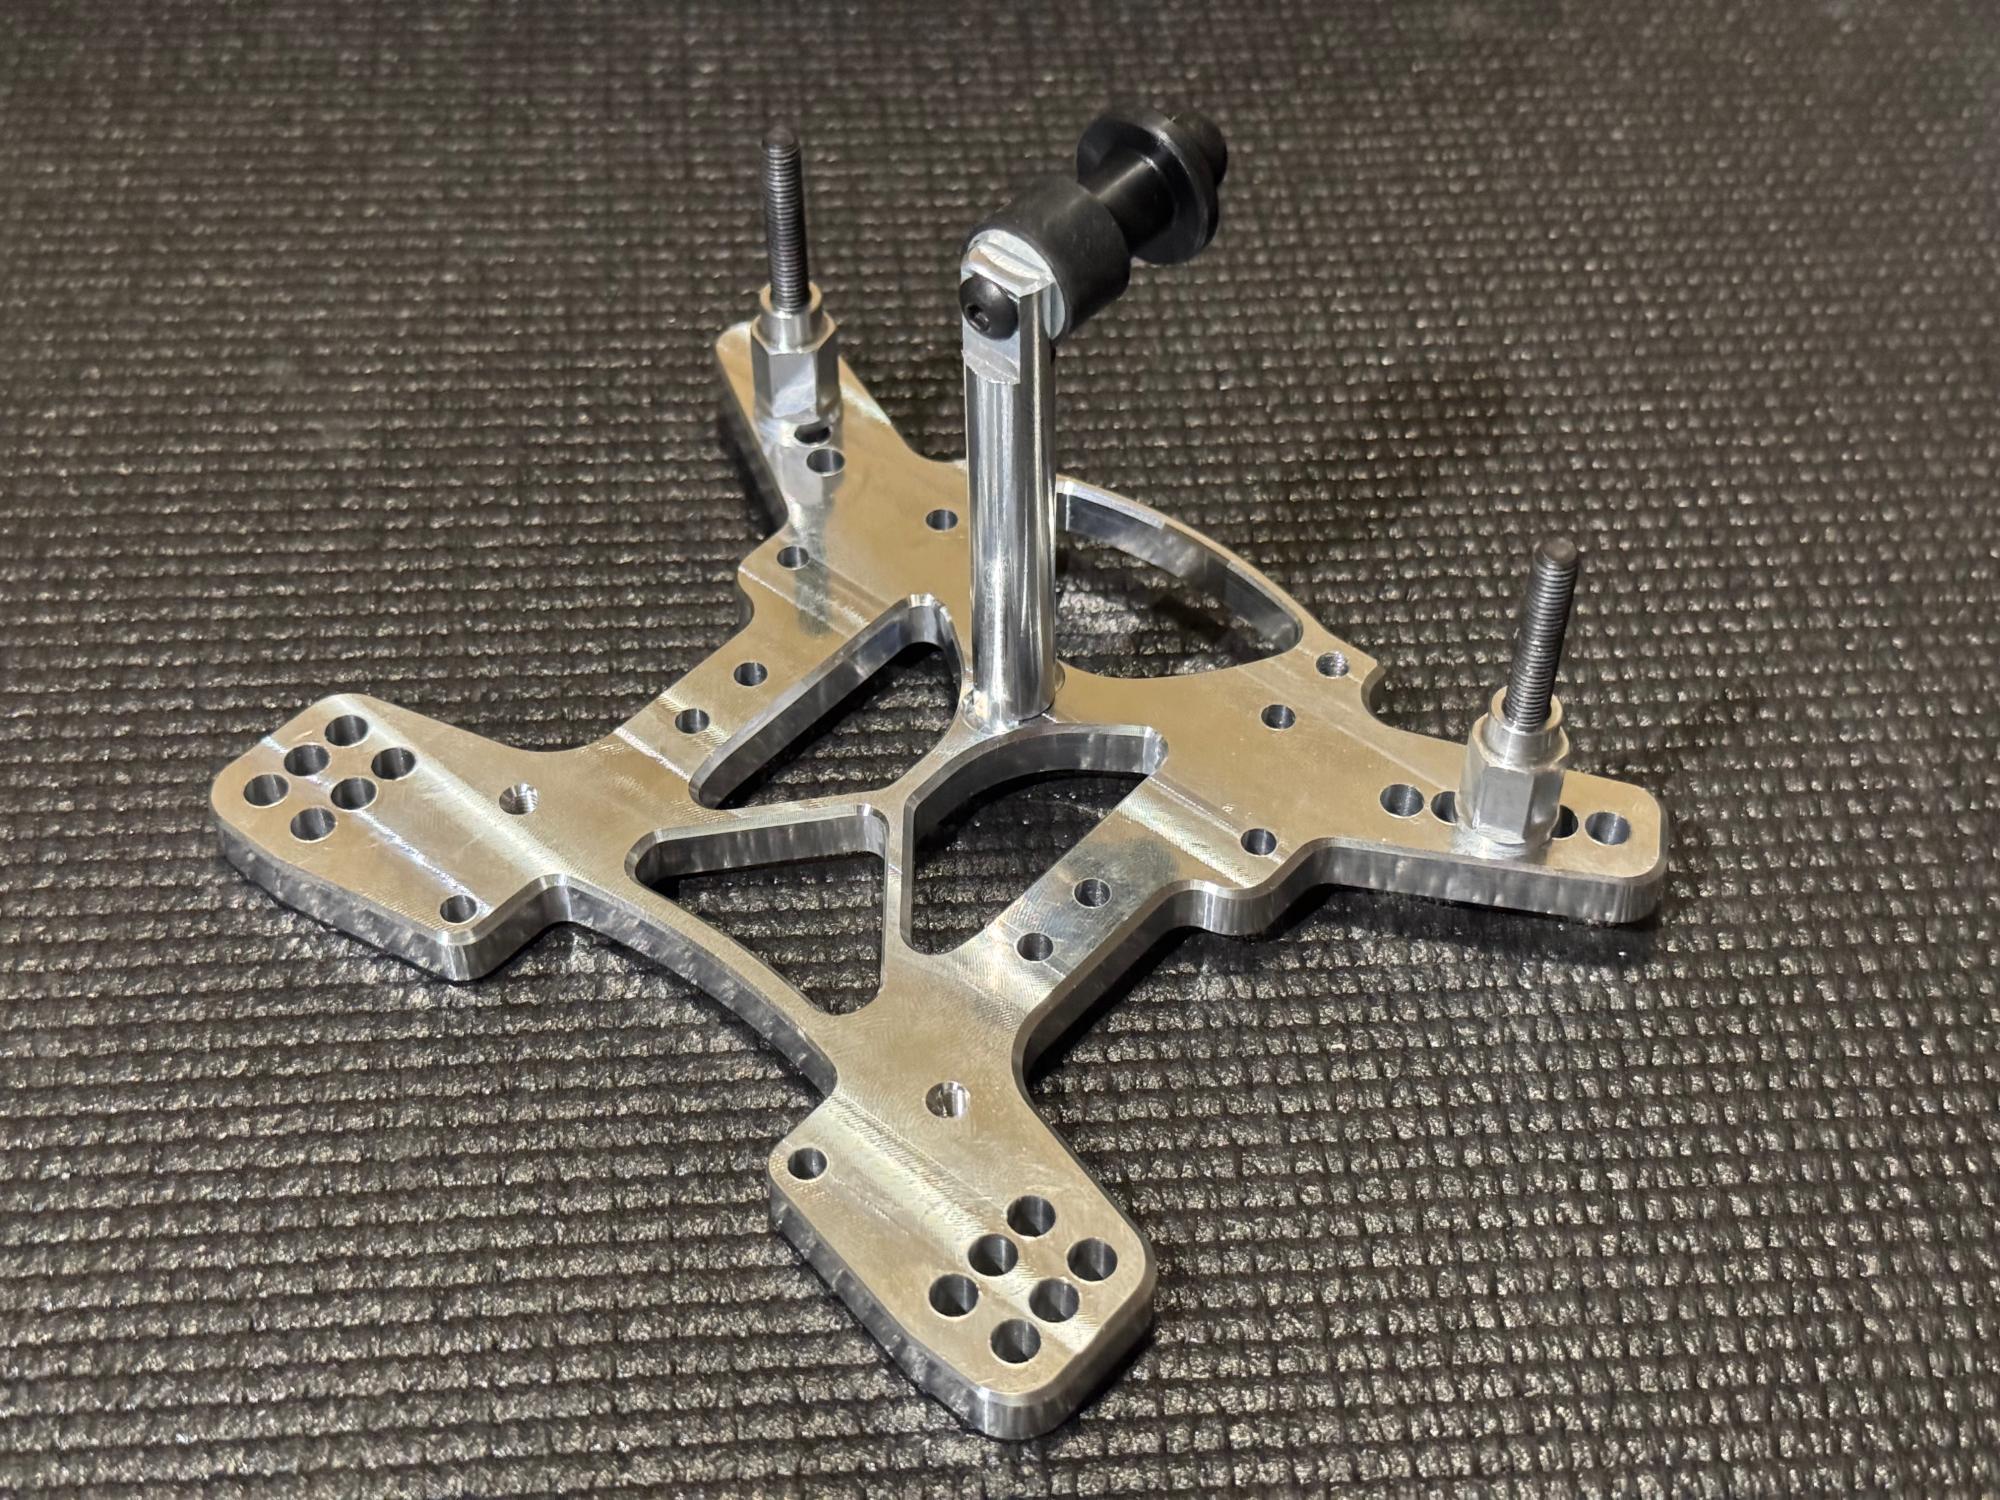
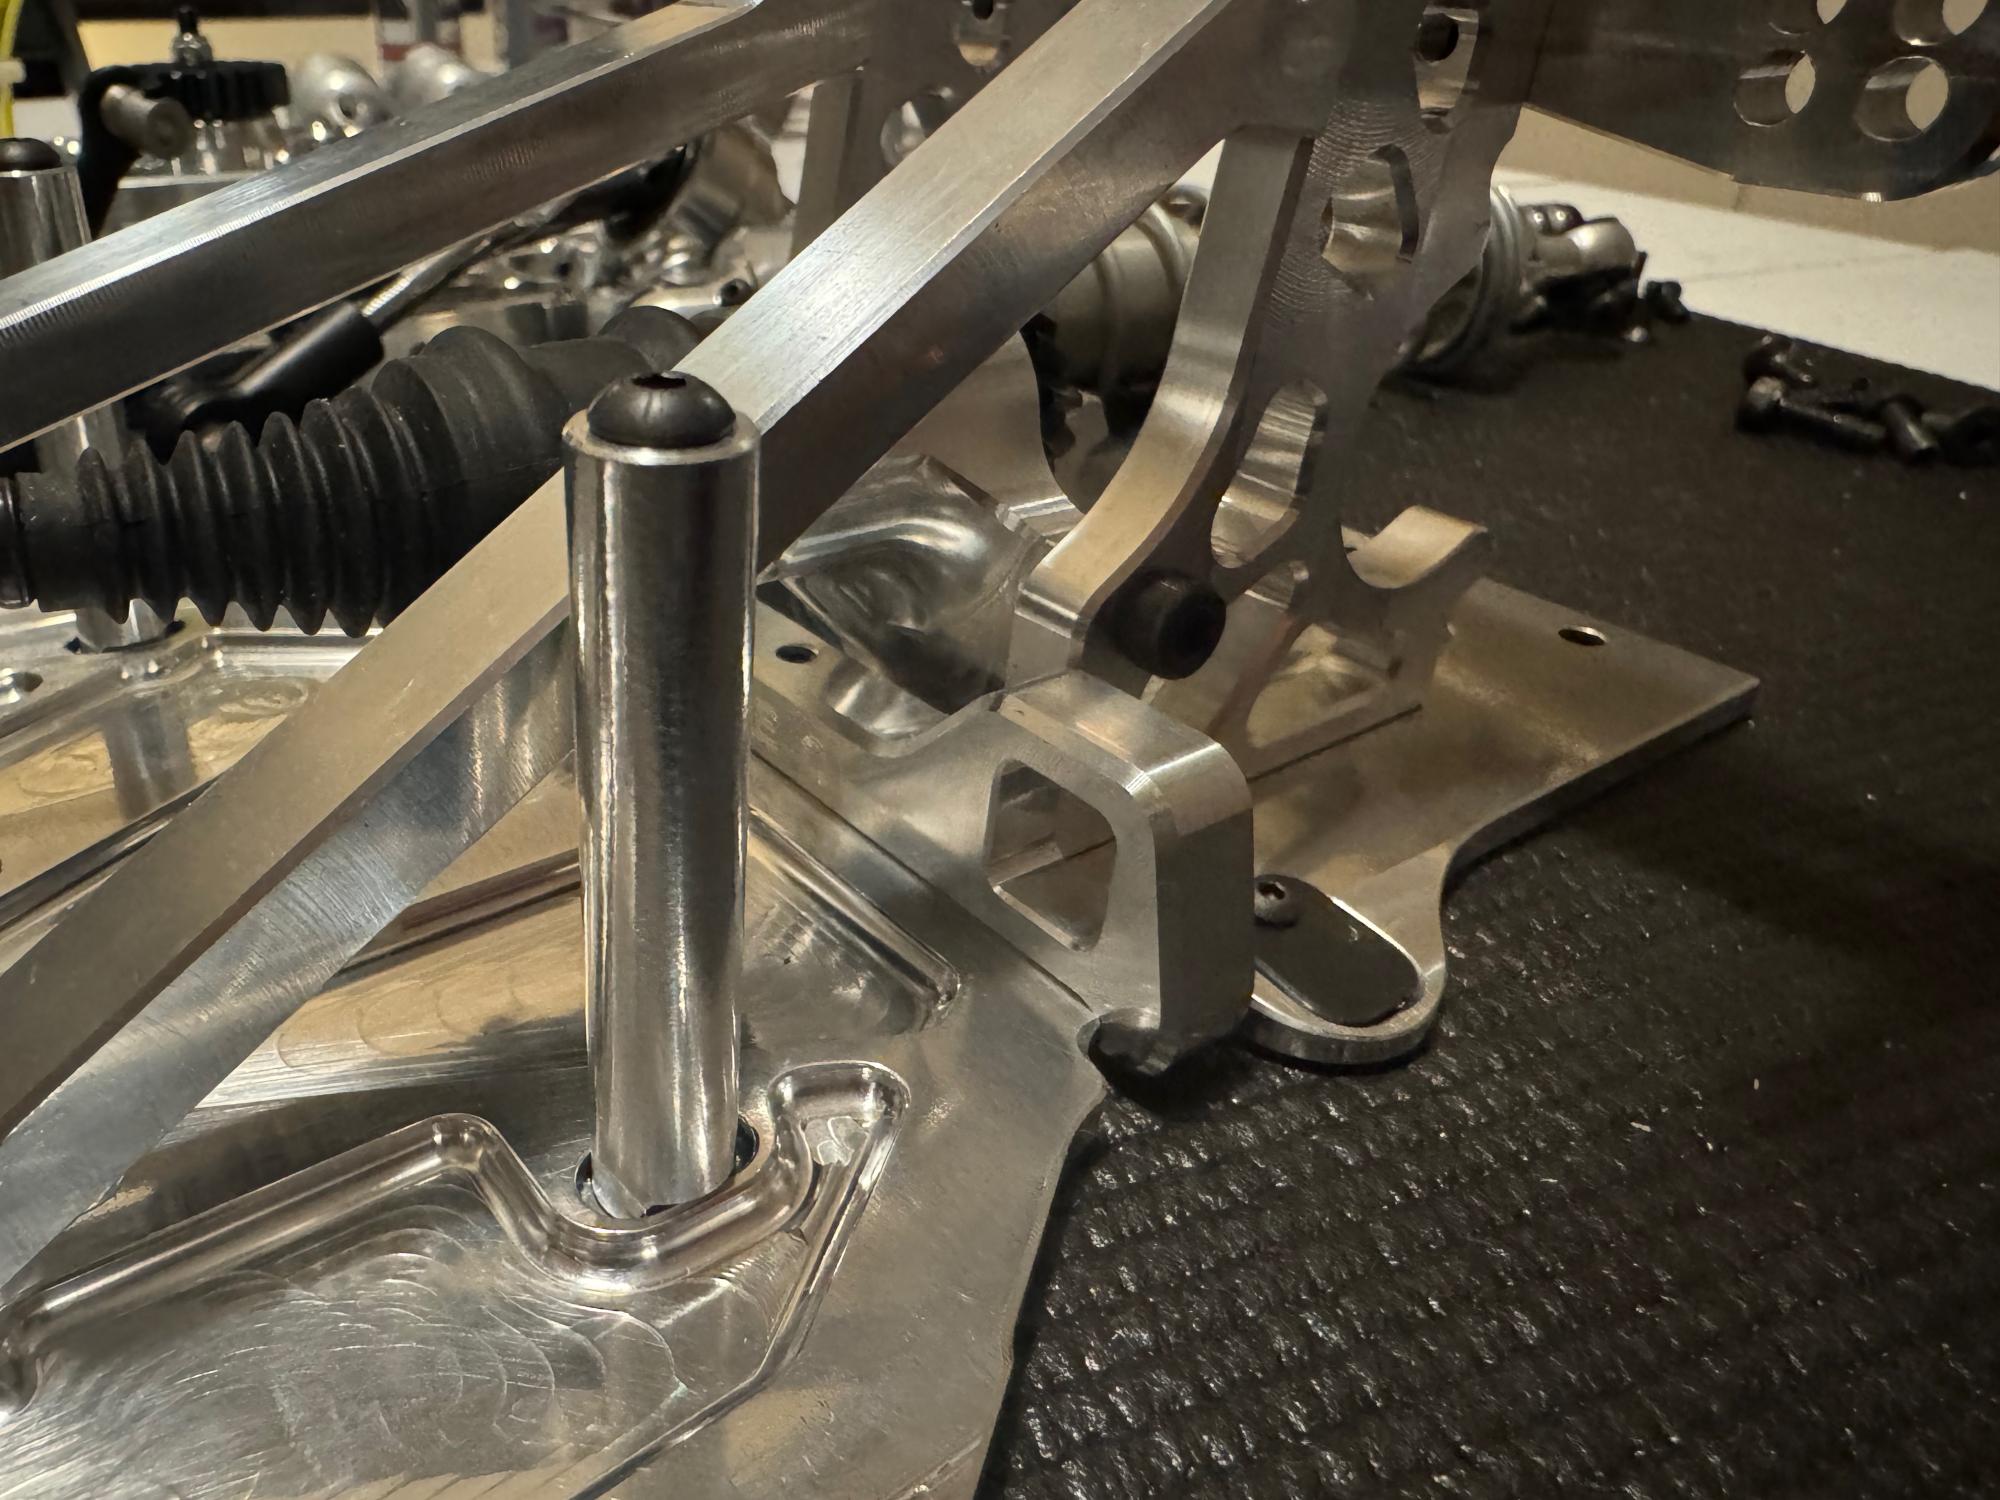
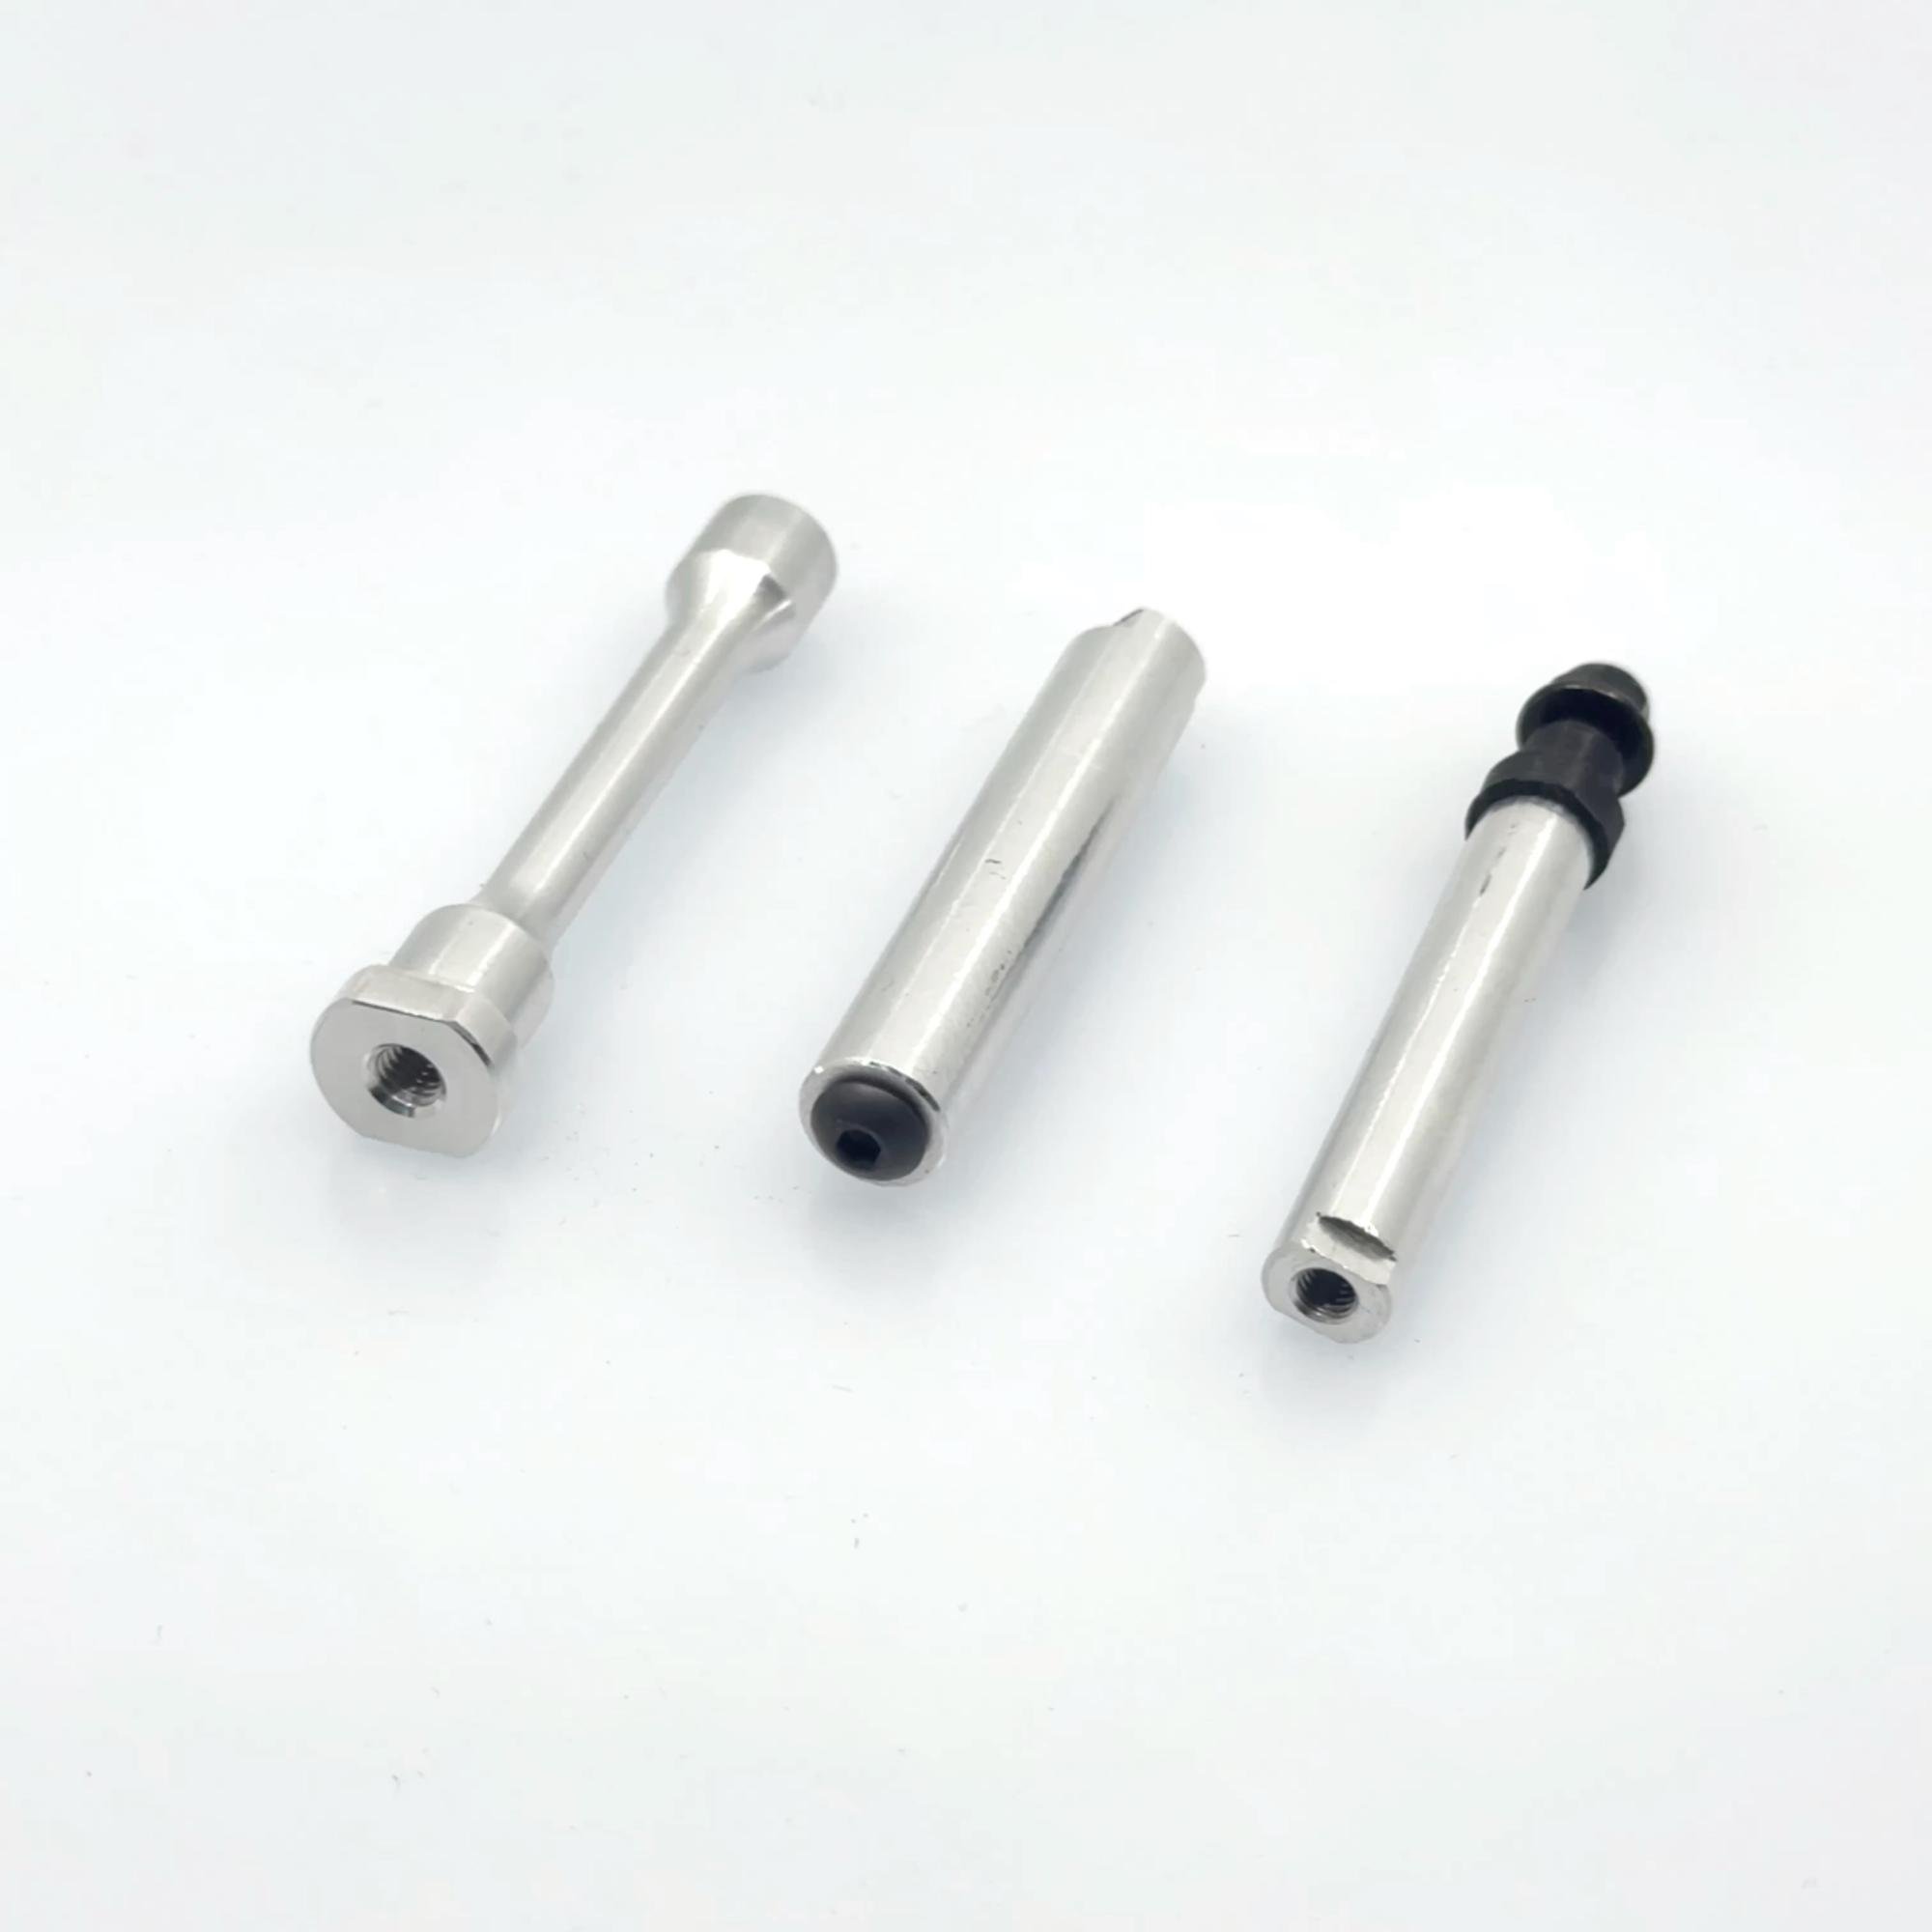
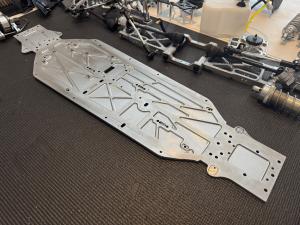
The build starts with an empty shiny chassis. The first thing I did was to add all body posts. These supports, steering, the fuel tank and the pipe. At the bottom they're flat on both side to fit into slot in the chassis. This is clever as it makes it more sturdy but also that the post is not rotating as you screw it in so you can easily tighten it and don't worry about it getting loose when screwing from the other direction.
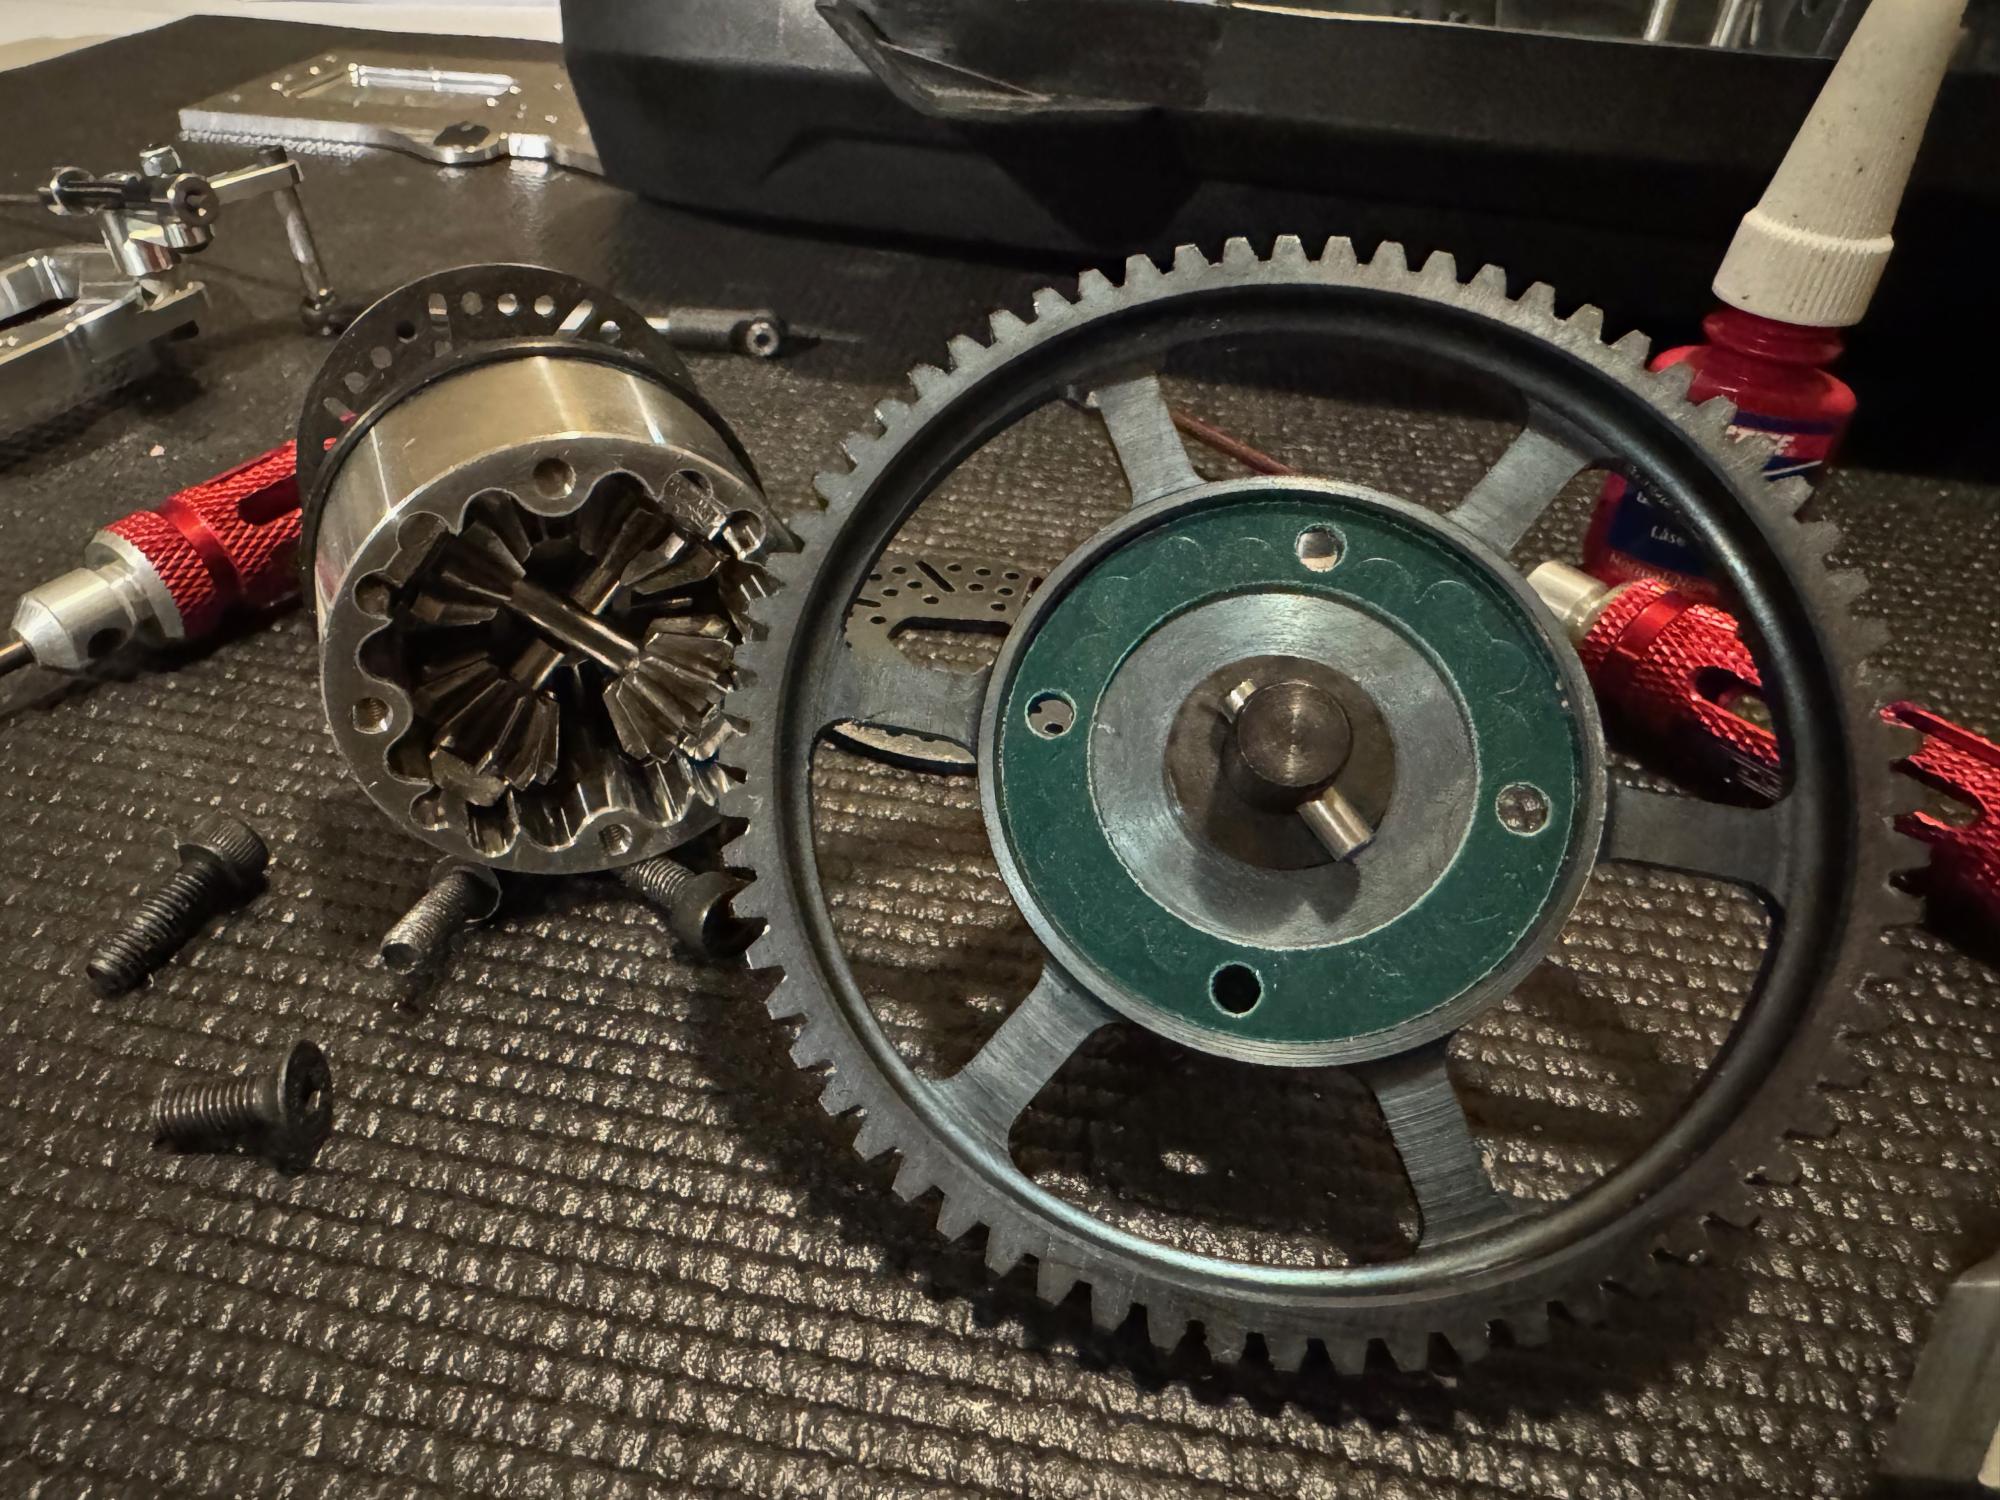
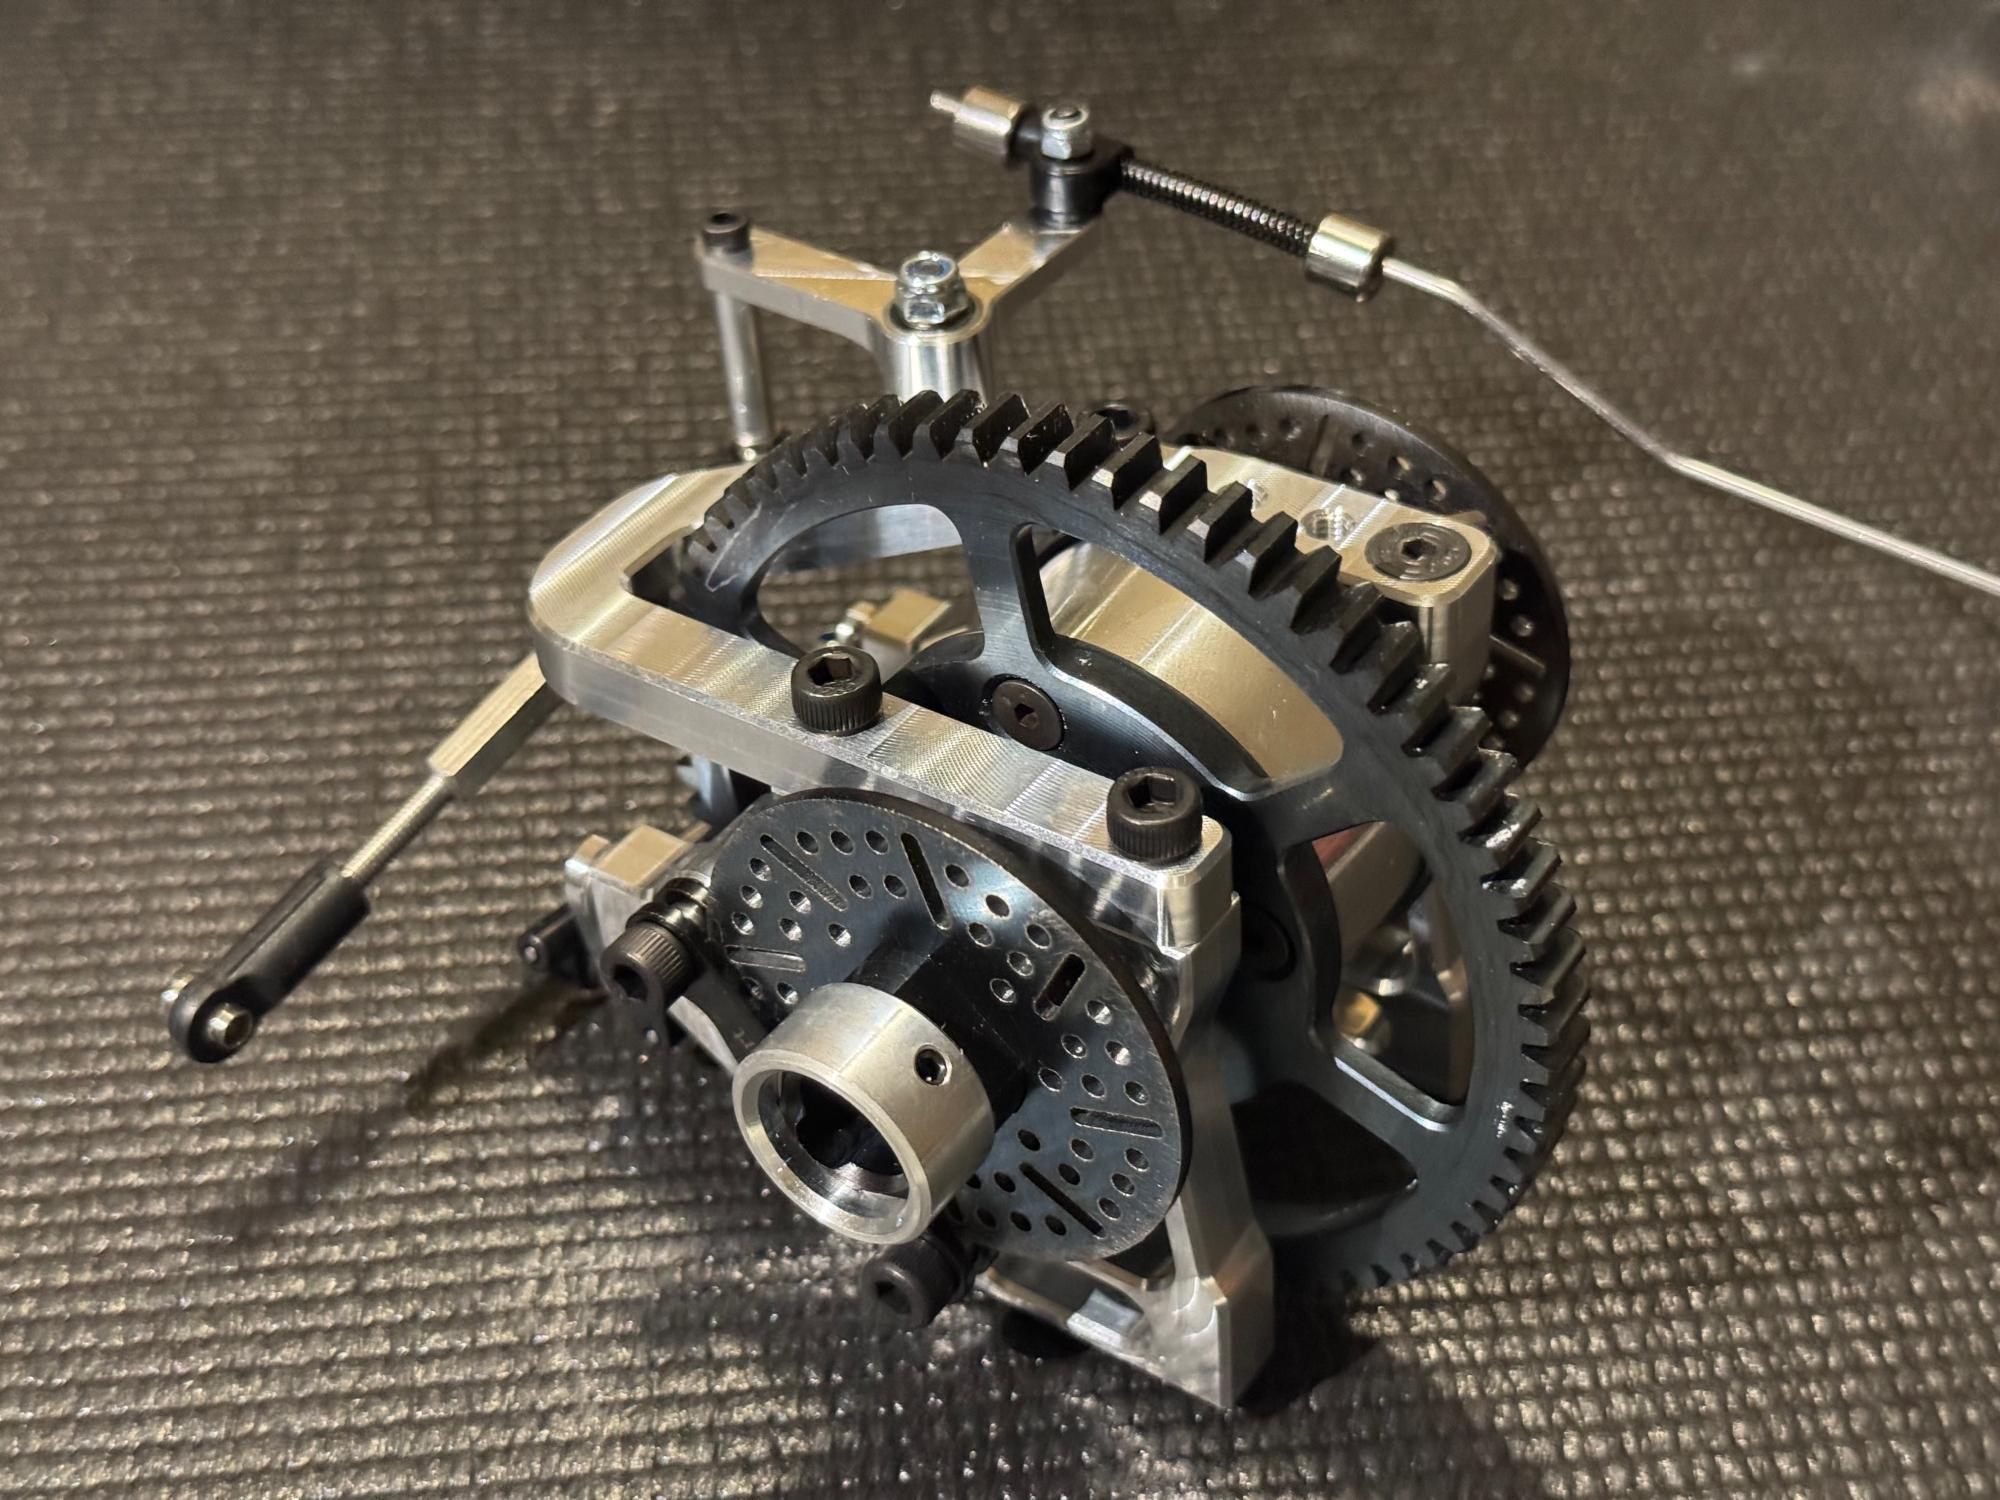
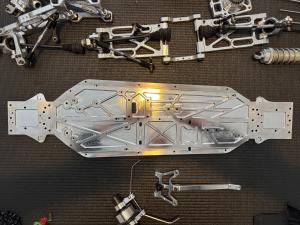
After the posts I went on to the mid diff and breaking mount. This is the center piece of the car and has some different mechanics.
After putting together the diff again and putting loctite and all the screws for the rest of the section and could then lower the diff into the mount. It's really easy to service the center diff as you only have to remove the top brace and then lift it right up. Unfortunately I didn't take a picture of this.
The center mount also has the breaking mechanism in there which is mounted low and uses the regular feature of an off center axle that pushes a small piston onto the breaking pads. The top brace also holds the swivel arm for the throttle linkage. The center diff outdrives uses a ball drive system instead of regular dogbones. This makes it smoother and less wear. I used this in the Ultron and was very happy with it so I'm happy to see the Phoenix also picking up this. The breaks are metal to metal. I have not been using this before but always some kind of breaking pad. I guess it works well otherwise they wouldn't have it. Will be interesting to see if it feels different. Maybe it locks more directly, or maybe the opposite giving a more gradual breaking feel.
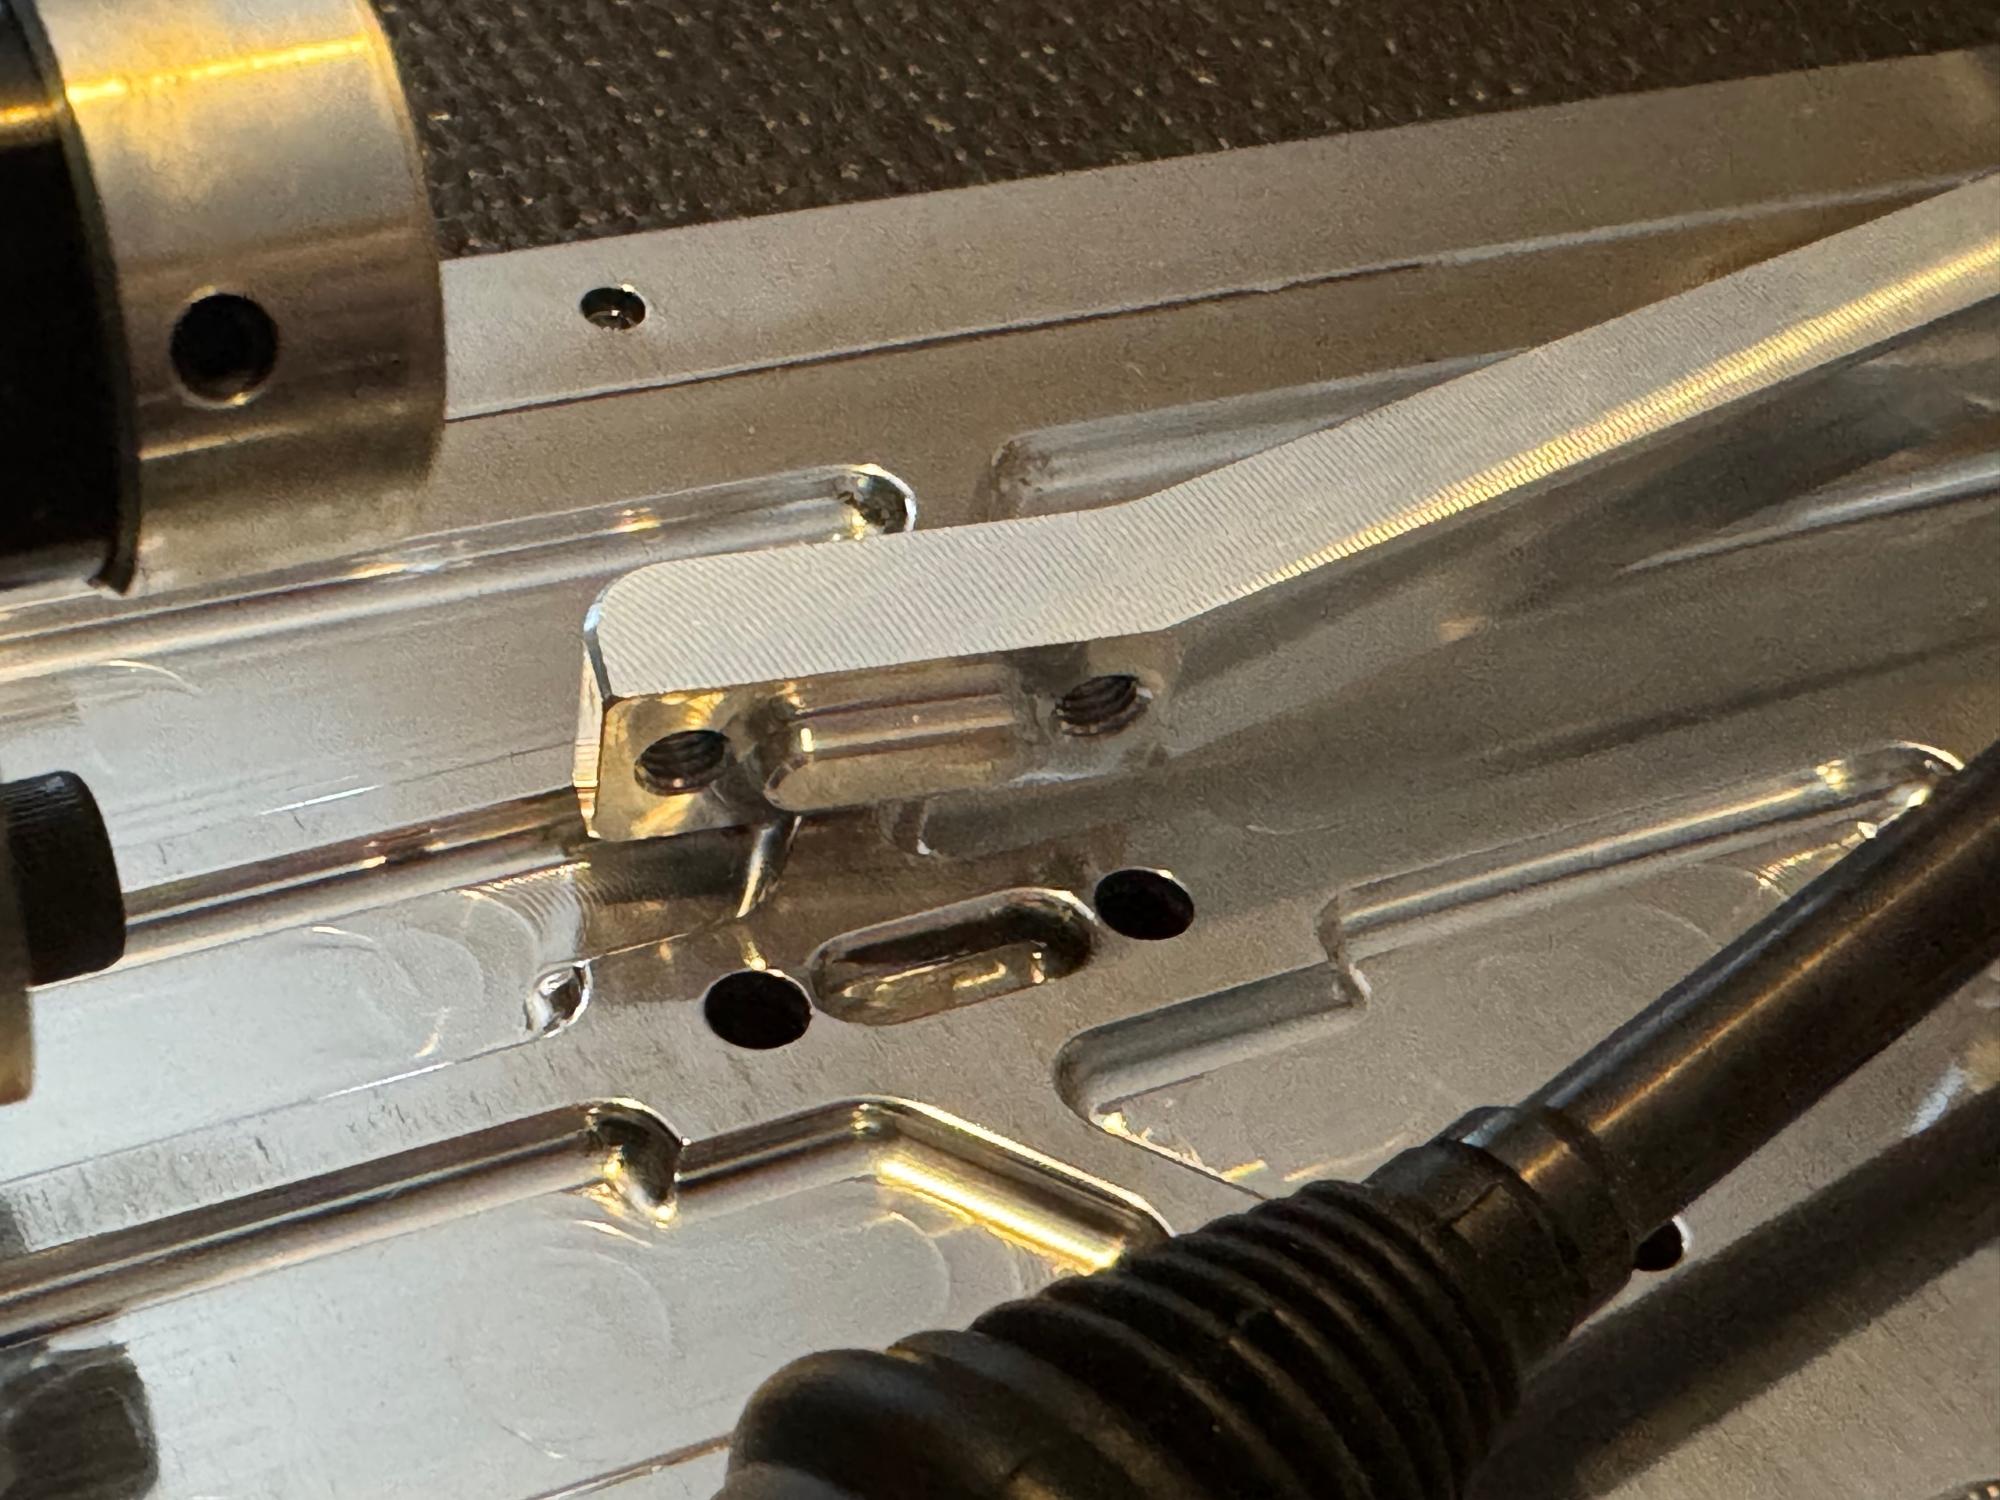
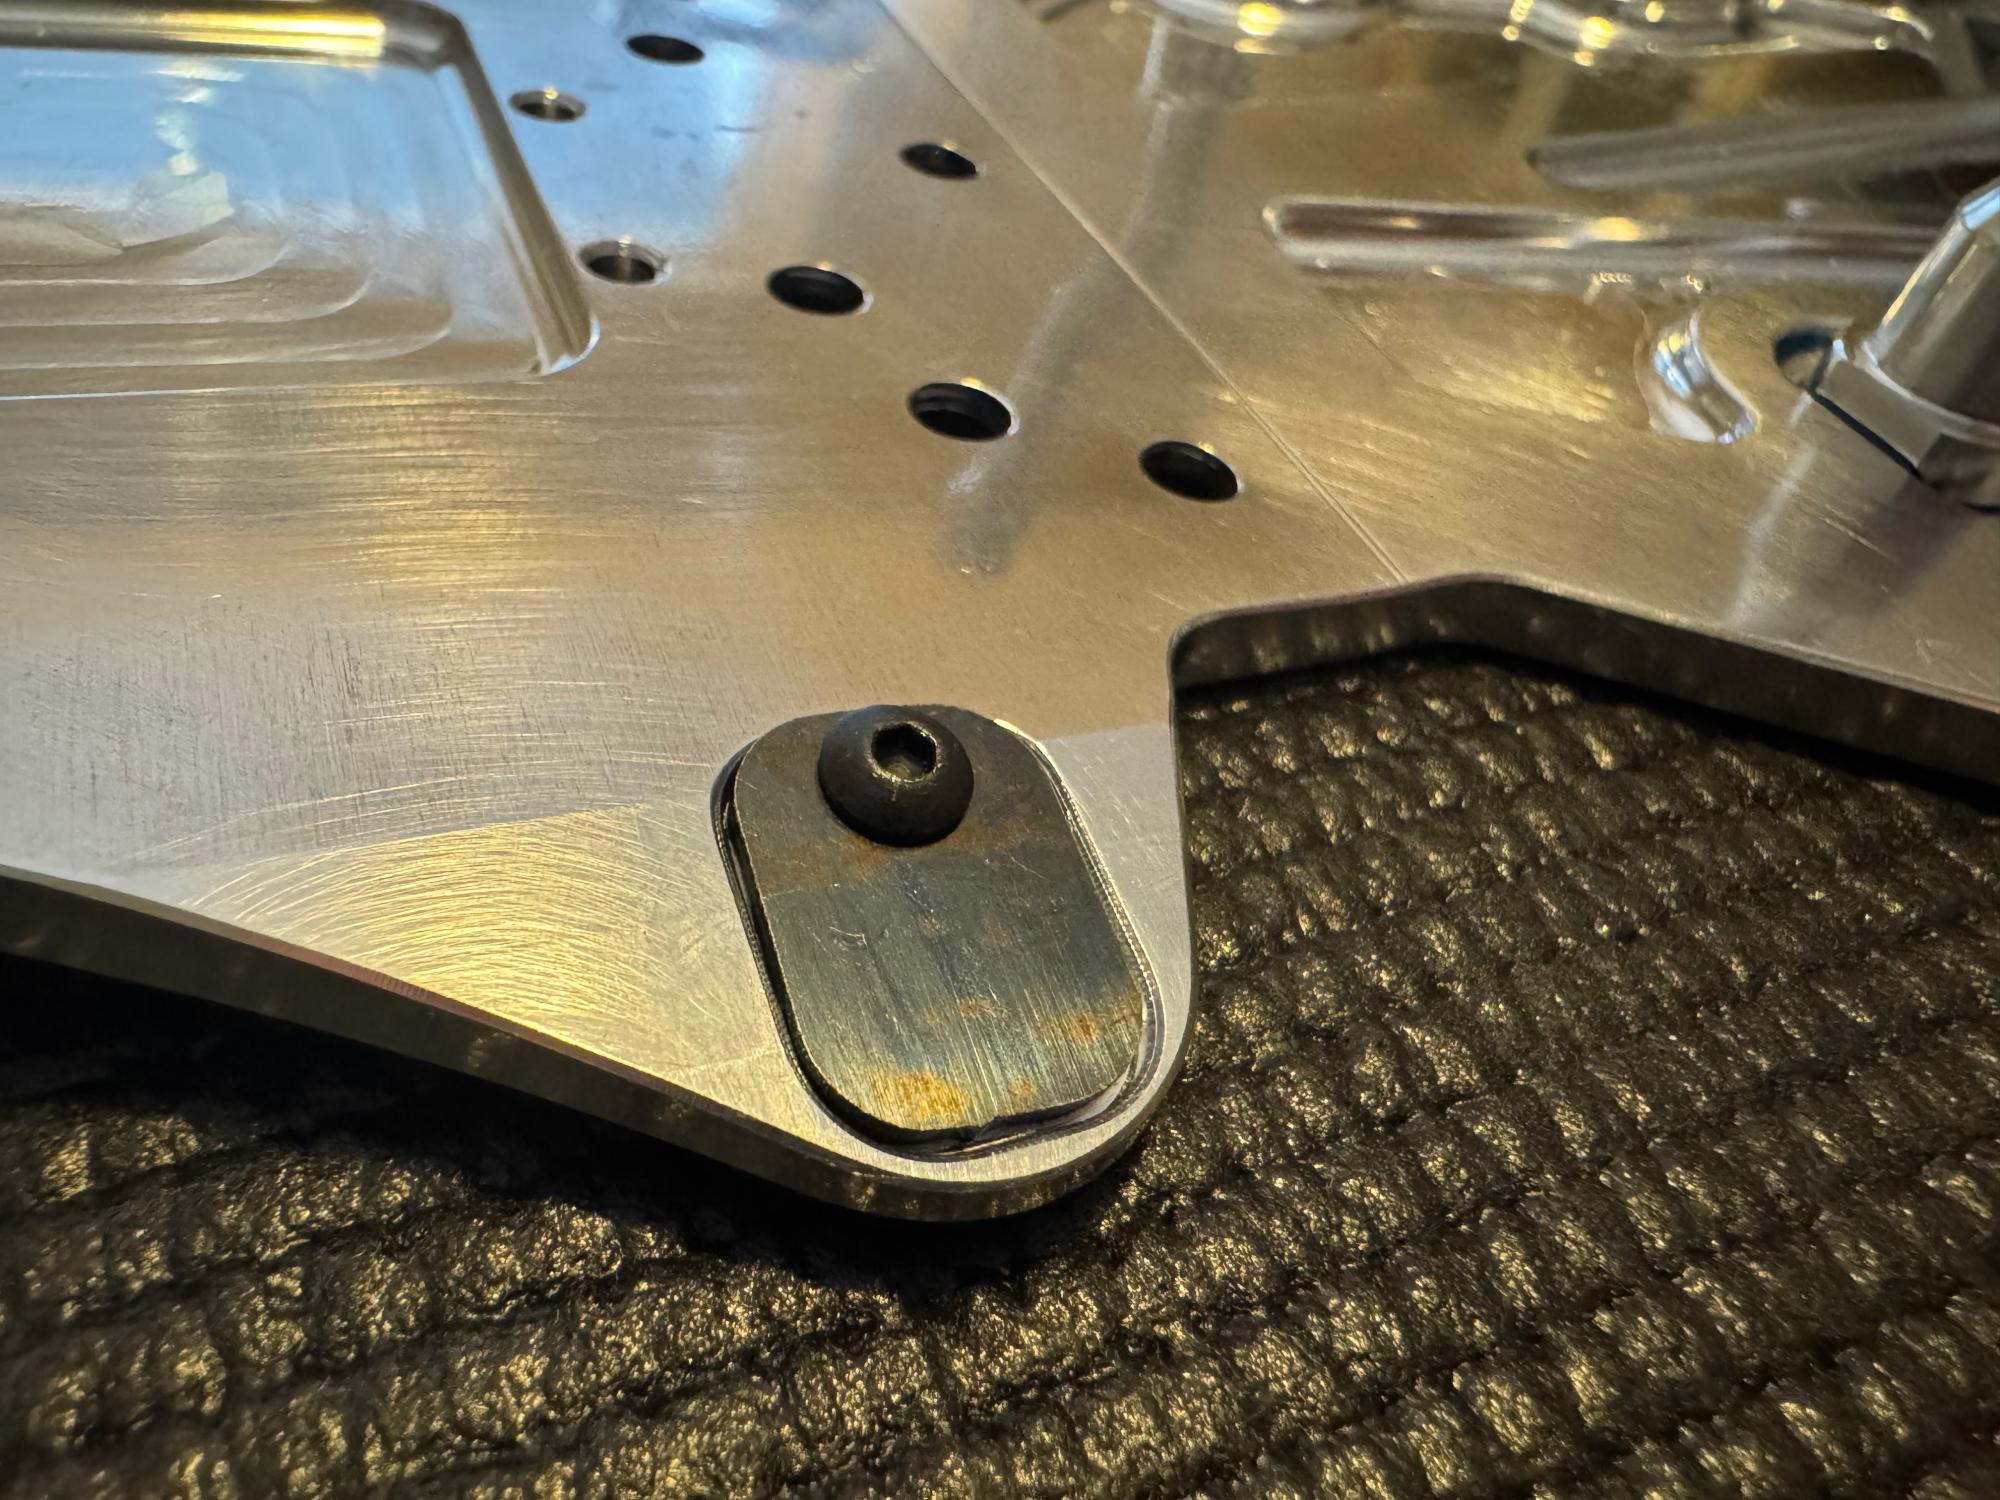
The last little pieces I mounted in this first round was the small steel pieces for the droop screws. This is great to protect the chassis. Otherwise the droop screws will eat into the chassis and you have to adjust your droop to adjust for this.
|
Lets get started and make it shine!Early on I decided I wanted to make this car a killer looking car in all ways. It not might be everyone's cup of tea but having a good looking car in the pits and on the track gives me pleasure and enjoyment.
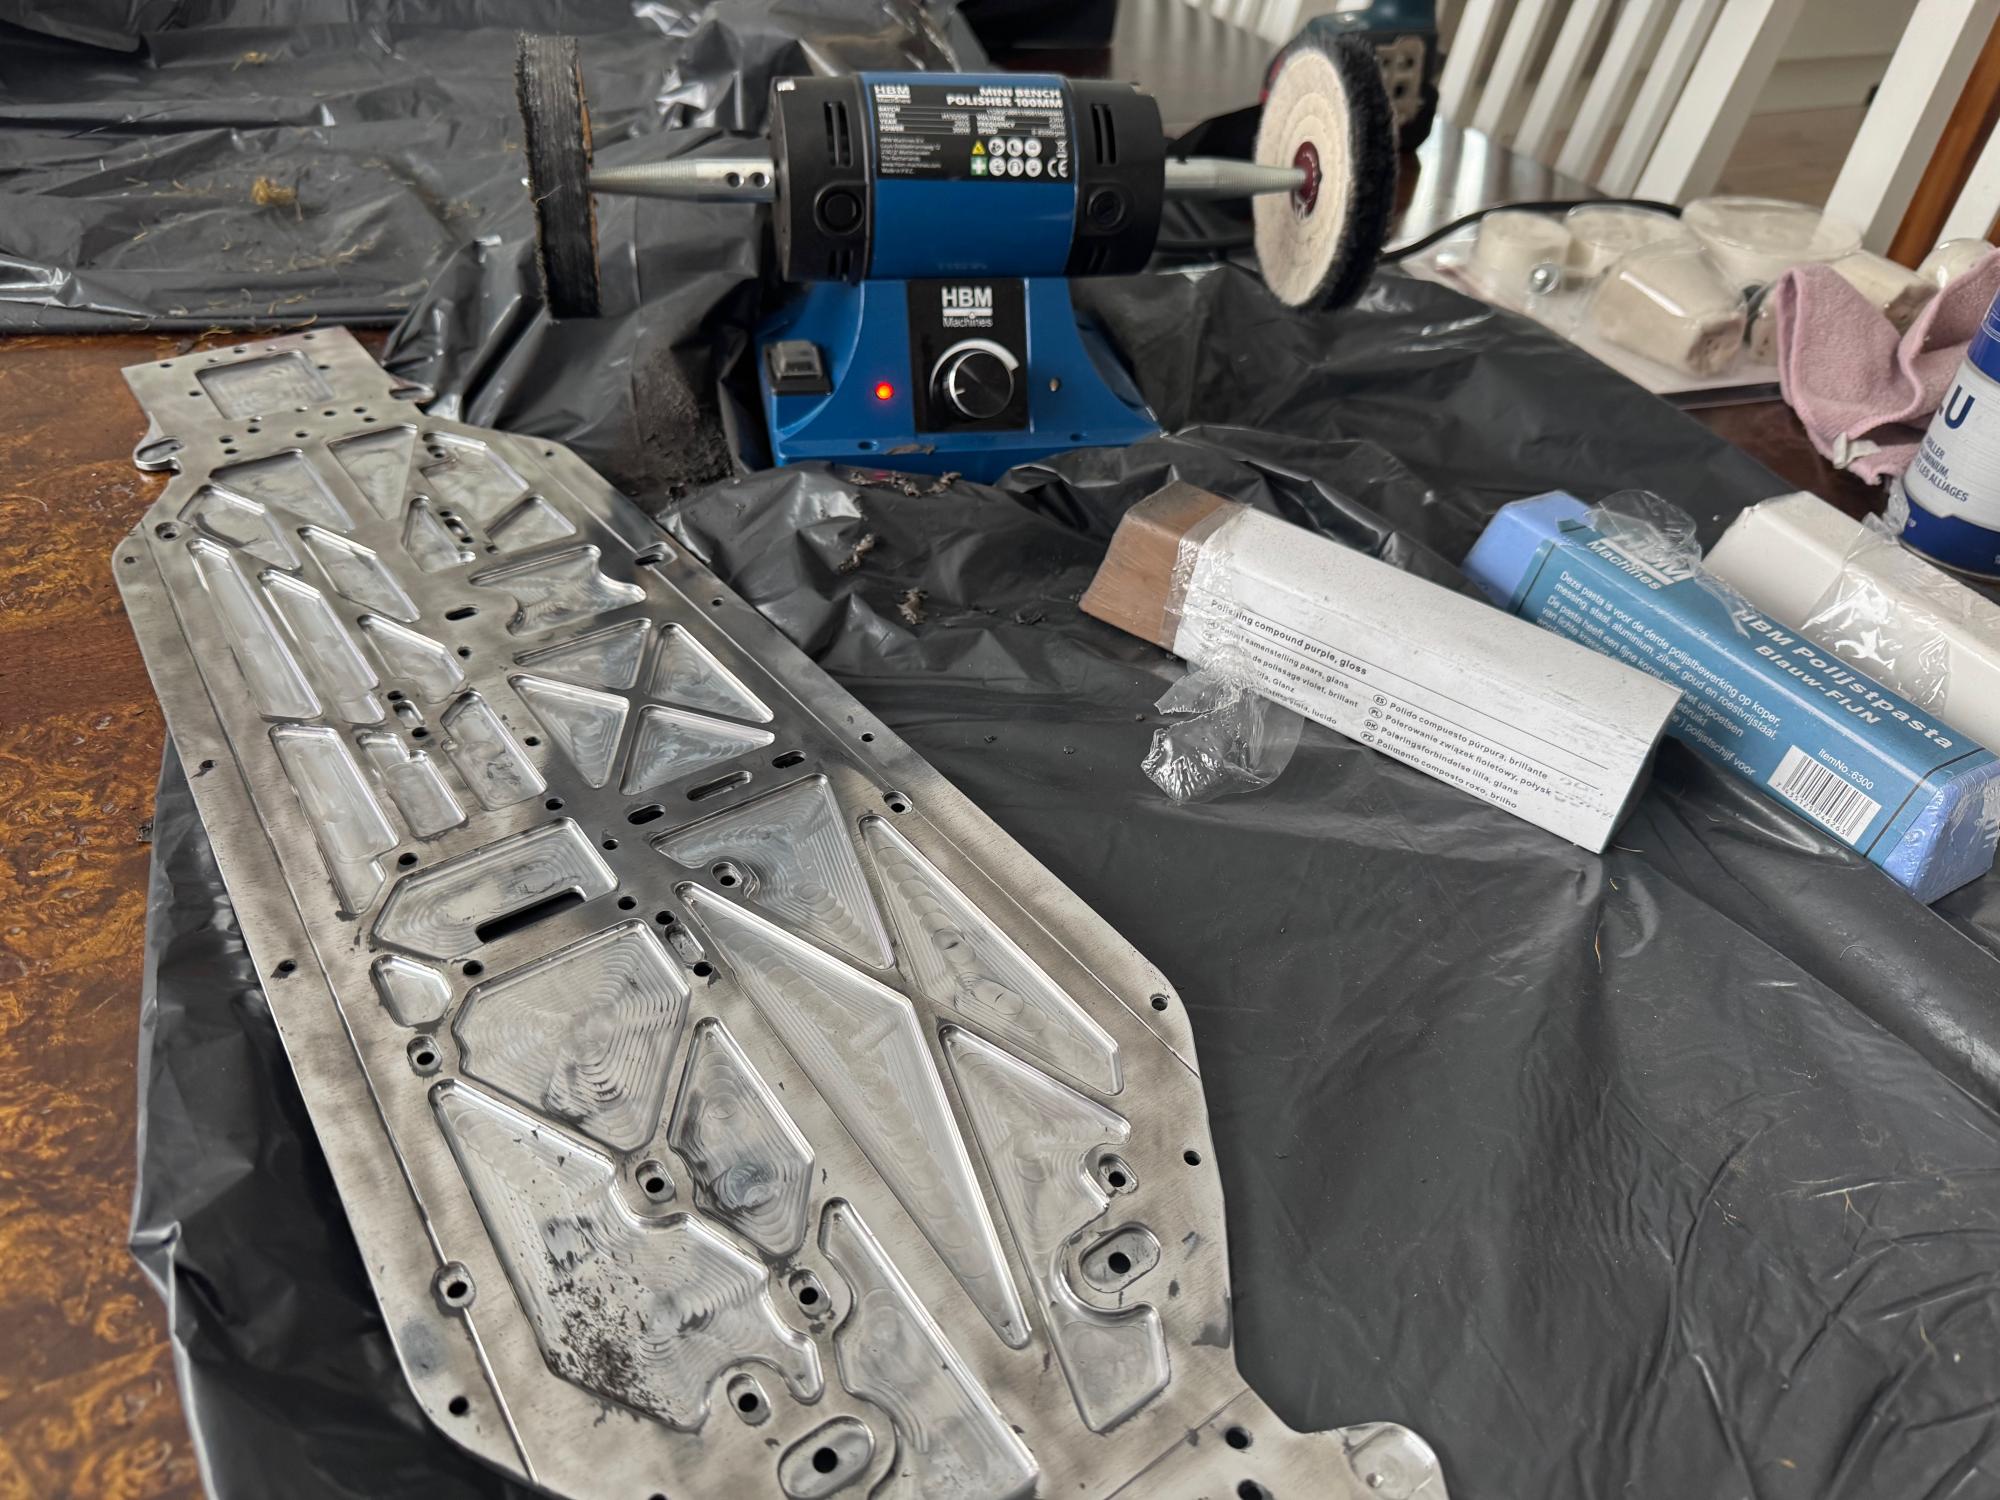
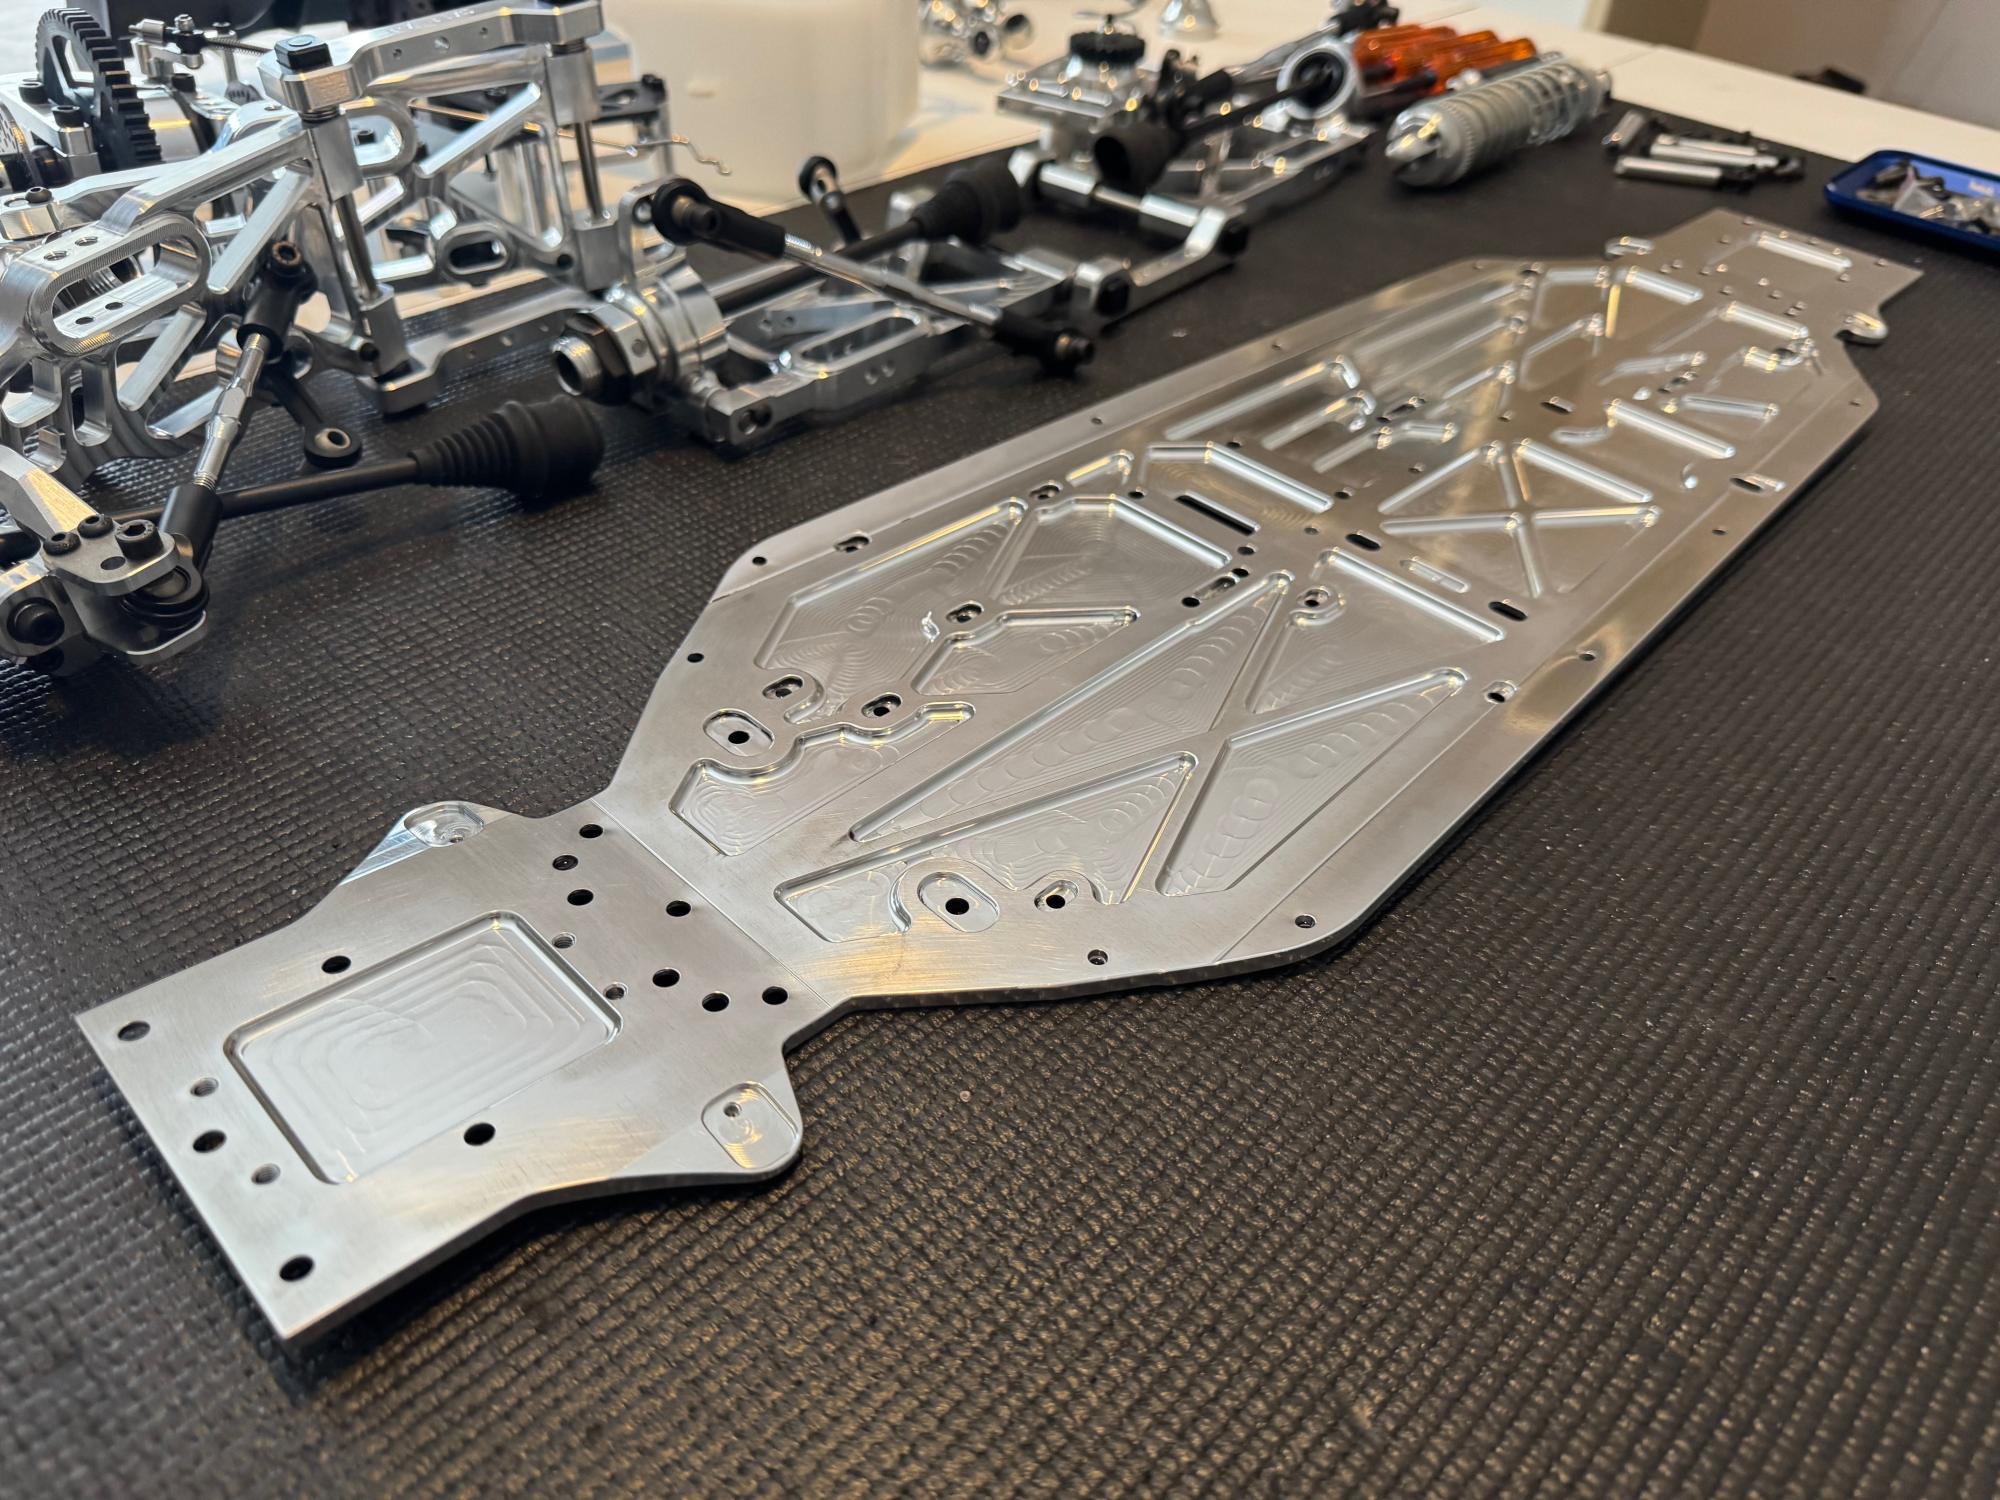
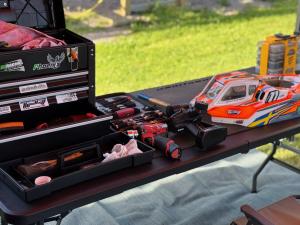
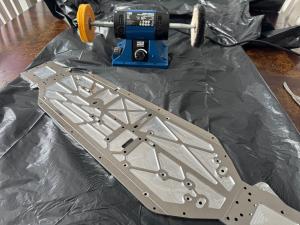
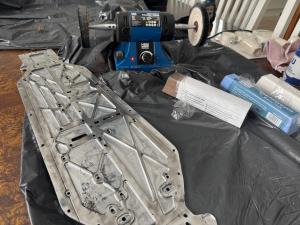
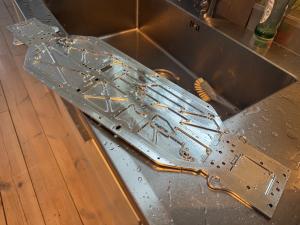
Before receiving the car I started looking into what others are doing to make their aluminium shine and I bought a case tumbler from Hornady. I also bought a polish machine from HBM as well as some polishing paste from Belgom and some polishing stuff to put on the drilling machine. Since most of the aluminium parts are already very shiny as new you don't really need to polish them in the tumbler or the machine. But the chassis had an untreated surface as it was only milled where it makes the cutouts. You can see in the picture below how that creates two different surfaces. I wanted it all to shine and decided to go with the polishing machine.
It required a lot of work with the polishing machine and some different polishing pastes to remove the course surface. I should probably have had another more course polishing paste to start with that was more abrasive to the surface. I got really tired as well since I had to hold the machine with one hand and the chassis with the other hand to create a the friction needed. I probably did this for an hour and it was hard to see if this was enough and when to stop. I could probably have gone on for another hour, but I was tired in my hands.
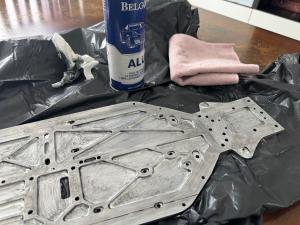
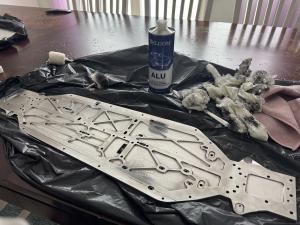
After I was done with the polishing machine I started do manually polishing with the Belgom. You can see on the pictures that the polishing pastes makes it black and the you have to polish it away. It's in this process that you actually do the polishing as the paste contains some particles that rubs the surface.
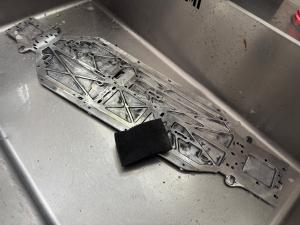
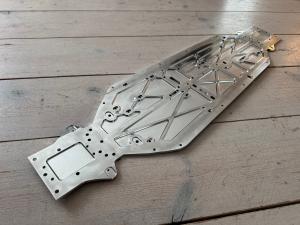
After a couple of rounds with Belgom I started to polish the whole chassis with my drilling machine and some polishing gear mounted. I repeated this process multiple times as the paste also got stuck in the different angles and compartments on the chassis. After this I started to clean the chassis with just soap and warm water. This I also had to do multiple times. And now finally I could see the result after all the hard work. It was not perfect but good enough to create a stunning effect when putting it on the pit table to start the rest of the process. This was a very tedious and quite laborous process but it was all worth the work since it really looks much nicer and hopefully also with be easier to clean in the future with that polished surface.
|
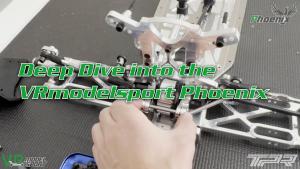
A deep dive into the Phoenix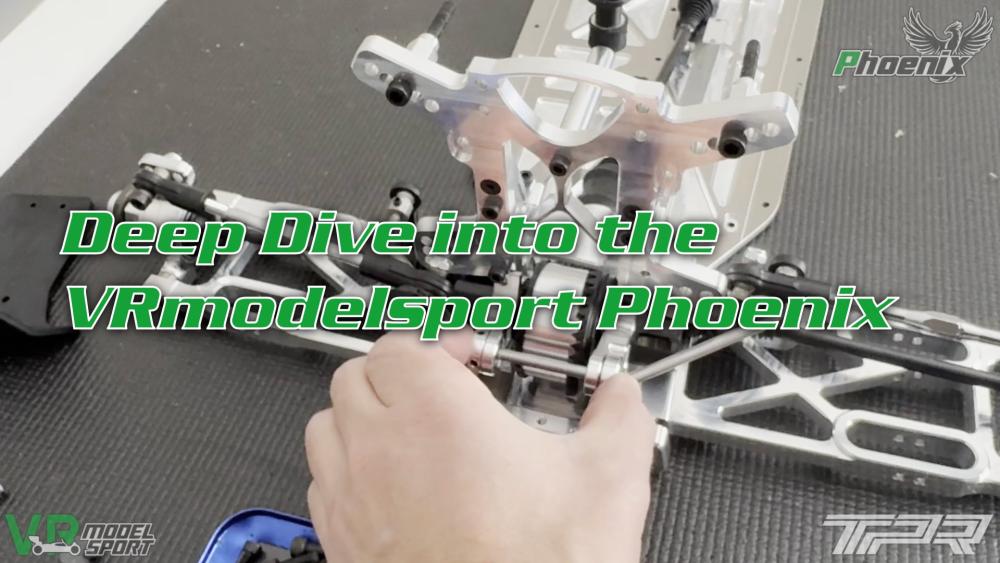
Lets go into the details of the engineering and design choices for the Phoenix car. Just like a food cooking show it's all prepared for a systematic tear down.
There are a lot of nice small details about this car. I have compared it with other cars like the Losi, MCD but mainly the Ultron as it has been my main car the last couple of years. There are definitely some similarities that I like but also some big differences also for the better. This car has really picked all the good things from many of the other platforms but then added some of their own unique solutions. Check out the video below for the whole run down and see some disassembly images in the side panel. |
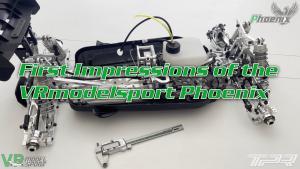
First Impressions of the Phoenix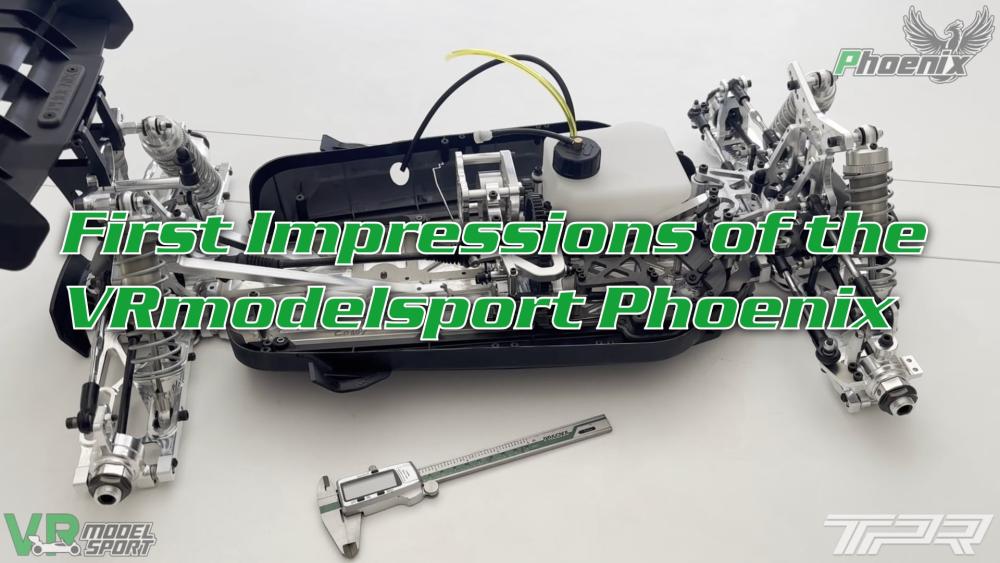
After unboxing the car and looked at it for a while I started to go through and notice all the design choices. This video represents my first impressions of the car before starting to dissemble it. I will add more videos with much more detail as they are uncovered.
Also checkout the images from my first impressions as well as starting to work on the car. The plan is now to dissemble the car completely to then reassemble it again. |
Unboxing of the VRmodelsport Phoenix!After over a year of waiting for a new racing car to arrive and replace my trusted Ultron I know have a big box weighing 14kg.
Follow along as I open and uncover what's in the box and the beauty of the Phoenix car. You can here on my voice cracking up in the beginning of the video how special this moment is for me. |


Facebook Postsarrow_forward_ios